- Product Details
- {{item.text}}
Quick Details
-
Model Number:
-
UM-2
-
Display Type:
-
128x64 dot-matrix LCD screen with EL backlight
-
Measuring Range:
-
0.8mm to 300mm, depending on material and probes
-
Display Resolution:
-
0.01mm (0.001in)
-
Measuring Error:
-
Under10mm: ±0.05mm;Above10mm ± (0.5%H+0.01) mm
-
Measuring Limits of Tube (Steel)::
-
20mmx3.0mm(PT-08 probe);15mmx2.0mm(PT-06 probe)
-
Repeatability::
-
0.05mm
-
Memory Function:
-
5 arrays are divided to store 500 thickness values
-
Power Source:
-
Two 1.5V AA alkaline batteries (Warning with low battery voltage)
-
Units:
-
Metric/Imperial unit seletable
-
Material Velocity Range:
-
1000 ~ 9999 m/s (0.0394 to 0.3937 in/us)
Quick Details
-
Warranty:
-
1 year
-
Place of Origin:
-
Liaoning, China
-
Brand Name:
-
YUSHI
-
Model Number:
-
UM-2
-
Display Type:
-
128x64 dot-matrix LCD screen with EL backlight
-
Measuring Range:
-
0.8mm to 300mm, depending on material and probes
-
Display Resolution:
-
0.01mm (0.001in)
-
Measuring Error:
-
Under10mm: ±0.05mm;Above10mm ± (0.5%H+0.01) mm
-
Measuring Limits of Tube (Steel)::
-
20mmx3.0mm(PT-08 probe);15mmx2.0mm(PT-06 probe)
-
Repeatability::
-
0.05mm
-
Memory Function:
-
5 arrays are divided to store 500 thickness values
-
Power Source:
-
Two 1.5V AA alkaline batteries (Warning with low battery voltage)
-
Units:
-
Metric/Imperial unit seletable
-
Material Velocity Range:
-
1000 ~ 9999 m/s (0.0394 to 0.3937 in/us)

Products Description
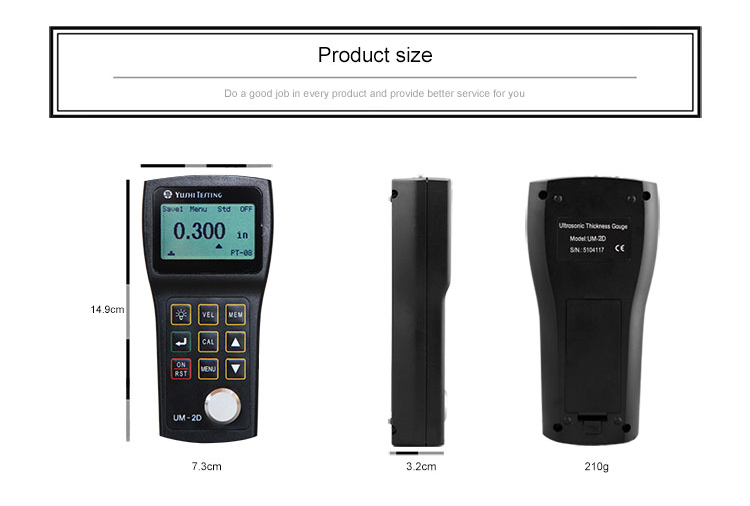
UM-2
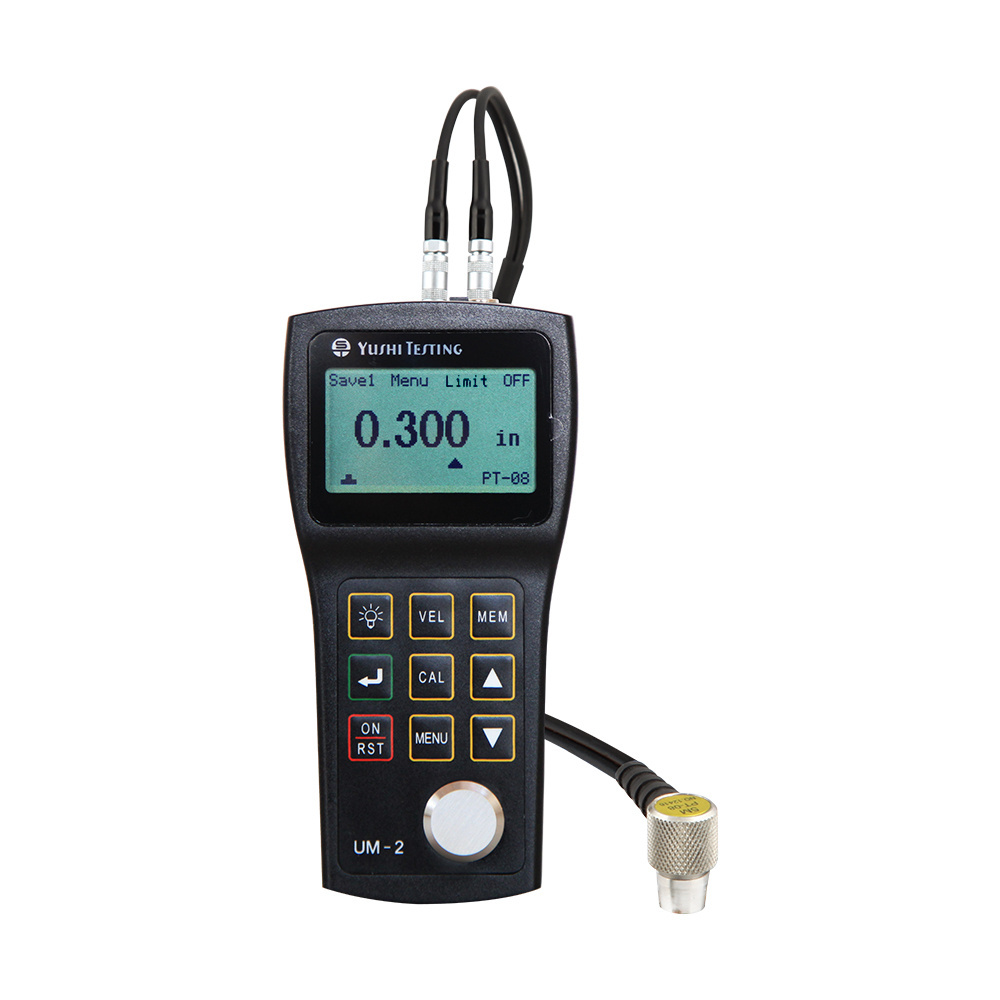
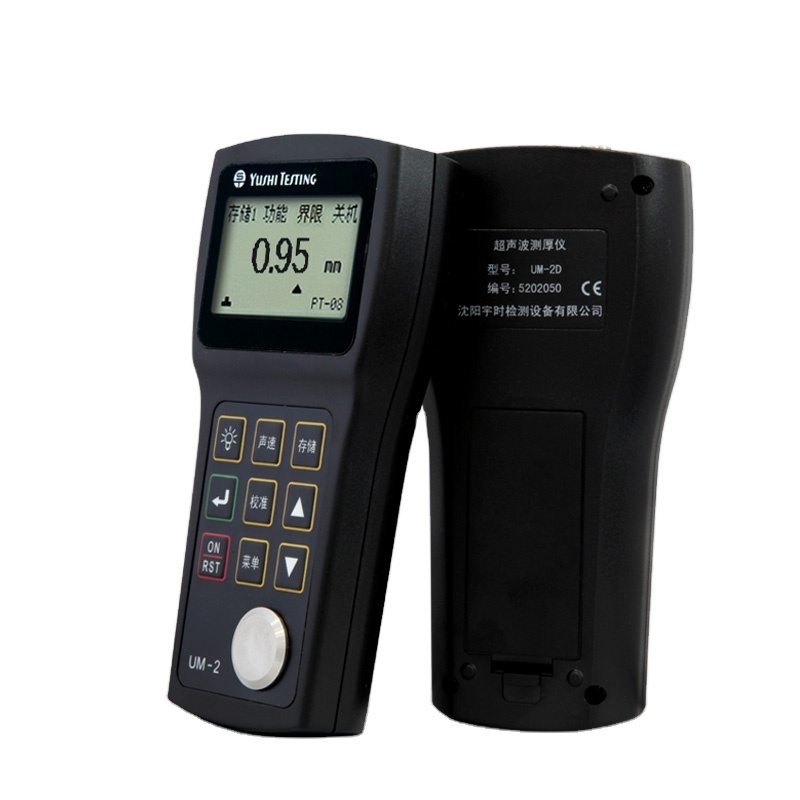
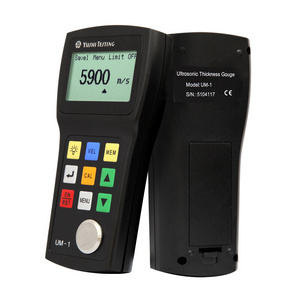
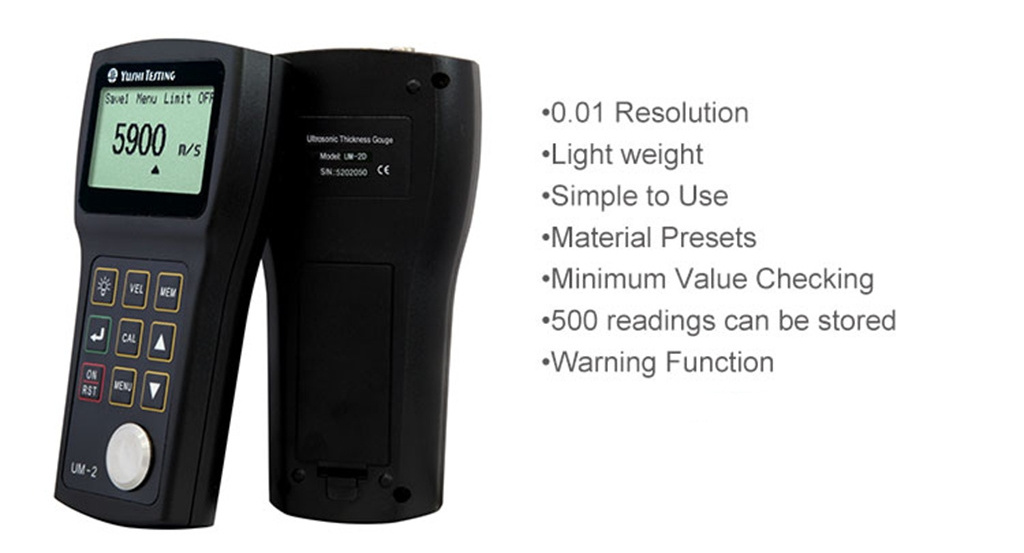
UM-2 series ultrasonic thickness gauge is a high accuracy, hand-held thickness meter of high stability.It measures the thickness of an object by precisely calculating the times of the probe sending ultrasonic pulse to the object and passing through the object until the probe receiving the reflection from the boundary.
It uses the most advanced microprocessor and ultrasonic technology to offer users many outstanding features. It features zero drift,reliable and stable reading,and no need of zero calibration.
Working Principle
H=(v*t)/2
H——The thickness of the block
v——Velocity
t——time of ultrasonic round trip in the specimen
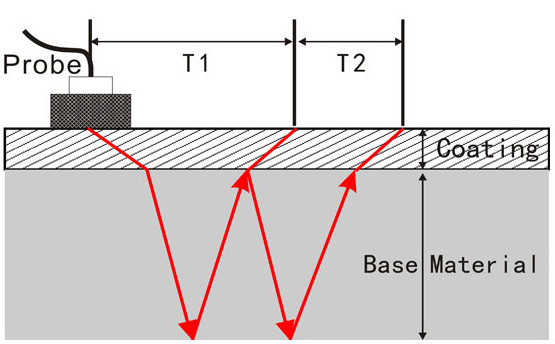
▶The standard model: Testing the time difference (T1) between the transmitting pulse and the first bottom echo.(including the
thickness of the coating)
▶Thru coating mode: Testing the time difference (T2) between two continuous echoes.(Not including coating thickness)
Application
Product Specifications
|
Display Type
|
128×64 dot-matrix LCD screen with EL backlight
|
|
Operating Principle
|
P-E (pulse-echo)with dual-crystal probes
|
|
Measuring Range
|
0.8mm to 300mm, depending on material and probes
|
|
Measuring Limits of Tube (Steel)
|
Φ20mm×3.0mm(PT-08 probe)
Φ15mm×2.0mm(PT-06 probe)
The measuring error is up to ±0.1mm
|
|
Measuring Error
|
Low limit to 10mm: ±0.05mm
10mm to high limit: ± (0.5%H+0.01) mm Note: H is the actual thickness of the testing material |
|
Repeatability
|
0.05mm
|
|
Display Resolution
|
0.01mm (0.001in)
|
|
Units
|
Inch or Millimeter
|
|
Calibration Method
|
Zero calibration,Two-point calibration
|
|
V-Path Correction
|
Automatic
|
|
Update Rate
|
4Hz
|
|
Material Velocity Range
|
1000 ~ 9999 m/s (0.0394 to 0.3937 in/us)
|
|
Memory Function
|
5 arrays are divided to store 500 thickness values
|
|
Minimum Value Checking
|
Move the probe along the surface of the testing material, the gauge is able to find the thinnest point automatically.
|
|
Warning Function
|
If the measured value exceeds the pre-set thickness limit,the warning tone will start.
|
|
Velocity Storage
|
Velocities of 5 different materials can be stored totally
|
|
Languages
|
English and Chinese
|
|
Communication Port
|
USB port or Serial RS 232C port (Optional)
|
|
Application Software
|
UmVIEW Software for transmission,storage,analysis and documents editing (Optional)
|
|
Power Requirements
|
Two 1.5V AA alkaline batteries (Warning with low battery voltage)
|
|
Operating Time
|
Up to 200 hours with alkaline batteries (without backlight)
|
|
Instrument Shut-off
|
AUTO OFF after 5 minutes of inactivity
|
|
Operating Temperature
|
-10°C to +50°C ,-20°C in special requirements
|
|
Size
|
149mm X 73mm X 32mm(H X W X D)
|
|
Weight
|
210g including batteries
|
|
Standard Configuration
|
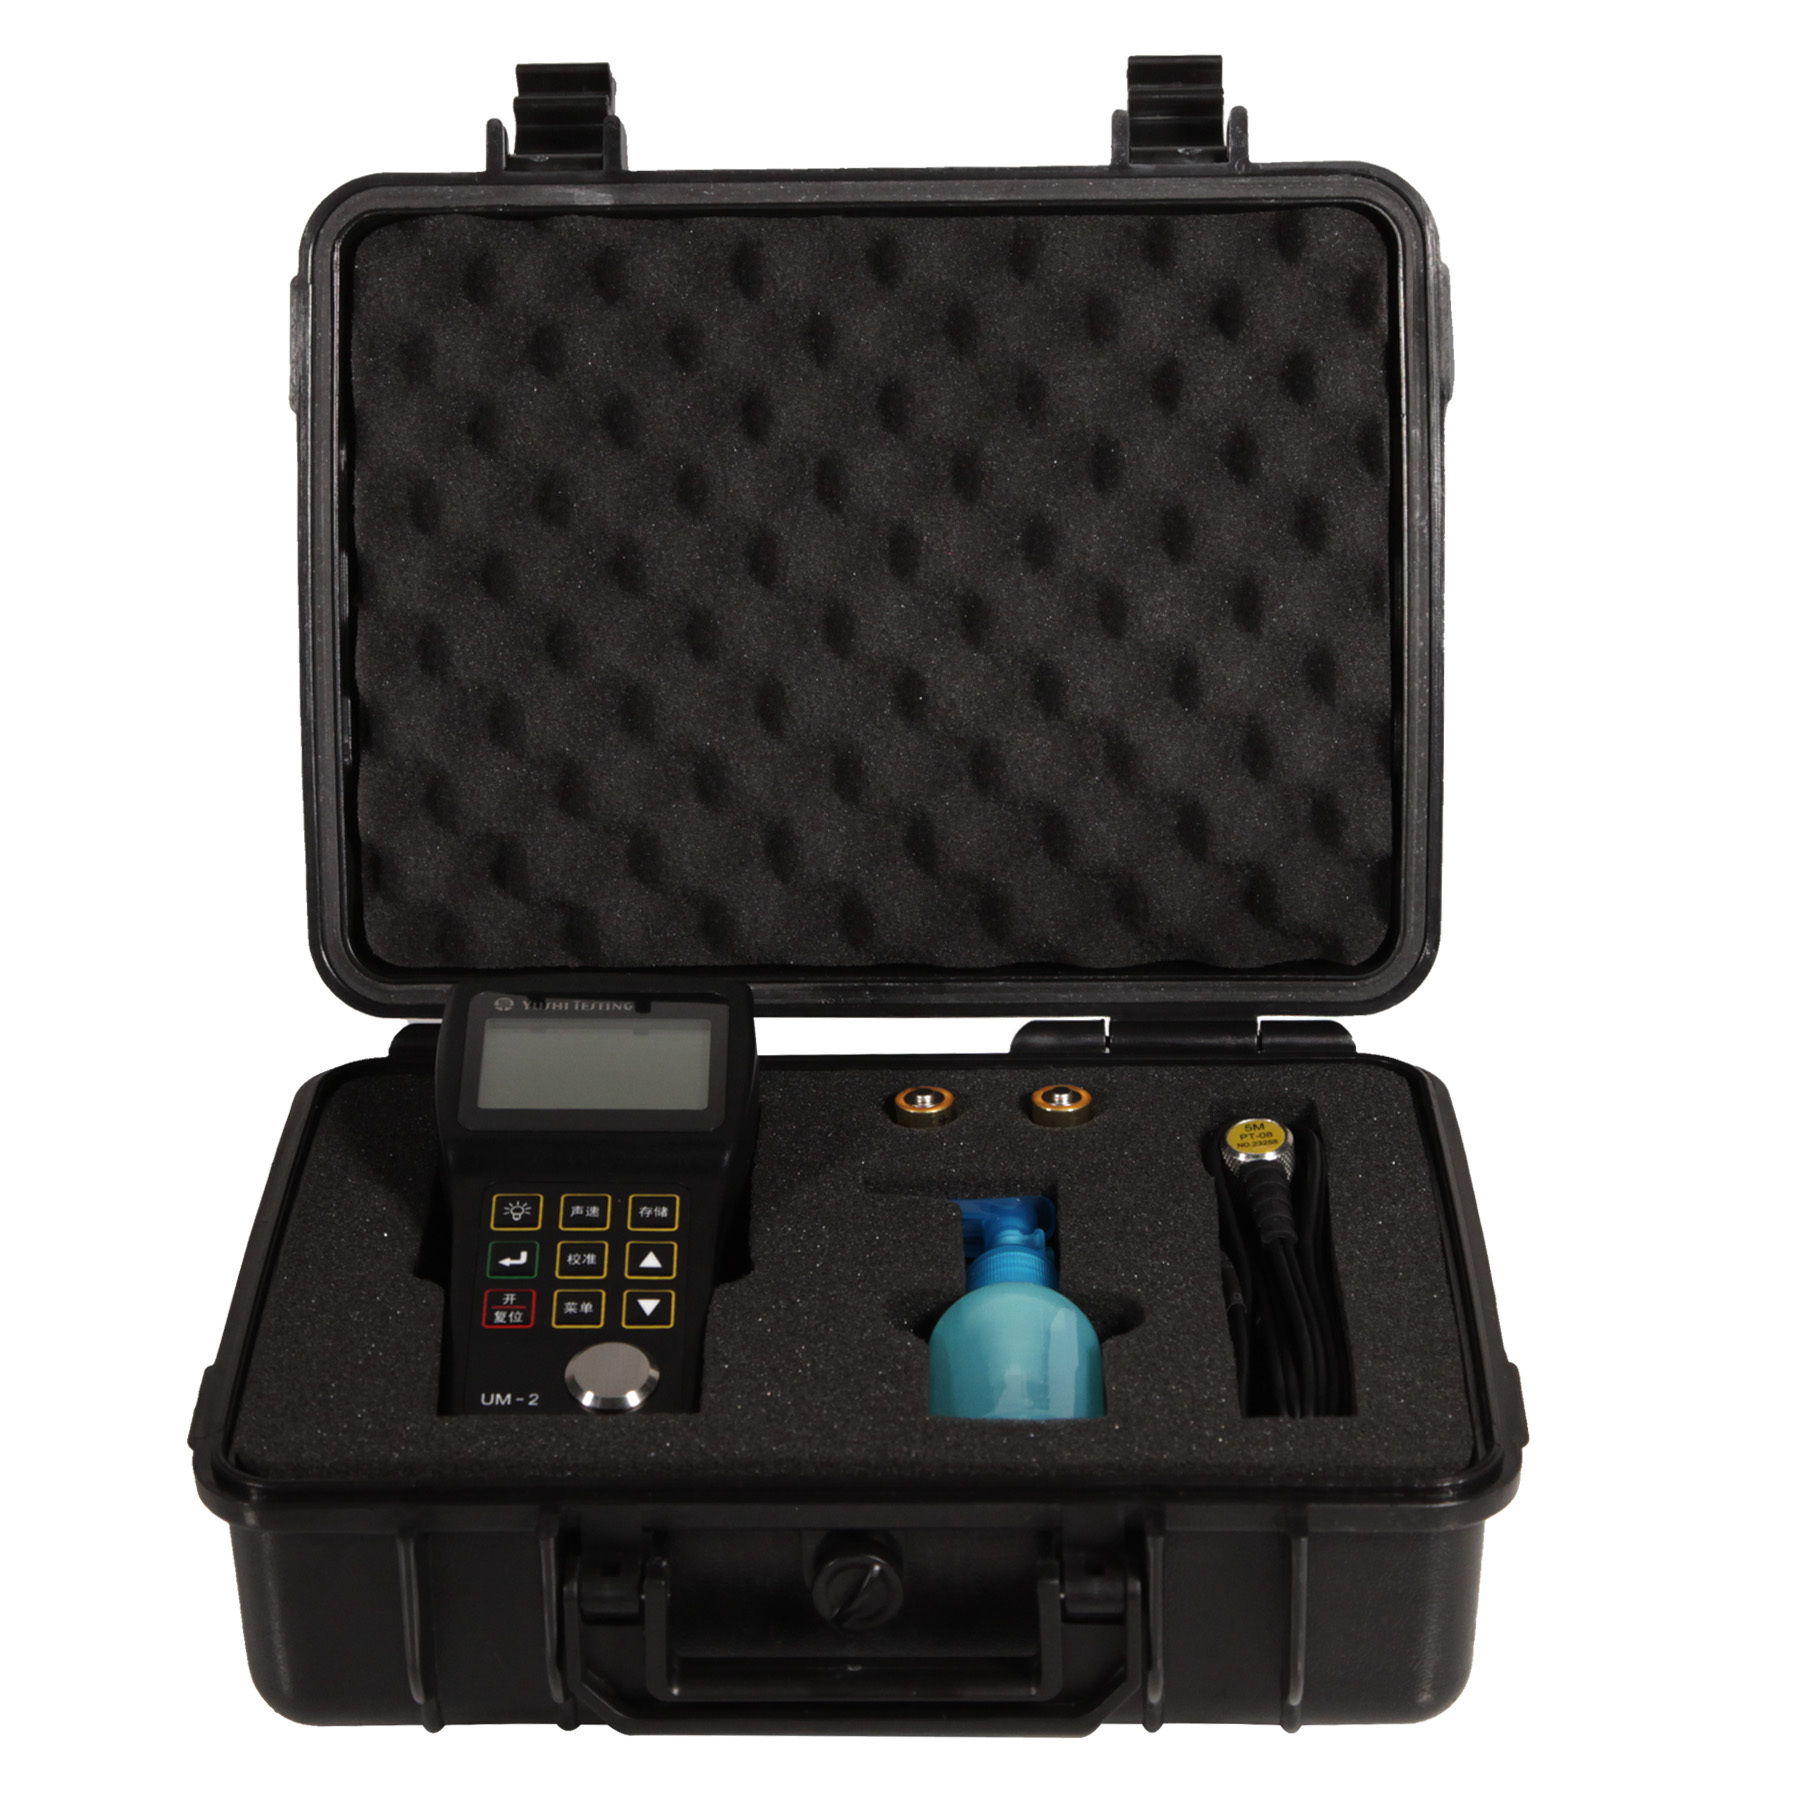
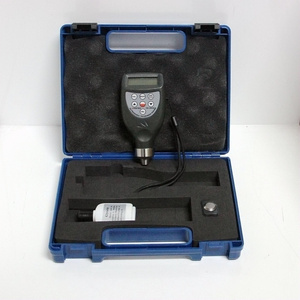
UM-2 Ultrasonic Thickness Gauge, Couplant Bottle, Probe, Instrument Case, Operating Manual, Quality Certification, Packing List, Warranty Card,Certificate of Calibration
|
|
Optional Accessories
|
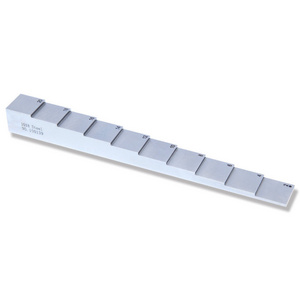
Step Calibration Blocks,Communication Software & USB Cable and Rubber Sheath, A Variety of Probes Selection
|
|
Warranty
|
1 year
|
|
Place of Origin
|
Liaoning, China
|
Product Configuration
Standard Configuration:
1.UM-2 Ultrasonic Thickness Gauge
1.UM-2 Ultrasonic Thickness Gauge
2.Couplant Bottle
3.PT08 Probe (Include Test Report)
4.Instrument Case
5.Operating Manual
6.Quality Certification
7.Packing List
8.Warranty Card
9.Certificate of Calibration
Optional Accessories:
1.Step Calibration Blocks
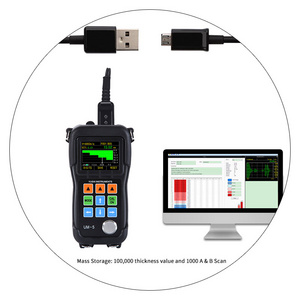
2.Communication Software & USB Cable
3.Rubber Sheath
3.PT08 Probe (Include Test Report)
4.Instrument Case
5.Operating Manual
6.Quality Certification
7.Packing List
8.Warranty Card
9.Certificate of Calibration
Optional Accessories:
1.Step Calibration Blocks
2.Communication Software & USB Cable
3.Rubber Sheath
4.
A Variety of Probes Selection
Certifications
Related Products
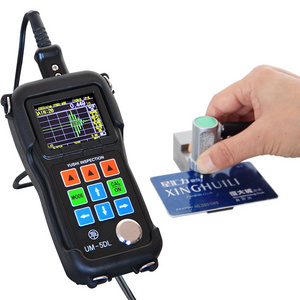
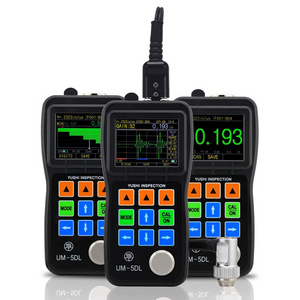
Each series of our brand thickness gauges with "D" in the name have the Thru coating mode (echo-echo), and those with "L" in the name add Data Logger's function which exports to computer for editing and sorting through DataView communication software.
|
|
UM-1
|
UM-1D
|
UM-2
|
UM-2D
|
|||
|
Display
|
128×64 dot-matrix LCD screen with EL backlight
|
|
|
|
|||
|
Resolution
|
0.1mm
|
|
0.01mm
|
|
|||
|
Measuring Range
|
0.8-300mm
|
|
|
|
|||
|
Measuring Range in Thru Coating Mode
|
X
|
3-18mm
(The thickness of the coating<2mm)
|
X
|
3-18mm
(The thickness of the coating<2mm)
|
|||
|
|
UM-4
|
UM-4D
|
UM-4DL
|
UM-5
|
UM-5D
|
UM-5DL
|
|||||
|
Display
|
Color Display
|
|
|
|
|
|
|||||
|
Resolution
|
Selectable 0.01mm, 0.1mm(selectable 0.001", 0.01")
|
|
0.01mm
|
|
|
|
|||||
|
Measuring Range
|
0.60mm to 508mm(0.025" to 20.00")
|
|
|
0.50mm to 508mm(0.02" to 20.00")
|
|
|
|||||
|
Measuring Range in Thru Coating Mode
|
X
|
3-25mm
(The thickness of the coating<2mm)
|
|
X
|
3-50mm
(The thickness of the coating<8mm)
|
|
|||||
|
Data Logger
|
X
|
X
|
400 files,
100,000 readings
|
X
|
X
|
100,000readings, 1000 waveforms, 400 files
|
|||||
|
DataView Software
|
X
|
X
|
√
|
X
|
X
|
√
|
|||||
|
|
A-Scan Snapshot
|
|
|
Live A-Scan,Time-based B-Scan
|
|
|
|||||
ABOUT YUSHI
YUSHI INSTRUMENTS
20 years NDT experience, ISO, CE & RoHS certificated, this is how we keep superior quality and competitive offers for global valued customers. YUSHI products including serious ultrasonic thickness gauge, ultrasonic flaw detector, coating thickness gauge, leeb hardness tester, UV Lamp, industrial LED X-ray film viewer, black-white densitometer, X-ray flaw detector and various related accessories. Now we have been doing export for more than 10 years and covered more than 30 countries, and won good reputation from our domestic and foreign customers.
Contact Us
•E-mail:
yushi32@outlook.com
•Web: http://www.ysndt.com/
•Mobile: 0086-15640177375(WhatsApp)
•Mobile: 0086-15640177375(WhatsApp)
Hot Searches
