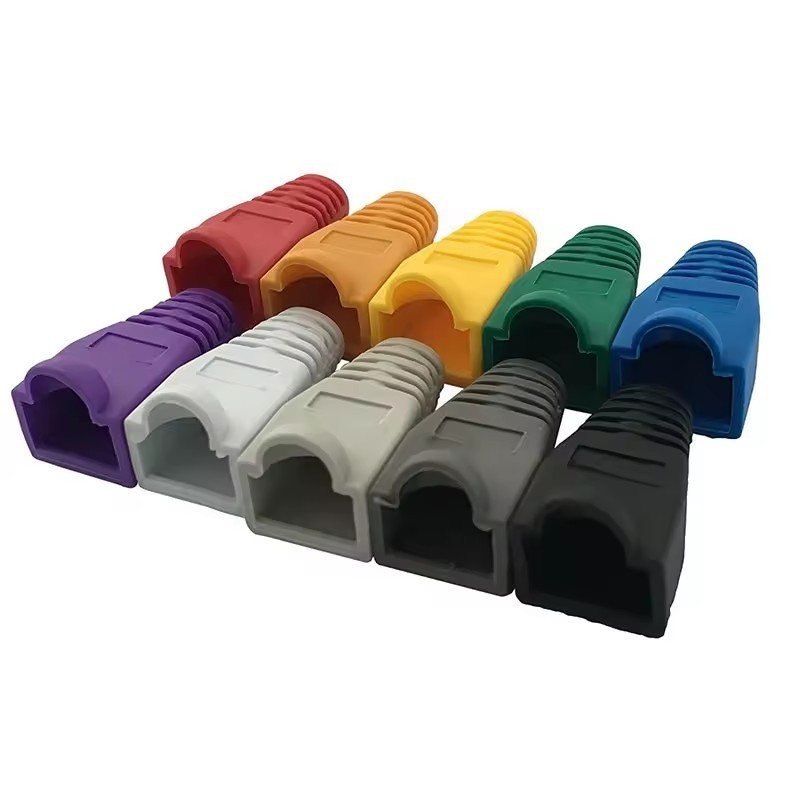


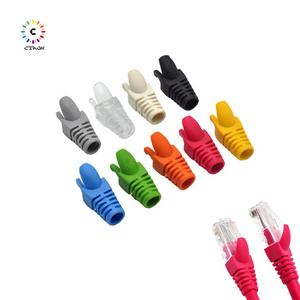
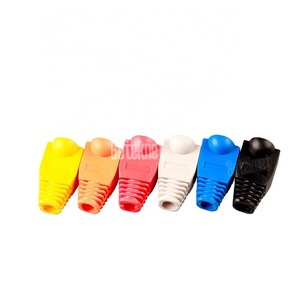
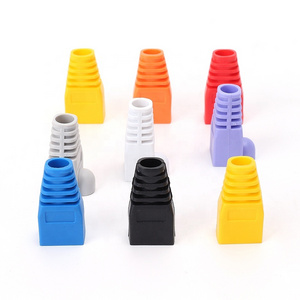
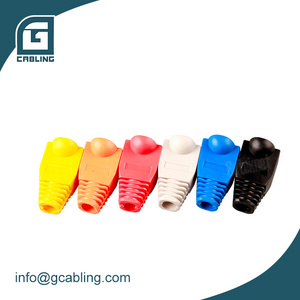
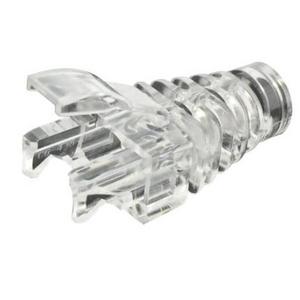
> High quality RJ45 Connector Boots
> Snagless boots for Cat5/Cat5e/Cat6 Networking Cable
> Suitable for Round 0.25 Diameter UTP Cable
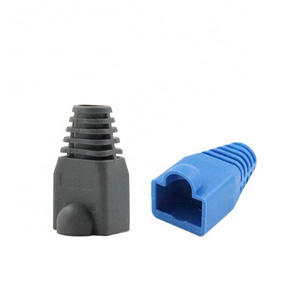
> Protect the plug latch from snagging when pulling cords
> 100PCS per each PE bag
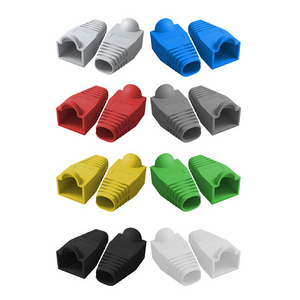
> Customized color and package
- Product Details
- {{item.text}}
Quick Details
-
Brand:
-
SZADP
-
Application:
-
Networking
-
Color:
-
optional
-
Material:
-
PVC
-
Product name:
-
cat5e cat6 Rj45 Sleeve Boots
Quick Details
-
Model Number:
-
cat5e cat6 Rj45 Sleeve Boots
-
Type:
-
Other
-
Place of Origin:
-
Guangdong, China
-
Brand:
-
SZADP
-
Application:
-
Networking
-
Color:
-
optional
-
Material:
-
PVC
-
Product name:
-
cat5e cat6 Rj45 Sleeve Boots
Product Description

Product Characteristics and Packaging :
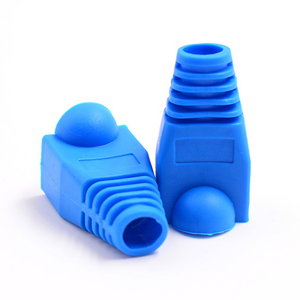
The RJ45 boot's purpose is to protect the cable-plug connection, reduce wear, and prevent damage or disconnection, essential
forfrequently moved or unplugged cables.
forfrequently moved or unplugged cables.
|
Material
|
PVC
|
|
OEM/ODM
|
Yes
|
|
Color
|
Customized
|
|
Temperature Range
|
-40°C~ +70°C
|
|
Length
|
27士0.2mm
|
|
Weight
|
2g
|
|
Status
|
in stock
|
|
Package
|
100pcs/bag or 50pcs/bag
|
|
Sample
|
support
|
Product Usage

RJ45 connector boot involves the following steps
1. Choose a Compatible Boot:
Select a boot that fits your RJ45 plug and cable size.
2. Install Before Crimping: Slide the cable through the boot before crimping the connector.
3. Thread the Cable : Ensure the cable passes through the boot with enough length to reach the connector.
4. Crimp the Connector: Place the cable's wires in order and crimp them into the RJ45 connector.
5. Secure the Boot: After crimping, push the boot up to the connector's base for stability.
6. Check and Test: Verify the boot's security and test the cable's performance..
Products Show


Hot Searches
