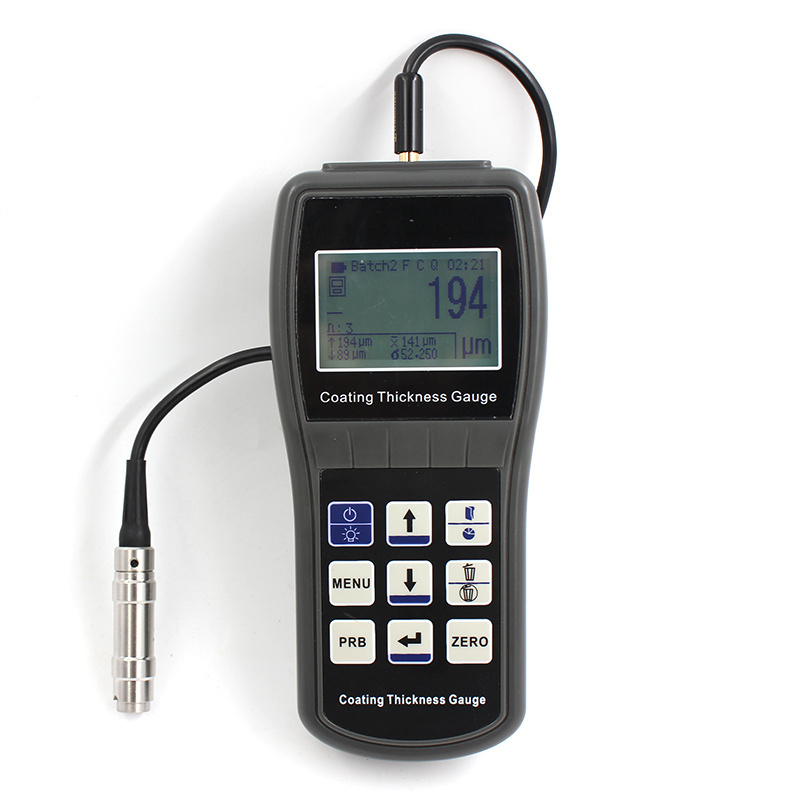
- Product Details
- {{item.text}}
Quick Details
-
Brand Name:
-
IPRE
-
Model Number:
-
PRCT160
-
Probe Type:
-
F or N
-
Measuring Principles:
-
Magnetic Induction or Eddy Current
-
Measuring Range:
-
0~250 um( F ); 0~1500um, Chromium plating on copper(0~40um) [ N ]
-
Measurement error:
-
3%H+1um( H is the measuring range)
-
Measuring Mode:
-
Single or continuous
-
Calibration Mode:
-
One-point Calibration
-
Indication error:
-
±[(1~3)%H+1]
-
Power Supply:
-
3x1.5V AAA Batteries
-
Overall dimensions:
-
155mmx68mmx27mm
-
Weight:
-
230g
Quick Details
-
Warranty:
-
1 Year
-
Power:
-
Electronic
-
Place of Origin:
-
Shandong, China
-
Brand Name:
-
IPRE
-
Model Number:
-
PRCT160
-
Probe Type:
-
F or N
-
Measuring Principles:
-
Magnetic Induction or Eddy Current
-
Measuring Range:
-
0~250 um( F ); 0~1500um, Chromium plating on copper(0~40um) [ N ]
-
Measurement error:
-
3%H+1um( H is the measuring range)
-
Measuring Mode:
-
Single or continuous
-
Calibration Mode:
-
One-point Calibration
-
Indication error:
-
±[(1~3)%H+1]
-
Power Supply:
-
3x1.5V AAA Batteries
-
Overall dimensions:
-
155mmx68mmx27mm
-
Weight:
-
230g
Details Images
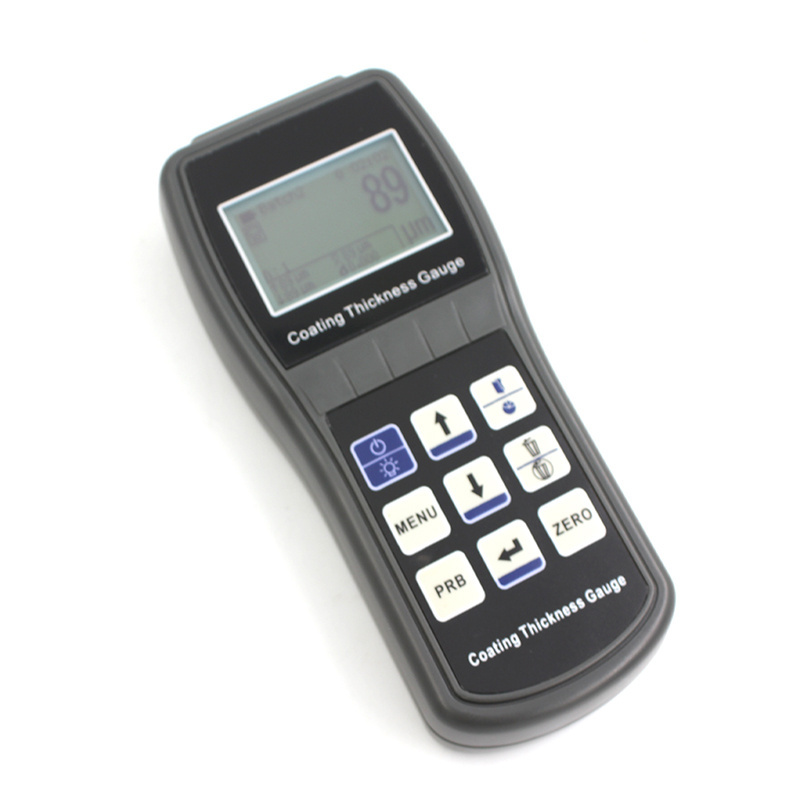
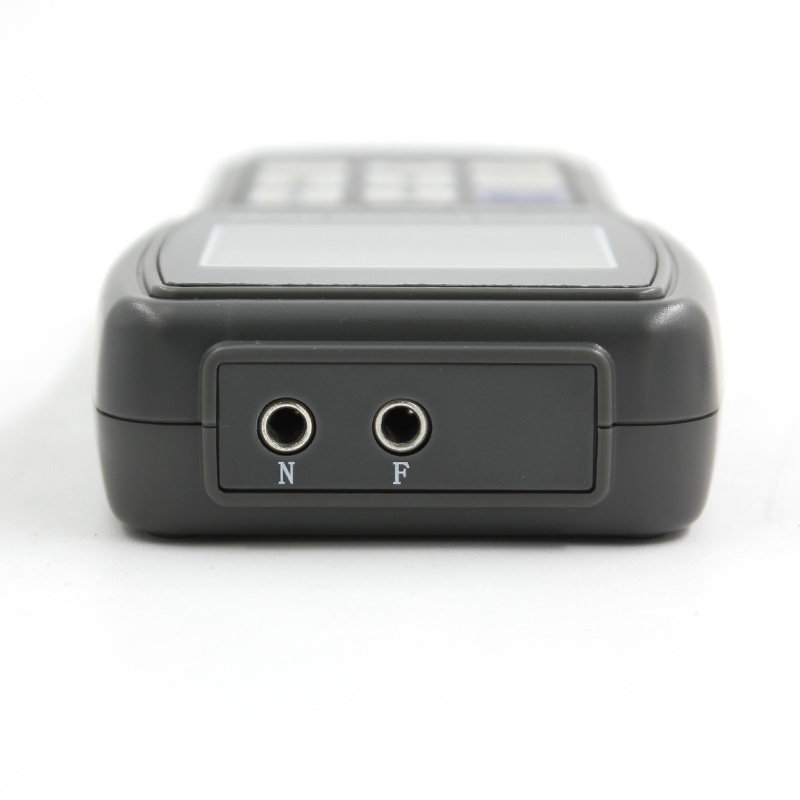

Product advantages
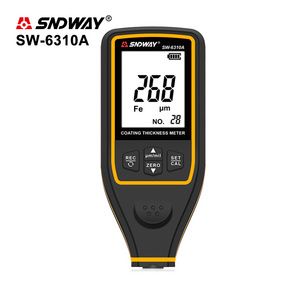
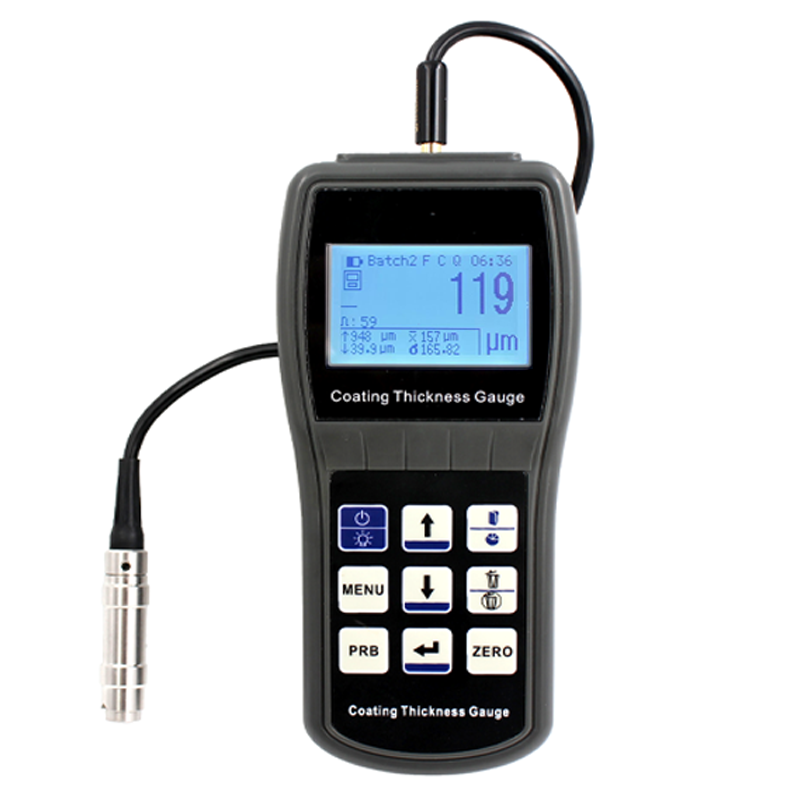
1) 2 types of probe optional: magnetic-induction probe (F) and eddy current probe (N);
2) 5 statistical datas can be displayed: No, Mean, Max, Min, S.DEV;
3)High measuring speed and high accuracy, good repetitive;
4)500 groups of data memory;
5)High precision, stable measurement performance;
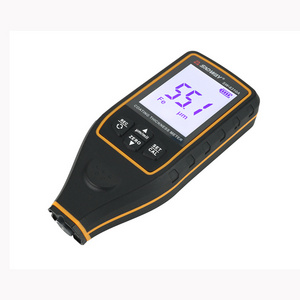
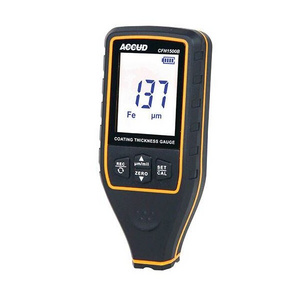
6)Digital LCD display(1.9inch×1.46inch) with backlight;
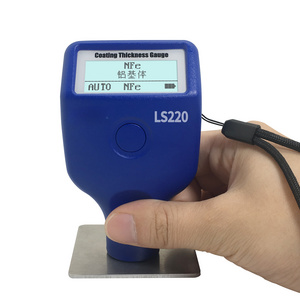
7)Probe(F) measures the thickness of non-magnetic overlays on magnetic metal substrates and probe(N) measures the thickness of non-conductive overlays on non-magnetic metal substrates.
8)Has temperature compensation function: domestic leading real-time temperature compensation technology can be automatically to the environment temperature and the measuring error caused by the probe temperature change to compensate, make the measurement more accurate.
9)Can adopt single point calibration, single point calibration method of instrument calibration, and can be used 5 calibration
and temperature coefficient of calibration method to modify the system error of measuring head.
10)Has three kinds of shutdown mode: manual shutdown mode, timeout way automatic shutdown and low battery shutdown automatically, and can set the timeout automatic shutdown wait time, automatic shutdown with backlit flash and the buzzer hints.
Product Parameters
|
Probe Type
|
|
F
|
N
|
||
|
Measuring Principles
|
|
Magnetic Induction
|
Eddy Current
|
||
|
Measuring Range
|
|
0~250µm
|
0~1500µm,
Chromium plating on copper(0~40µm)
|
||
|
Resolution
|
|
0.1μm(0~50μm ),1μm(>50μm )
|
|
||
|
Measurement error
|
|
3%H+1μm(H is the measuring range)
|
|
||
|
Calibration Mode
|
|
One-point Calibration
|
|
||
|
Indication error
|
|
±[(1~3)%H+1]
|
|
||
|
Measuring Condition
|
Min. radius of curvature(mm)
|
convex 1.5
|
convex 3
|
||
|
|
Min. diameter of area(mm)
|
Φ7
|
Φ5
|
||
|
|
Critical thickness of substrate(mm)
|
0.5
|
0.3
|
||
|
Dispaly screen
|
|
Digital LCD (with backlight)
|
|
||
|
Power Supply
|
|
3×1.5V AAA Batteries
|
|
||
|
Overall dimensions
|
|
155mm*68mm*27mm
|
|
||
|
Weight
|
|
230g
|
|
||
Hot Searches

