- Product Details
- {{item.text}}
Quick Details
-
MOQ:
-
1pcs
-
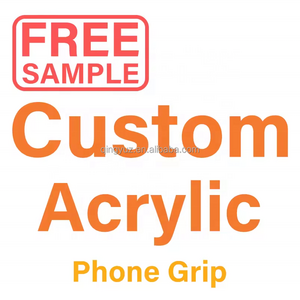
Logo:
-
Customer Logo
-
Product name:
-
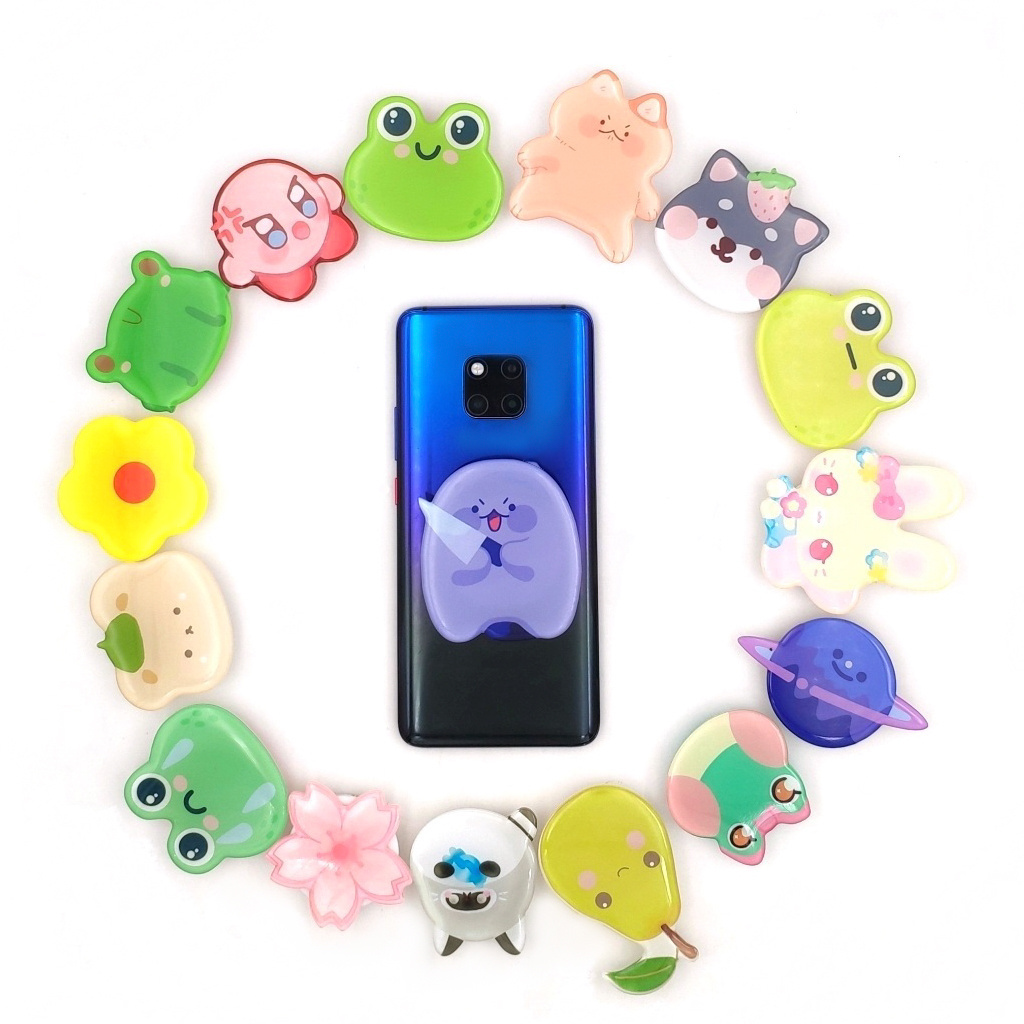
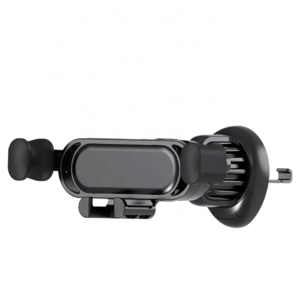
Grip Phone Holder
Quick Details
-
Material:
-
acrylic, ABS+Acrylic + epoxy resin
-
Size:
-
Customized Size
-
Color:
-
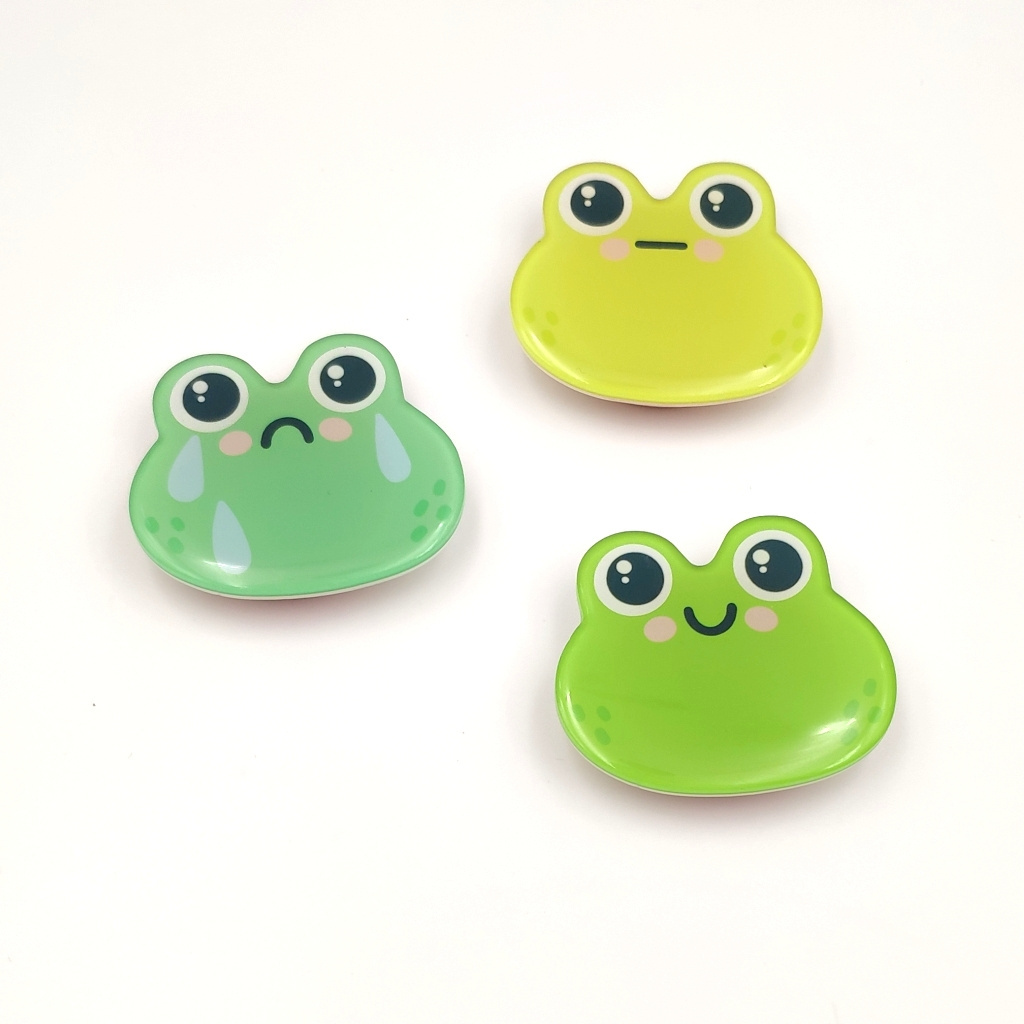
Customized Color
-
MOQ:
-
1pcs
-
Logo:
-
Customer Logo
-
Product name:
-
Grip Phone Holder
|
Product
|
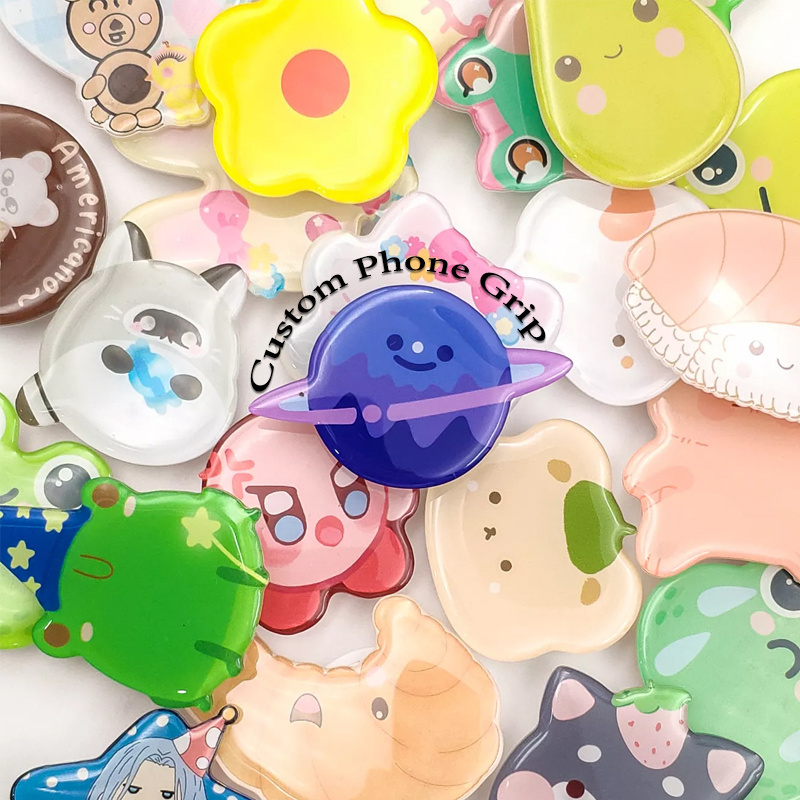
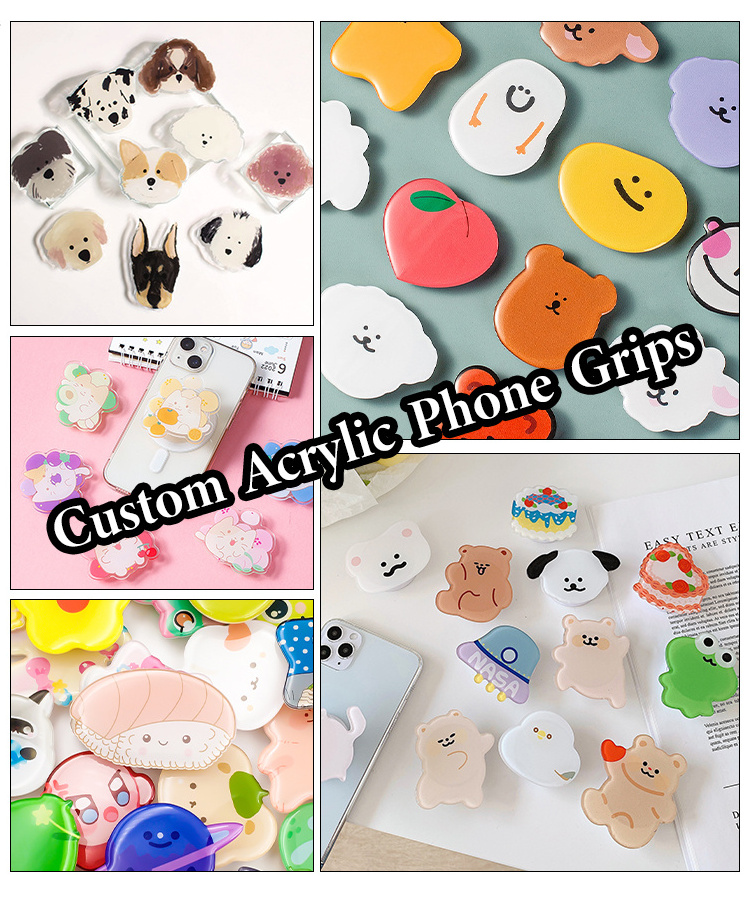
Custom phone grip
|
|
|
|
|||
|
Material
|
acrylic
|
|
|
|
|||
|
Printing
|
Digital Printing.
|
|
|
|
|||
|
Size
|
Recommended size:40*40mm,50*50mm60*60mm/other size can be customized as you need.
|
|
|
|
|||
|
Package
|
Poly bag, Velvet box, plastic box, 1pc/opp bag or according to the customers request
|
|
|
|
|||
|
Lead Time
|
Sample Time:1-3 days
Mass Production Time:5-9 days |
|
|
|
|||
|
Payment
|
PayPal, Western Union, T/T, Credit Card / Secure Payment
|
|
|
|
|||
|
Shipping
|
UPS/DHL/FedEx/TNT/EMS or Ali express
|
|
|
|
|||
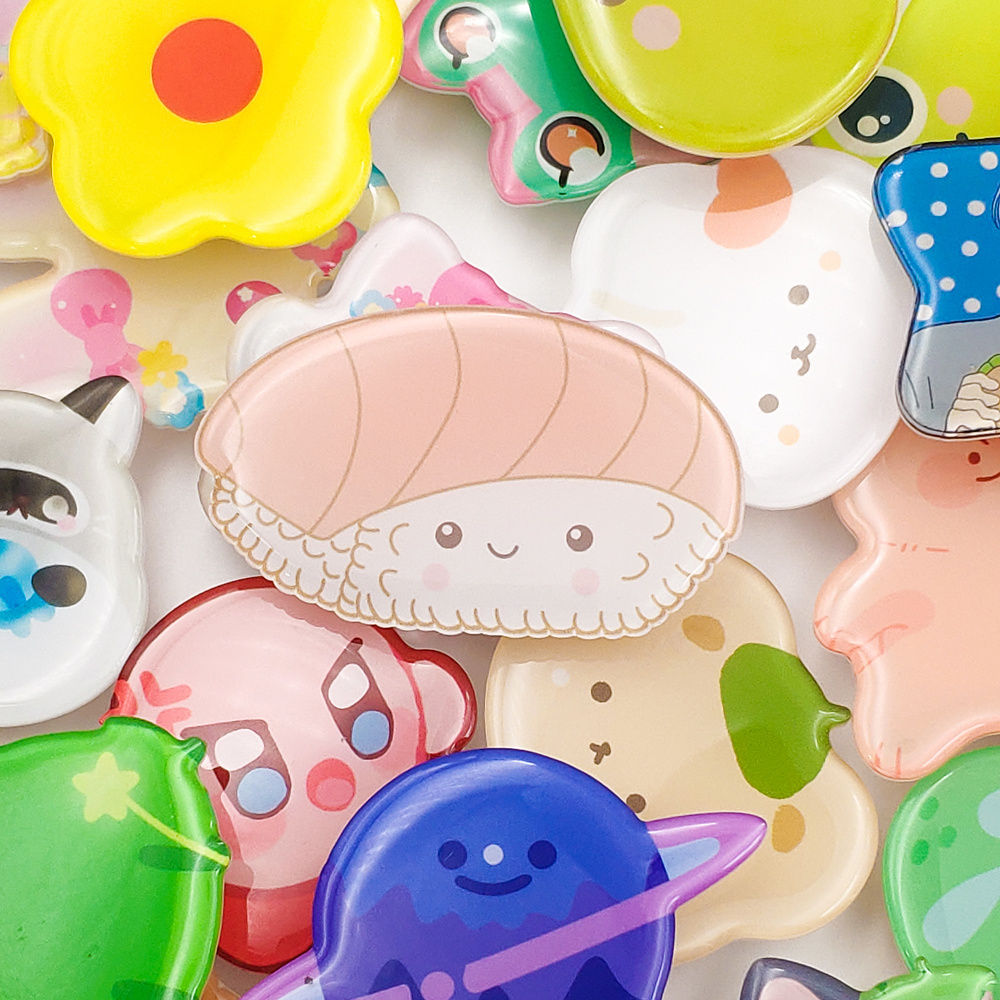
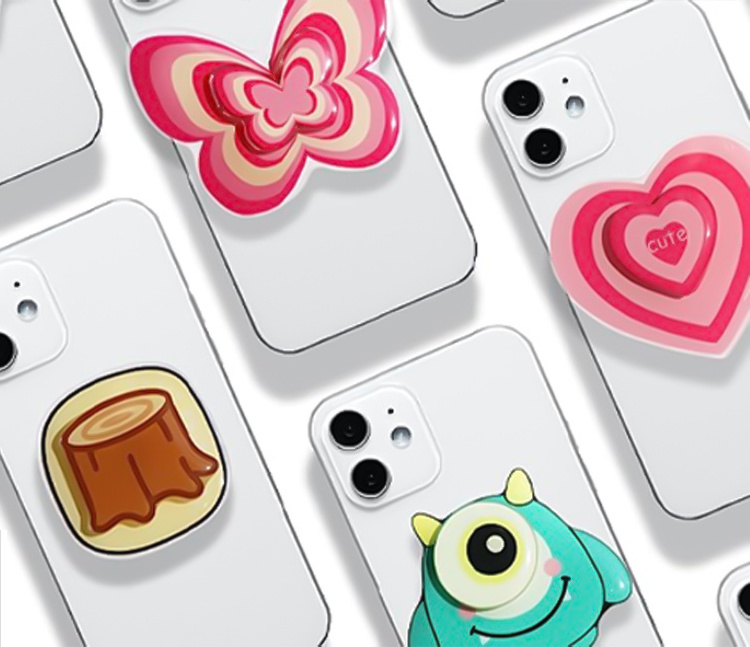
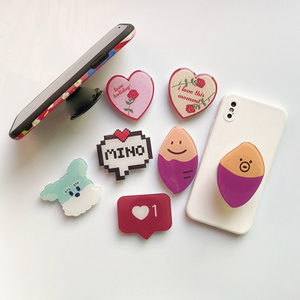
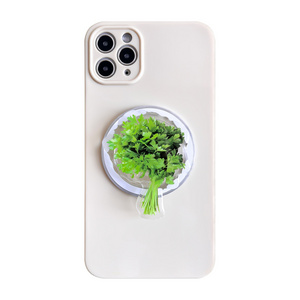
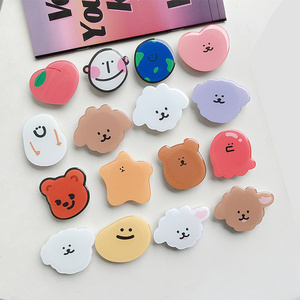
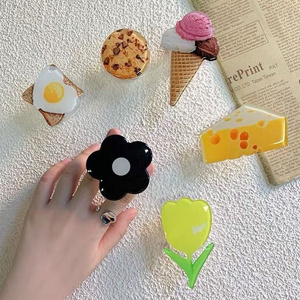
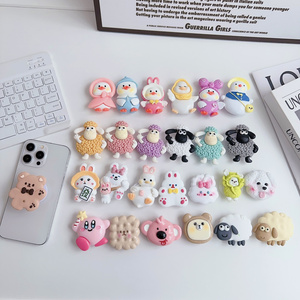
PRODUCT REAL SHOT
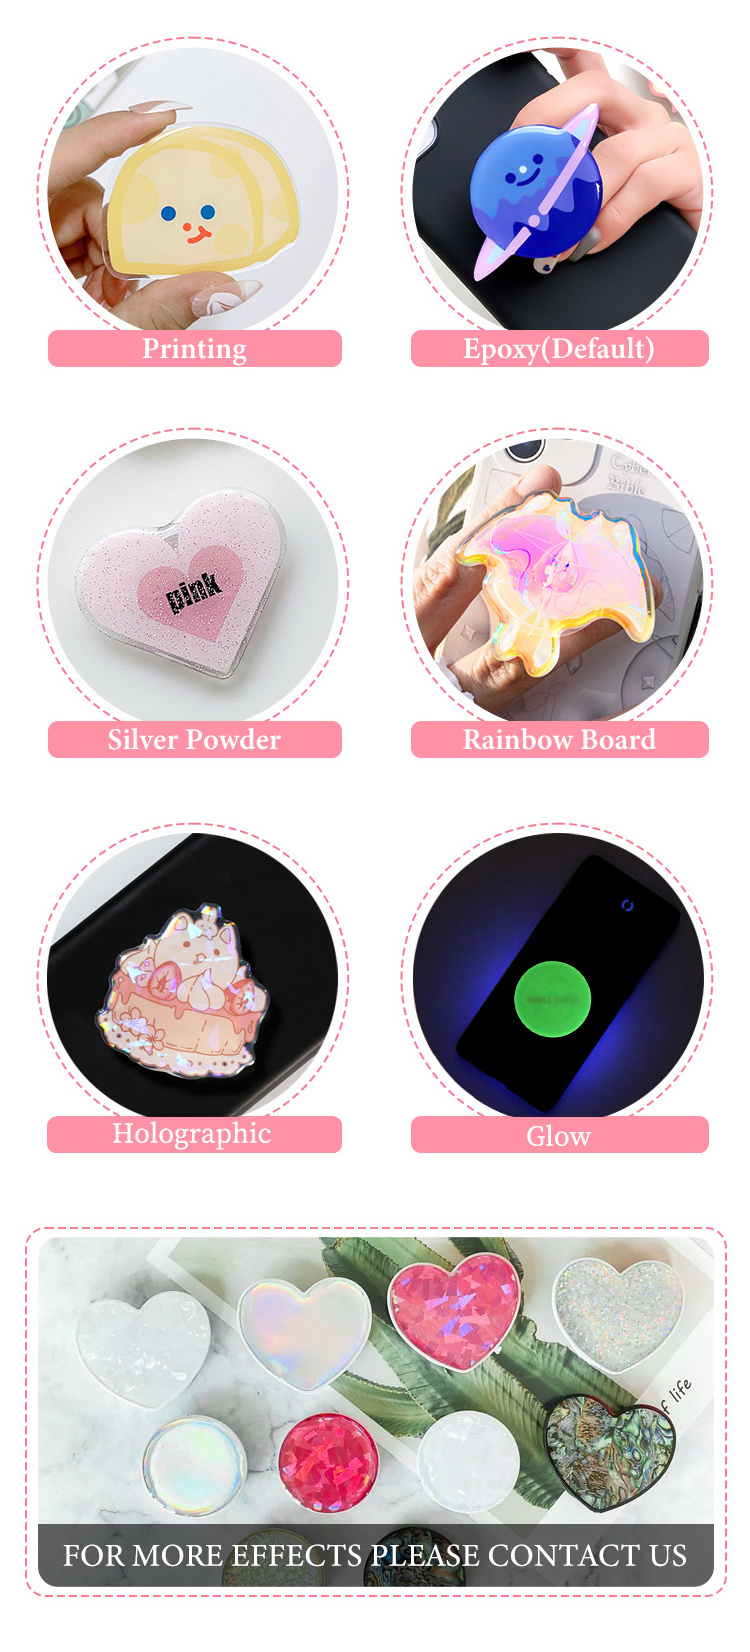
MULTIPLE EFFECTS
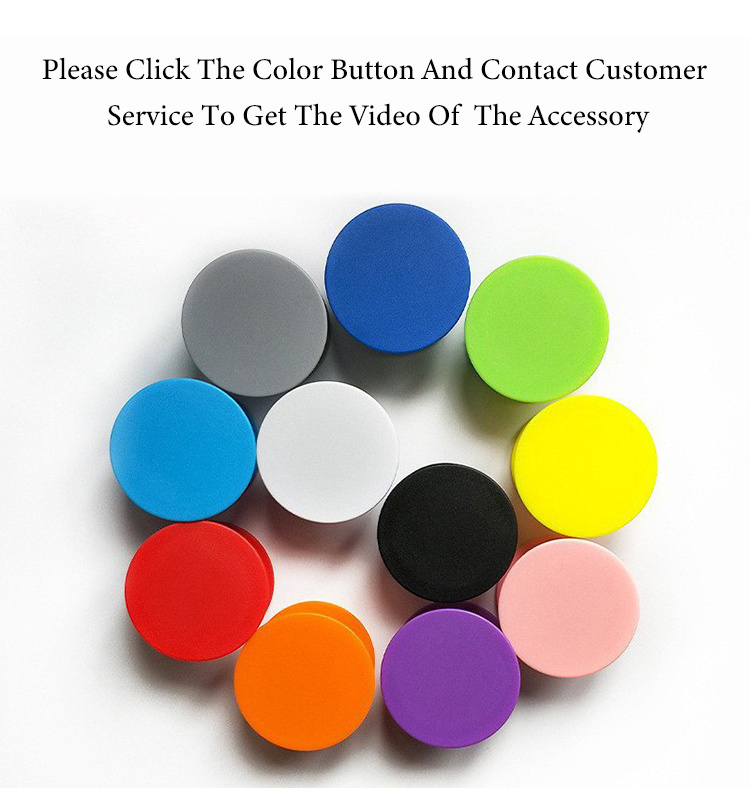
ACCESSORY COLOR SELECTION
OUR ADVANTAGES
HOW TO CUSTOMIZE
ABOUT US
How to make your own phone holder?
Clamp a large binder clip to the handle of a smaller binder clip to create a versatile stand out of office supplies. Use scissors to cut an L-shaped phone rest into a cardboard tube or a coffee cup sleeve. Bend a plastic card in half, then bend a small lip at the edge for a quick and sturdy stand.
What materials do you need for a phone holder?
MONO Maxi Power tape.
MONO MULTI liquid glue.
MONO 100 2B Pencil.
Greyboard 1-1.5 mm thick.
Coloured paper or wrapping paper.
Ruler.
Cutter.
Scissors.
How do you make a phone holder out of clay?
Step 1: Pick a Design
If you don't already have a design in mind, start by browsing the internet for inspiration. Searching for clay phone stands specifically will give you ideas that are guaranteed to be achievable with clay. But of course, there are many other things you can use as inspiration. For example, in this tutorial, we will be making a clay version of a geometric concrete phone stand available on Etsy.
Step 2: Make Some Sketches
Once you have an idea of what to build, begin by making some sketches. Trace around your phone or tablet, then mark a line on the paper to indicate how tall you want the phone stand to be. Next, hold your phone at the angle you want your phone stand to be and mark that on your paper. You can use these markings as a rough guide for shaping the clay later. In this design, make sure the height of the phone stand reaches over about a third of the phone.
Step 3: Roll Out Clay Shapes
Step 4: Test the Viewing Angle
Step 5: Attach Shapes
Step 6: Let It Dry
Step 7: Sand Rough Edges
Step 8: Paint
Step 9: Apply Sealant (optional)
While extremely hard, dry clay isn't waterproof, so it's a great idea to apply a sealant to add durability to your creation. You can also use it to add a glossy layer to your work, giving it a professional look. If you used acrylic paint to finish your clay phone stand then this will protect the clay from small water droplets to some extent (though not the paint itself), so you can leave it there if you like.
If you want a more durable and waterproof option, however, here are some sealants that you can apply to your creation:
White Craft Glue: Sometimes called wood glue or craft glue, it's an affordable option that you can apply with a paintbrush.
Acrylic Sealer/Varnish: You can find this product in hardware stores a

Hot Searches
