- Product Details
- {{item.text}}
Quick Details
-
Model Number:
-
GNB-01
-
Product name:
-
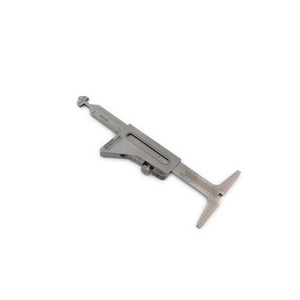
CAT #1 HI-LO WELDING GAUGE
-
Material:
-
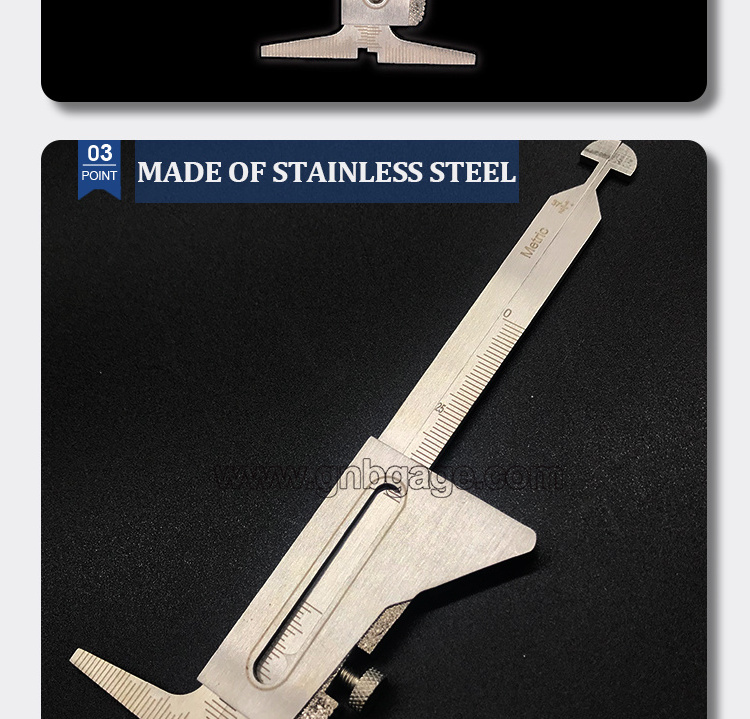
Stainless Steel hilo gage
-
Type:
-
HI-LO Welding Gauge
-
Color:
-
Silver hilo guage
-
Measuring Scale:
-
Metric & Inch reading
-
OEM/ODM:
-
Support
-
Certification:
-
ROHS/CE
-
Application:
-
WELDING internal misalignment measurement
-
Usage:
-
Welding inspection
-
Keyword:
-
hi-lo gauge
Quick Details
-
Warranty:
-
0.3 years
-
Place of Origin:
-
Guangdong, China
-
Brand Name:
-
GueNineBo
-
Model Number:
-
GNB-01
-
Product name:
-
CAT #1 HI-LO WELDING GAUGE
-
Material:
-
Stainless Steel hilo gage
-
Type:
-
HI-LO Welding Gauge
-
Color:
-
Silver hilo guage
-
Measuring Scale:
-
Metric & Inch reading
-
OEM/ODM:
-
Support
-
Certification:
-
ROHS/CE
-
Application:
-
WELDING internal misalignment measurement
-
Usage:
-
Welding inspection
-
Keyword:
-
hi-lo gauge
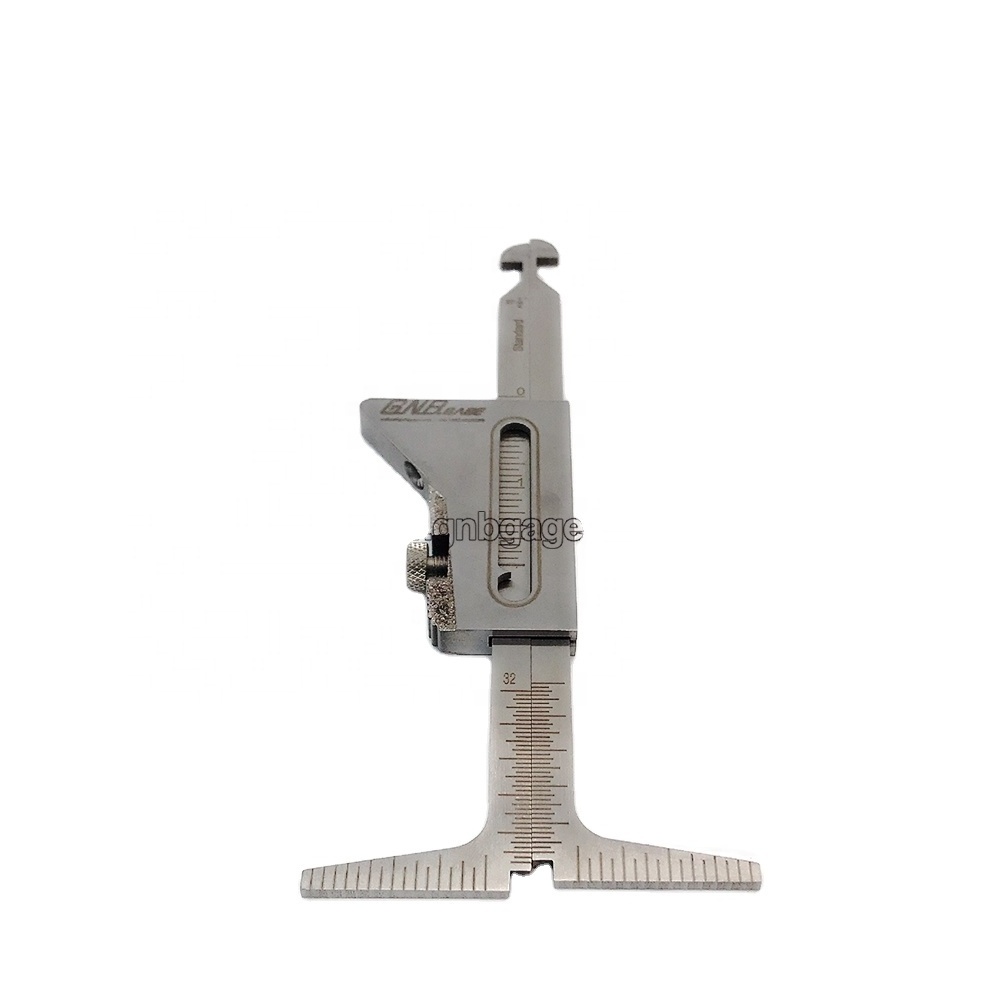
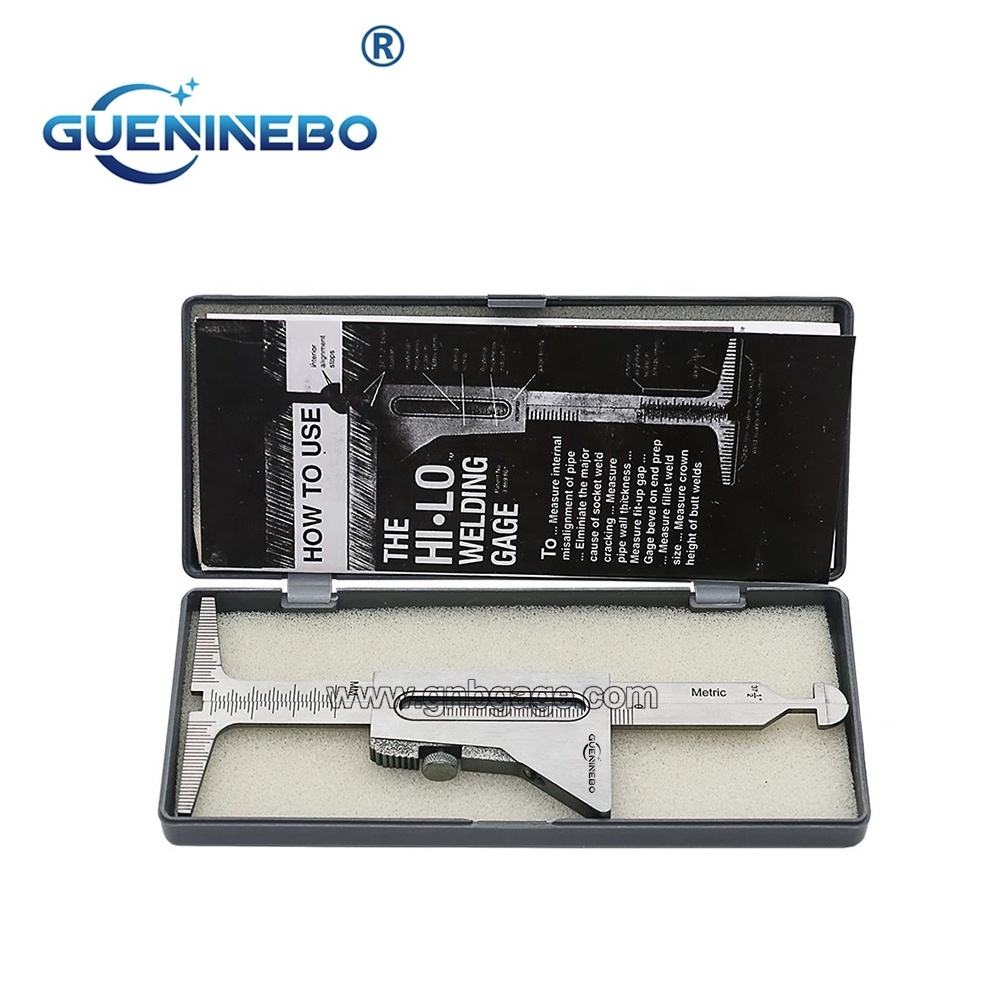
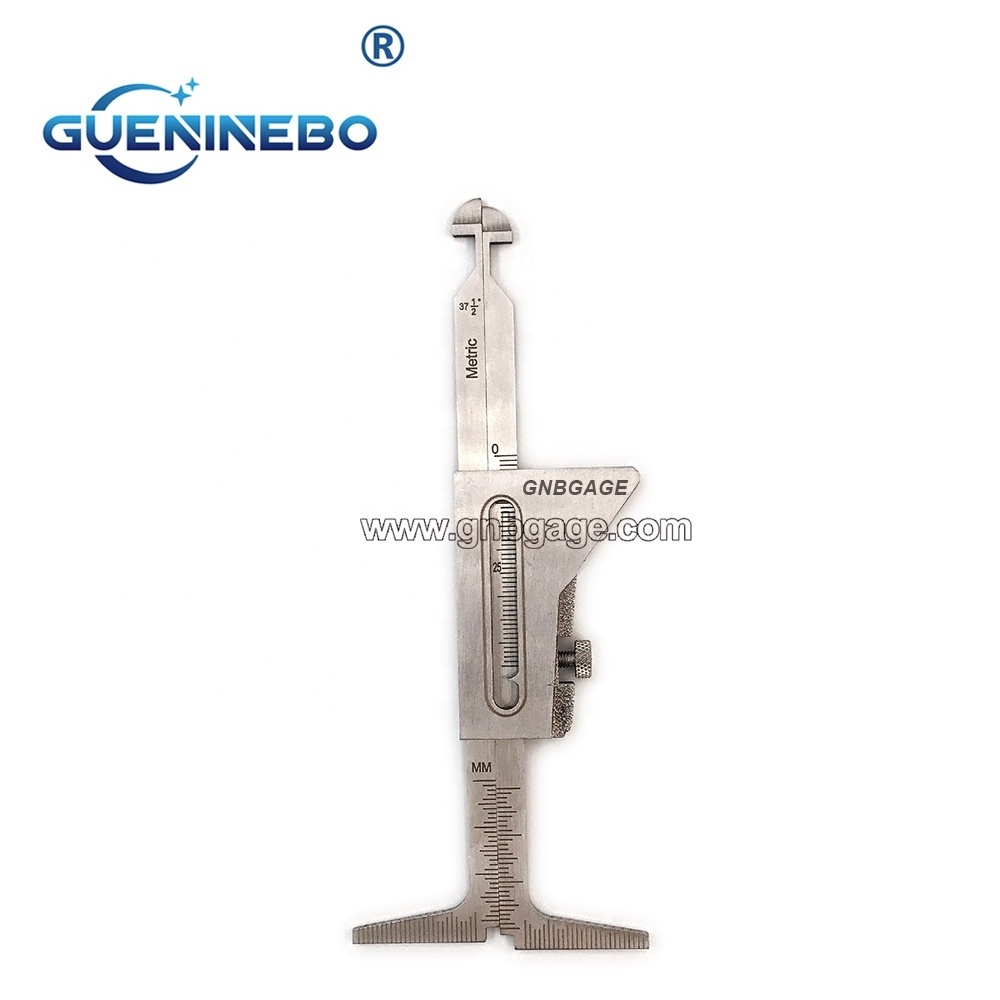
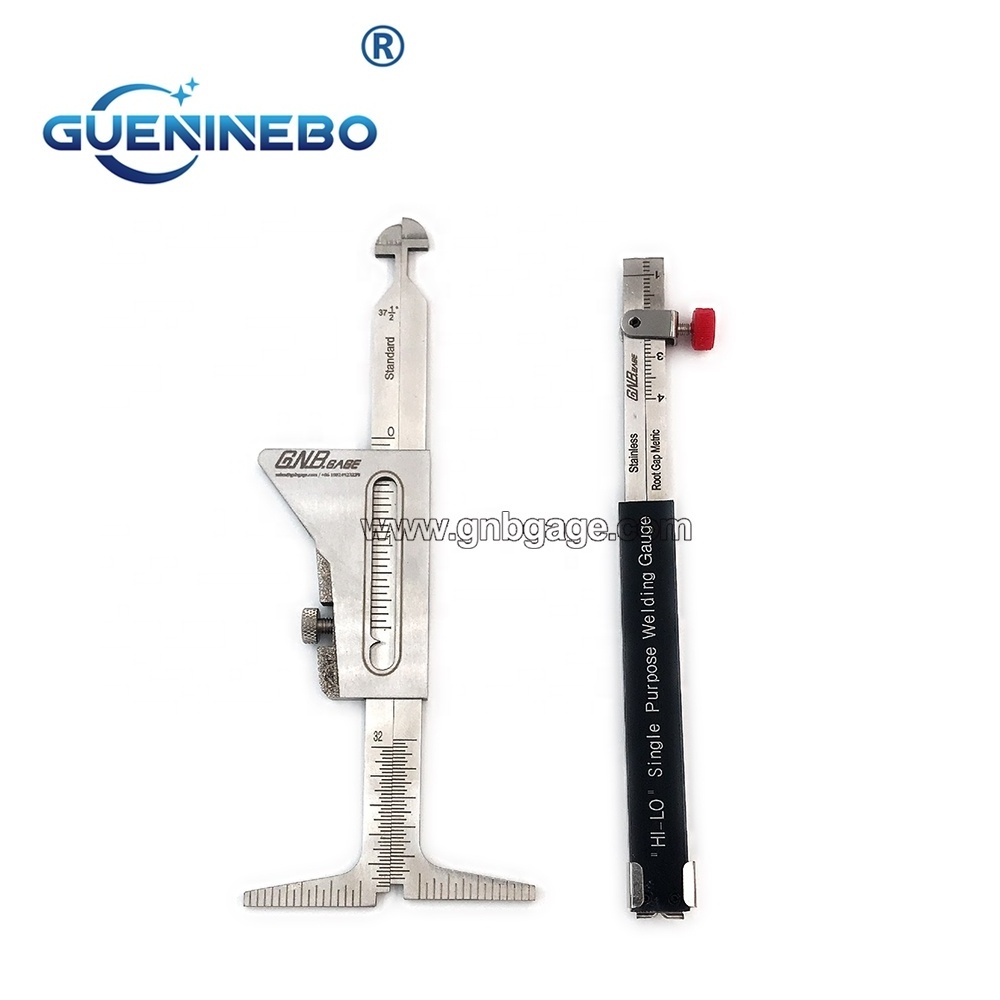
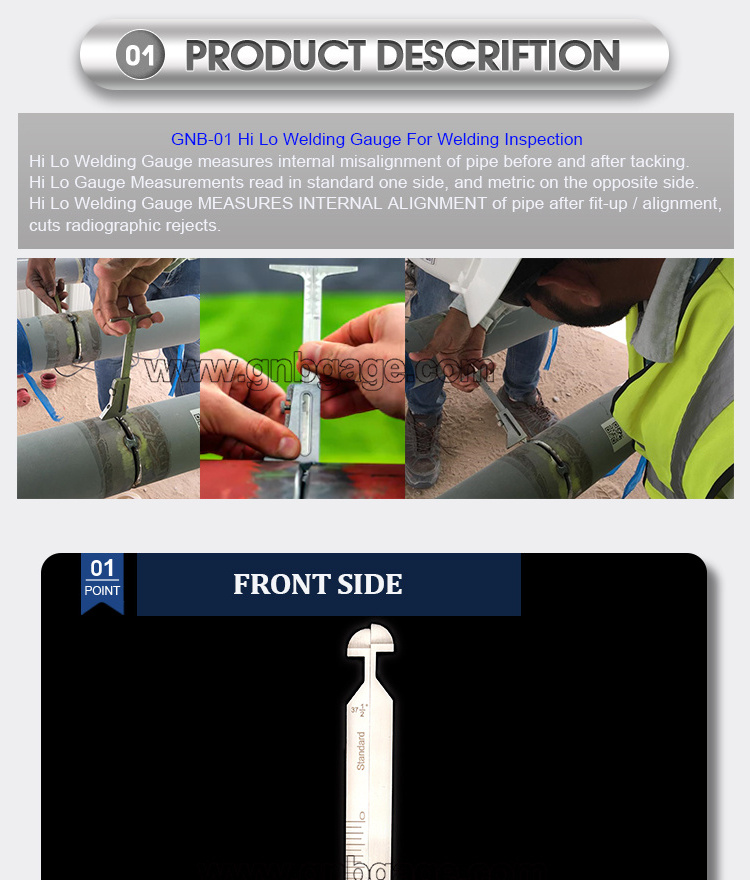
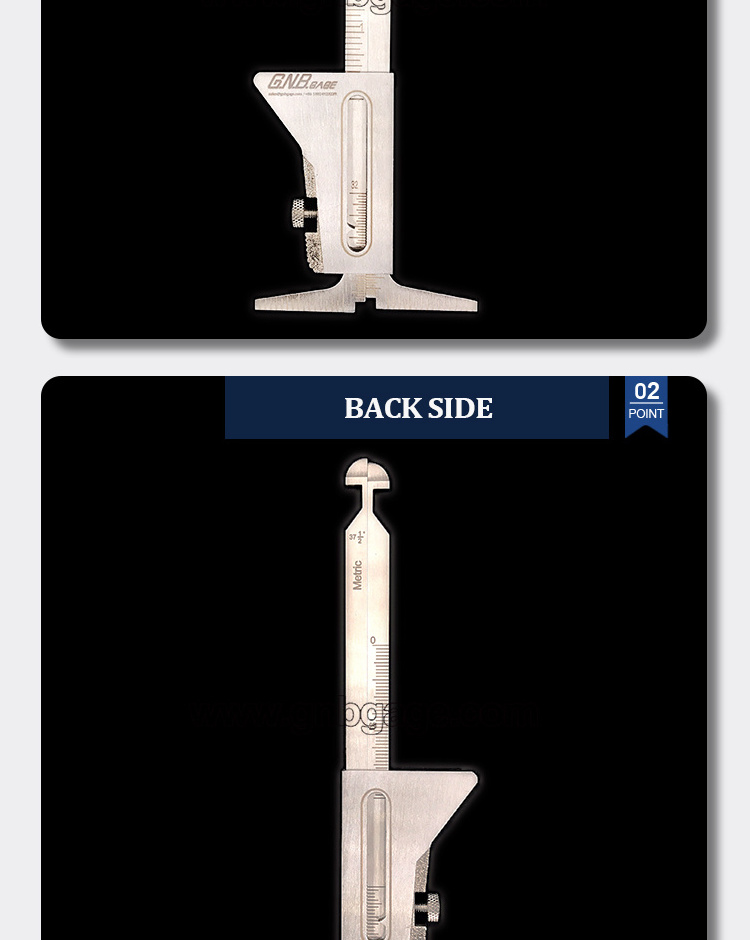
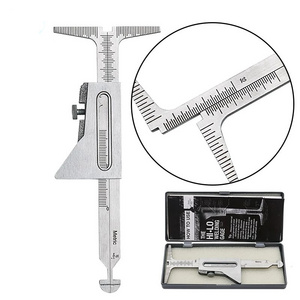
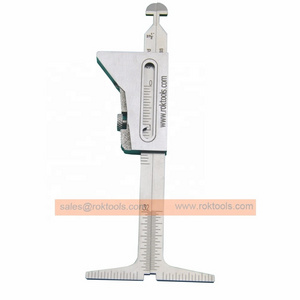
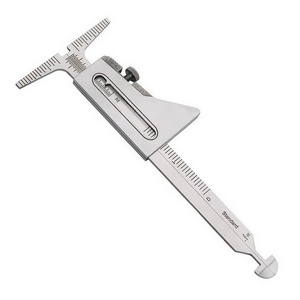
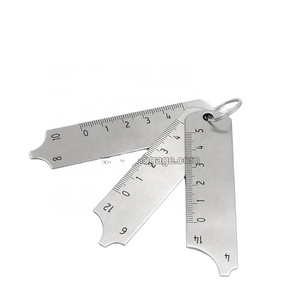
The Hi-Lo Welding Gauge is a multipurpose and versatile gauge. As with many of our gauges, both standard and metric units of measurement are available directly on the gauge for dimensional verification.
With the Hi-Lo Gauge, you can measure:
1) Internal misalignment after fit-up
2) Material thickness after fit-up
3) Verify 37-1/2 degree bevel angle
4) Fit-up gap after fit-up
5) Fillet weld leg length
6) Butt weld reinforcement
How to use Cat # 1 HI-LO Welding Gauge?
We'll start with an internal misalignment measurement.
Now rotate the gauge 90 degrees and slide the gauge body until it comes in contact with the outside diameter of the pipe.
Next, pull down the gauge until the internal alignment stops are snug against the inside of the pipes.
Read the misalignment on this scale. This misalignment measures 3/32 of one inch.
You can use the same procedure to measure pipe wall thickness after fit-up.
To measure pipe wall thickness, use the material thickness indicator and this scale. This pipe measures 3/32 of one inch.
This gauge can also be used to verify a 37-1/2 degree bevel angle.
Now place the gauge body squarely against the pipe wall and push the gauge as far as it will go into the fit-up gap. If the beveled shoulders on the gauge fits snug against the bevel on the pipe end, you have the correct 37-1/2 degree bevel common to most pipe end preps.
To measure fit-up gaps less than 1/16 of an inch, insert the alignment stops into the fit-up gap. If the thinner portion of the gauge does not fit, then the gap is less than 1/16 of one inch. If it partially fits in the gap, then the gap is somewhere between 1/16 and 3/32 of one inch. Finally, if the stops go through the gap, then the gap is larger than 3/32 of one inch.
To measure fillet weld leg length, place one leg of the gauge on the plate and lower the other leg to the toe of the weld. Read the actual fillet weld leg length from this scale. This leg length reads 1/2 of one inch.
A similar procedure can be used to measure butt weld reinforcement. Place one leg of the gauge on the plate and lower the other leg to the top of the butt weld. Again, read the measurement from this scale. This measurement reads 1/8 of one inch.
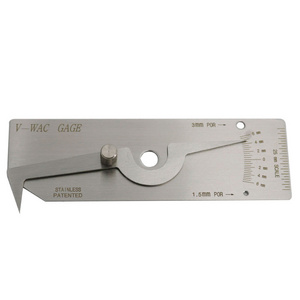
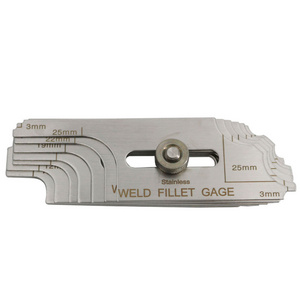
This Hi-Lo Welding Gauge is available individually from GNBGAGE or it is included in our complete set of gauges available in our Brief Case type Large Welding Tools Kit.
GNB-01 WELDING GAUGES Details.
|
GNB-01 HI-LO Welding Gauge |
weld gauge Measurement | weld gage Range | Graduation | Accuracy |
| Bevel on end preparation | 37.5° | / | ±1° | |
| Fit-up gap | 1.6mm, 2.4mm | / | ±1mm | |
| Fillet weld length | 0-30mm (0~1-1/4") | 1mm (1/16") | ±0.5mm | |
| Fillet weld heigth | 0-35mm (0~1-3/8") | 1mm (1/32") | ±0.5mm | |
| Crown heigth | 0-35mm (0~1-3/8") | 1mm (1/32") | ±0.5mm | |
| Pipe wall thickness | 0-45mm (0~1-3/4") | 1mm (1/16") | ±0.5mm | |
| Internal misalignment | 0-35mm (0~1-3/8") | 1mm (1/32") | ±0.5mm | |
| Distance between two marking lines of socket weld | 0-60mm (0~2-3/8") | 1mm (1/16") | ±0.5mm |
