- Product Details
- {{item.text}}
Quick Details
-
Model Number:
-
GNB-04A
-
Product name:
-
Bridge Cam Welding Gauges
-
Material:
-
Stainless Steel weld gage
-
Application:
-
Welding Measuring
-
Color:
-
Silver welding gauge
-
Feature:
-
High Accuracy Weld Gauge
-
Keyword:
-
Bridge Cam Weld Gage
-
Packing:
-
Black Leather Bags or Box
-
Usage:
-
welding inspection gauge
-
Function:
-
weld measurement gauge
-
Type:
-
Bridge Cam Type Gauges
Quick Details
-
Warranty:
-
0.2 years
-
Place of Origin:
-
Guangdong, China
-
Brand Name:
-
GueNineBo
-
Model Number:
-
GNB-04A
-
Product name:
-
Bridge Cam Welding Gauges
-
Material:
-
Stainless Steel weld gage
-
Application:
-
Welding Measuring
-
Color:
-
Silver welding gauge
-
Feature:
-
High Accuracy Weld Gauge
-
Keyword:
-
Bridge Cam Weld Gage
-
Packing:
-
Black Leather Bags or Box
-
Usage:
-
welding inspection gauge
-
Function:
-
weld measurement gauge
-
Type:
-
Bridge Cam Type Gauges
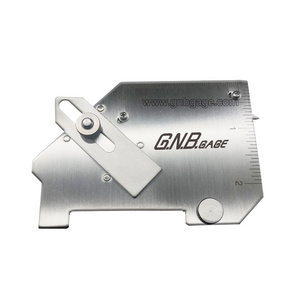
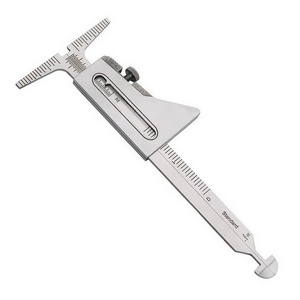
New Arrivals MOQ 1PC High Quality Stainless Steel GAL MG-8 Bridge Cam Type Welding Inspection Gauges
Bridgecam Gauge Specifications.
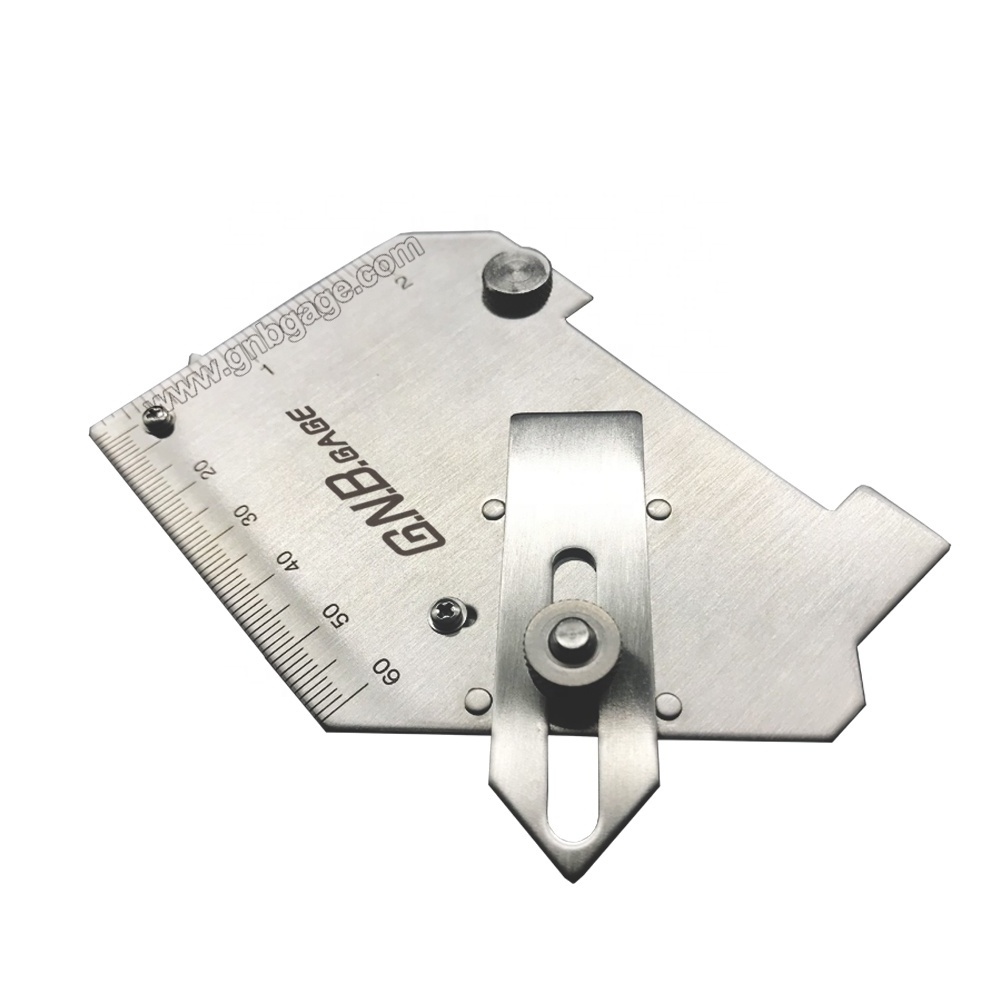
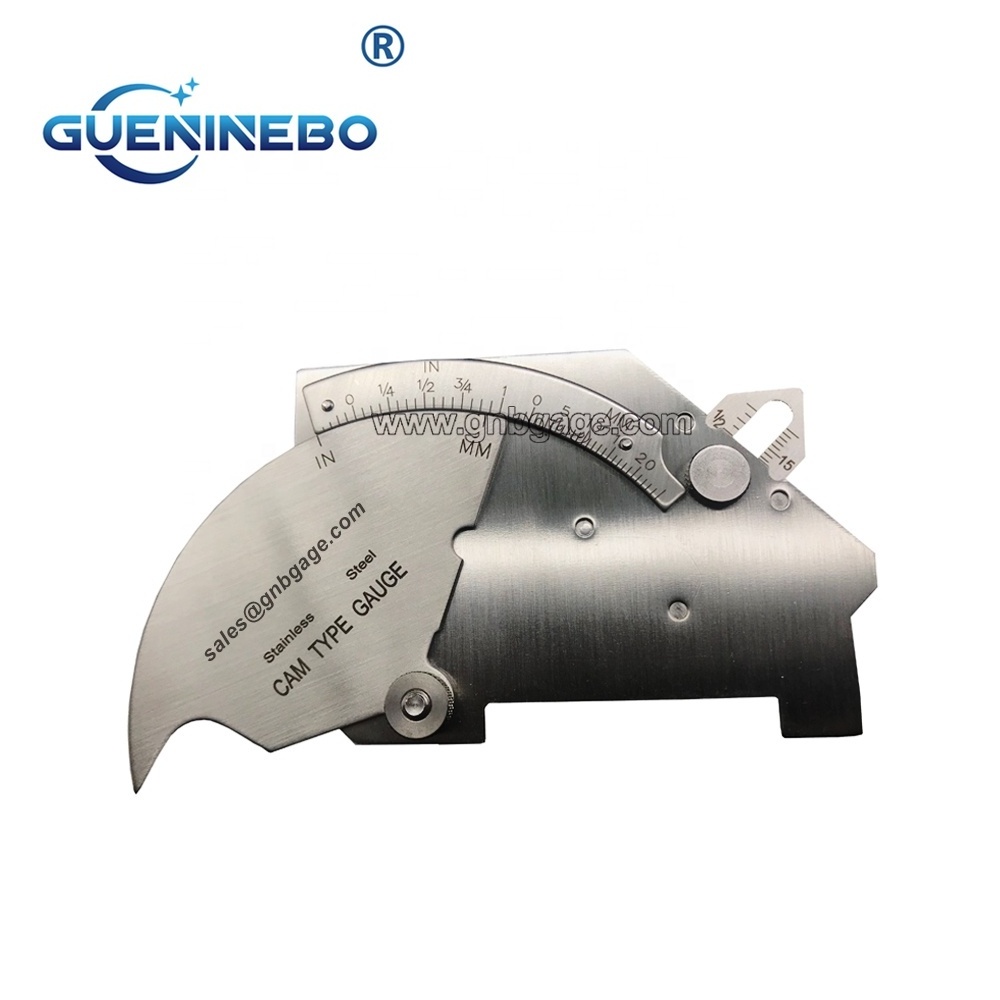
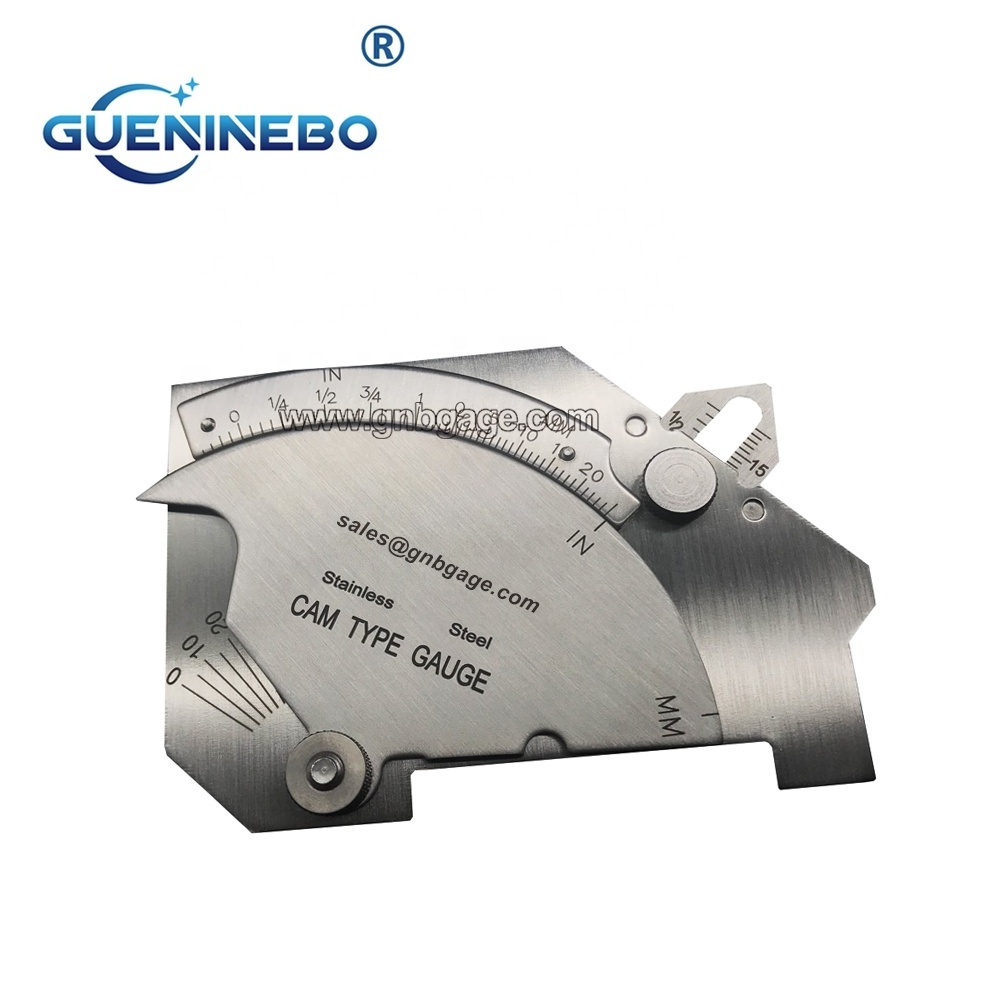
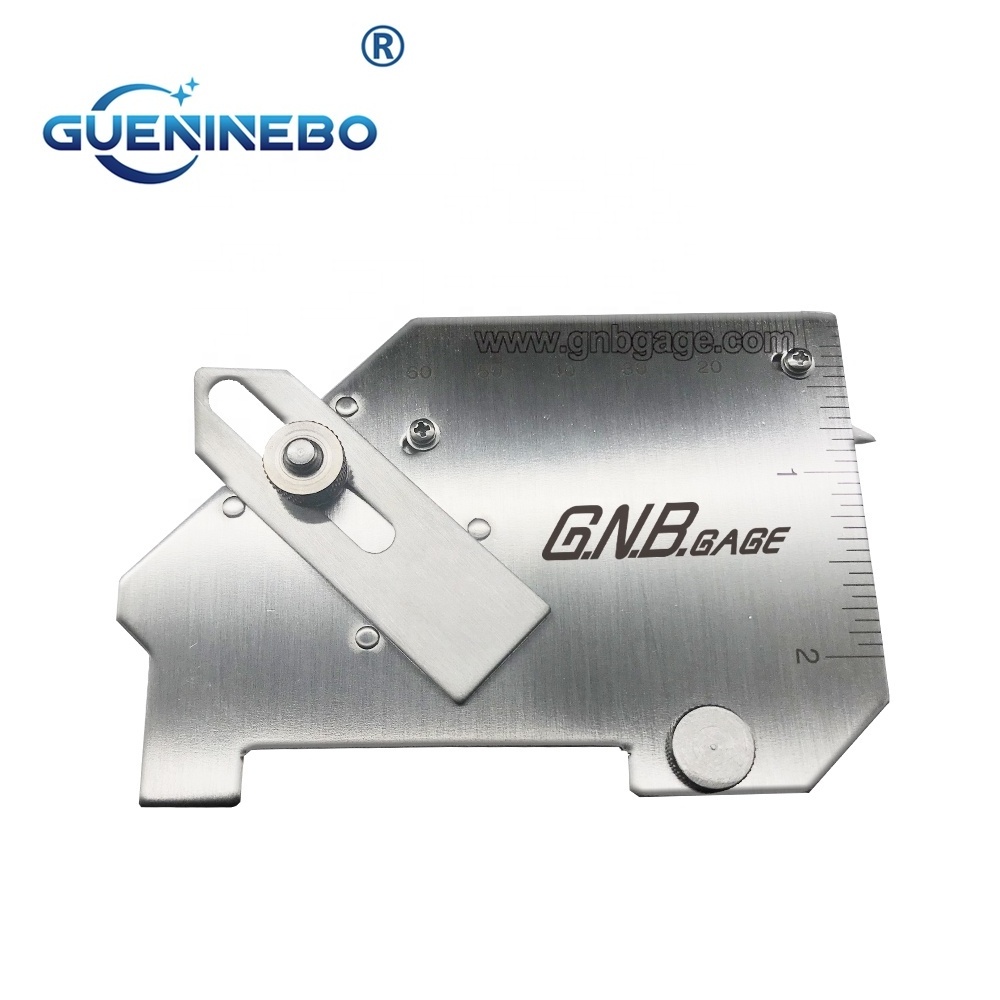
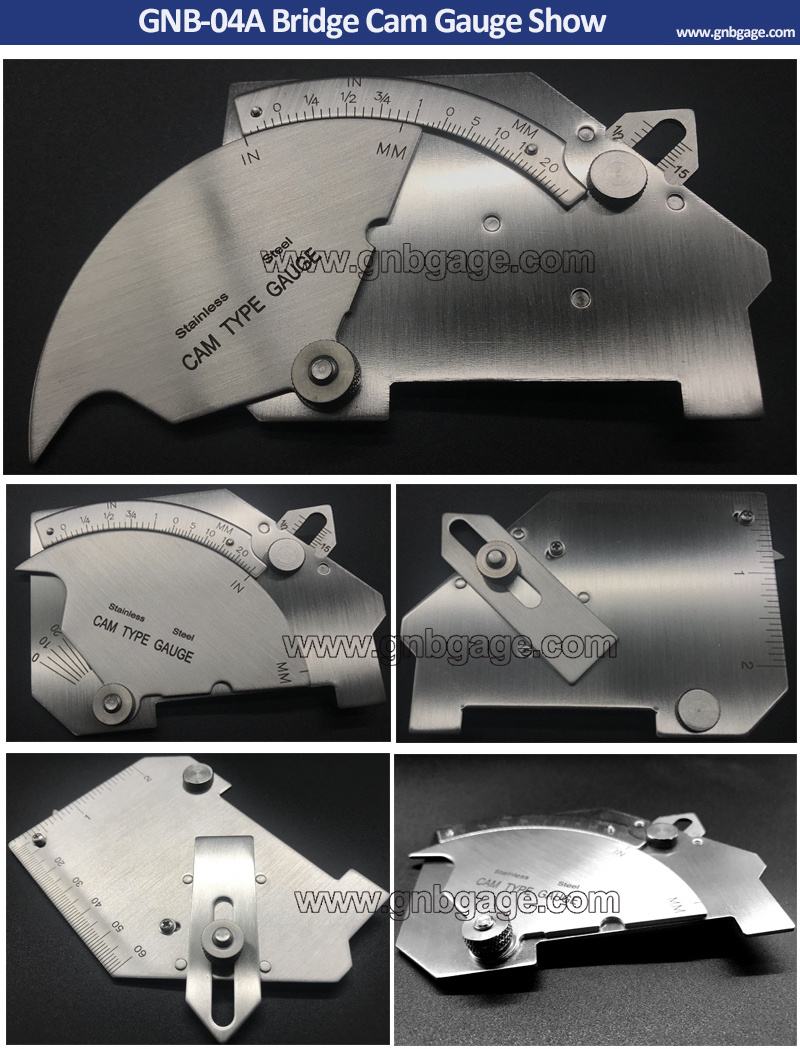
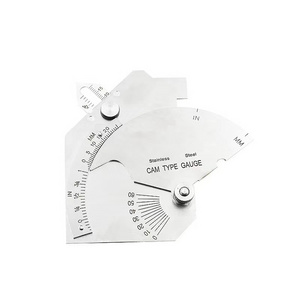
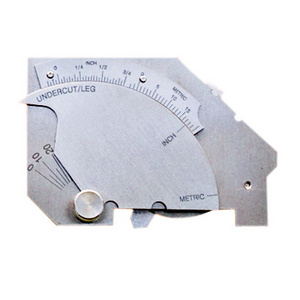
The Bridge Cam Gauge by GNBGAGE is one of our most versatile gauges available. With it, you can perform several different types of measurements of welds in both inches or millimeters.
- Be made of Stainless Steel, and the surface brushed treatment.
- Laser Scale, so clear to read and the high accuracy, as well as wear-resistant.
- Be finished by multi process technology.
- Very durable, used the thickness design.
- Note: Adjustable scale to compensate for point wear.
- Angle of preparation, 0° to 60°
- Excess weld metal (capping size)
- Depth of undercut
- Depth of pitting
- Fillet weld throat size
- Fillet weld length
- Misalignment (high-low)
- General linear measurements up to 60 mm or 2 inches.
- Bridge Cam Gauge / TWI Welding Gauge / Cambridge Gauge / Universal Welding Gauges
- Supplied in a case with instructions.
Welding Inspection Bridge Cam Gauge Datas.
| Items | weld gage Measurement | weld gauge Range | Graduation | Accuracy |
|
GNB-04A Bridge Cam Weld Gauge |
Crown Height | 0-25mm (0-1") | 1mm/(1/16)" | ±0.5mm |
| Fillet Weld Throat Size | 0-25mm (0-1") | 1mm/(1/16)" | ±0.5mm | |
| Misalignment (high-low) | 0-25mm (0-1") | 1mm/(1/16)" | ±0.5mm | |
| Undercut Depth |
0-2mm (0-1/8") |
1mm/(1/16)" | ±0.5mm | |
| Fillet weld throat size | 0-20mm (0-3/4") | 1mm/(1/16)" | ±0.5mm | |
| Angle of preparation | 0-60° | 5° | ±1° | |
| Fillet weld length | 0-60mm (0-2") | 1mm/(1/16)" | ±0.5mm | |
| 45° Angle | / | / | ±1° |
To easily measure outside misalignment, rest the legs of the gauge squarely on one surface of the pipe and lower the tip until it comes in contact the other pipe. The amount of misalignment is then read from this scale. This misalignment measures 3/32 of one inch or 2.3 mm
To measure weld reinforcement, lower the legs of the gauge to the surface of the plate. Then, using the tip, place it at the highest point on the weld. The Weld reinforcement dimension is again read from this scale. This weld reinforcement measures 1/8 of one inch or approx 3.1 mm
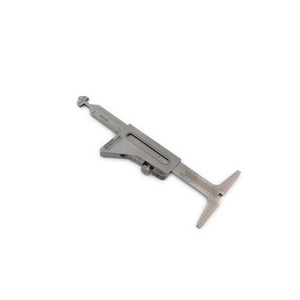
Now lets measure the actual fillet weld throat dimension using the miter slide on the Bridge Cam gauge. First, extend the slide as far as it will go, place the tip of the slide on the face of the weld and lower the gauge until it squarely contacts the surface of both plates. The actual throat dimension is then read from this scale. It reads just under 3/8 of one inch, or approximately 9 millimeters. Turn the gauge over and the scale on the back will also give you the theoretical weld size. In this case, 1/2 of one inch.
You can also use the slide as a go-nogo gauge. Simply remove the locking screw, flip the slide over to the theoretical side and reassemble the gauge. Use the increments to set the slide to match the leg length. Cat # 4 Bridge Cam Gauge . In this case a 1/2 inch weld is specified. Set the slide to 1/2 inch and lock the screw. The gauge indicates this is an acceptable amount of weld.
To measure fillet weld leg length, rest the legs of the gauge on the surface of the plate, then rotate the tip, to the toe of the weld. The actual leg length is read from this scale. This measurement should read one half of one inch or approx 12.7 mm.
And finally, to measure undercuts or pits, place the legs of the gauge squarely on the surface of the plate and lower the tip into the undercut or pit. The amount of undercut is read from this scale. This pit reads 1/16 of one inch or approx 1.6 mm.
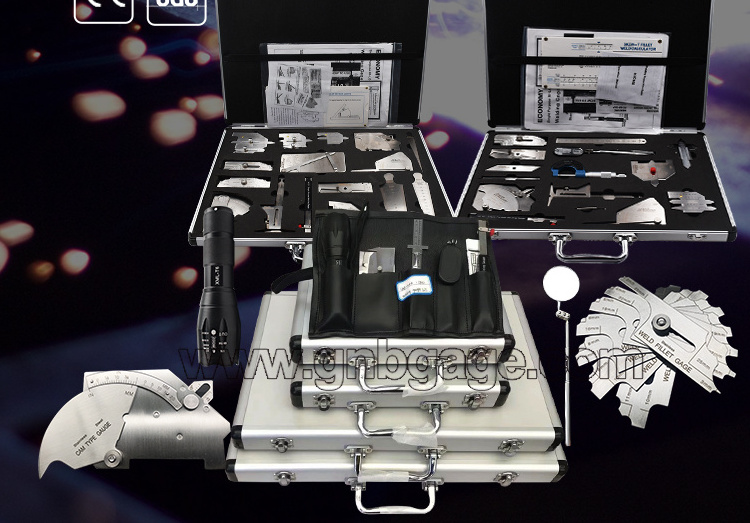
This Bridge Cam gauge is available individually from GNBGAGE or it is included in our complete set of gauges available in our Briefcase Large Tool Kit.
