- Product Details
- {{item.text}}
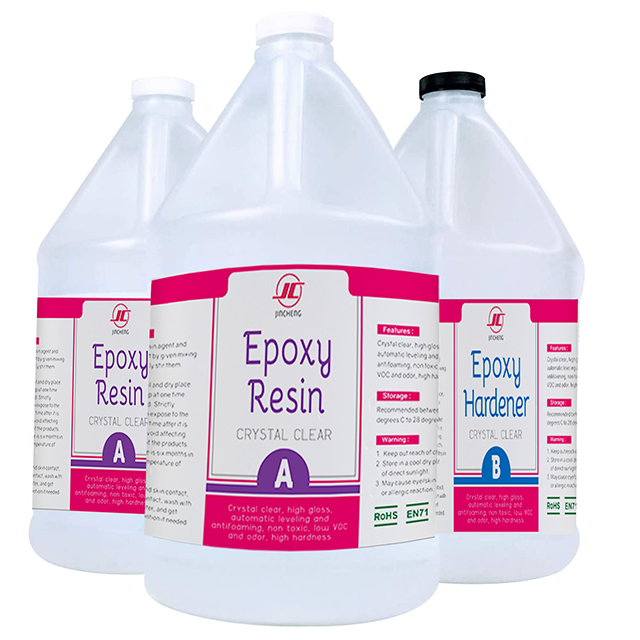
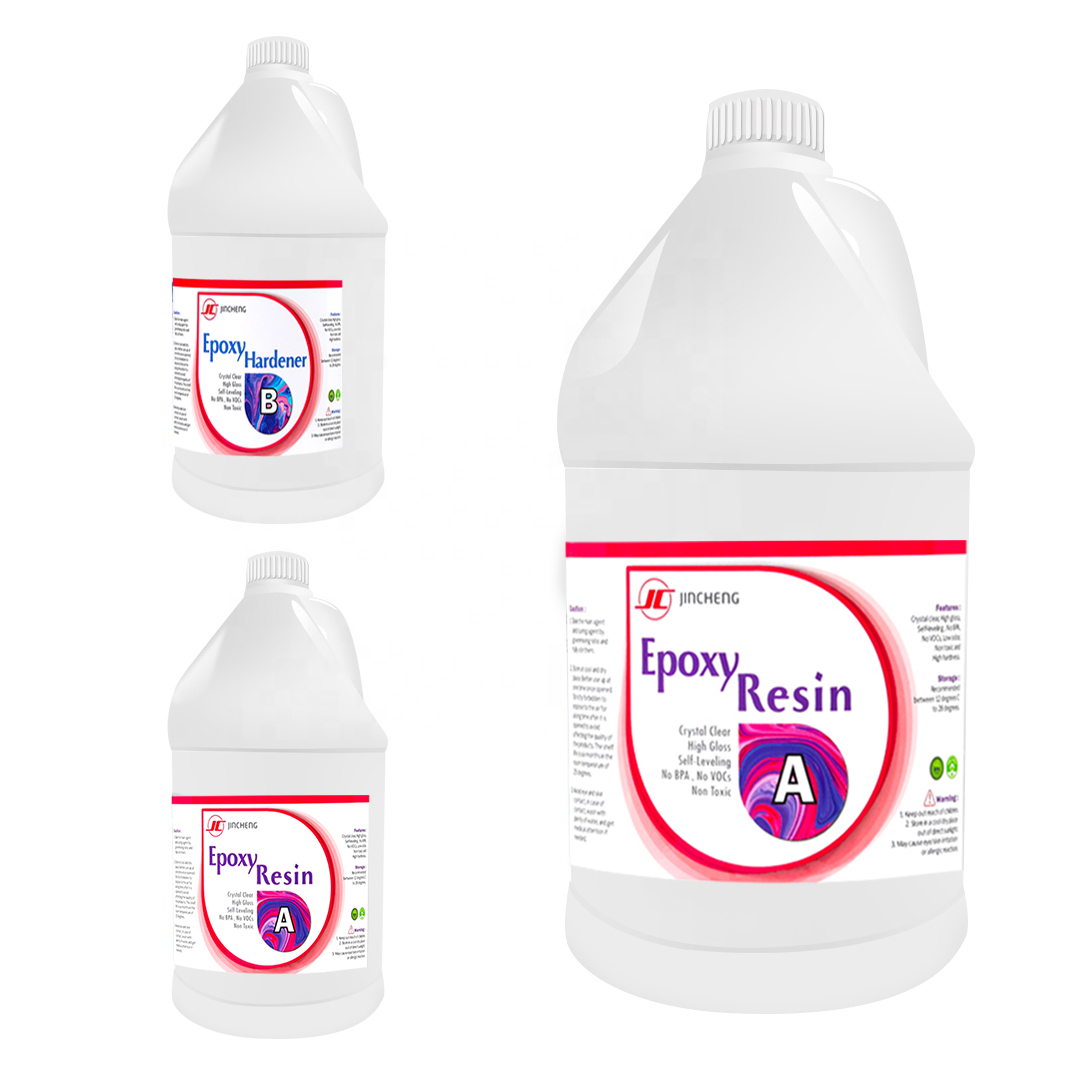
Quick Details
-
EINECS No.:
-
231-072-3
-
Place of Origin:
-
Guangdong, China
-
Brand Name:
-
JC
-
Model Number:
-
1201AB
-
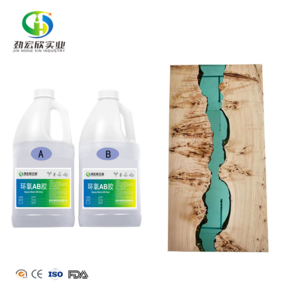
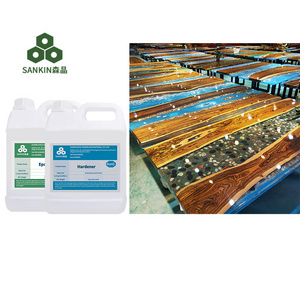
Type:
-
Two Component
-
Application:
-
Decoration
-
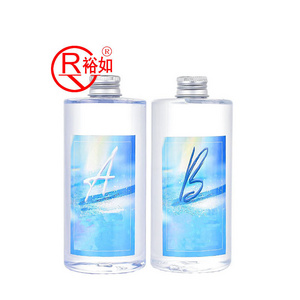
Color:
-
Transparent
-
Mixing Ratio:
-
A:B=1:1
-
Shelf life:
-
6 Months
-
Material:
-
epoxy resin
-
MOQ:
-
1 gallon
-
Feature:
-
DIY
Quick Details
-
CAS No.:
-
38891-59-7
-
Other Names:
-
Epoxy Resin
-
MF:
-
C15H16O2C2H7ONC3H5OCl
-
EINECS No.:
-
231-072-3
-
Place of Origin:
-
Guangdong, China
-
Brand Name:
-
JC
-
Model Number:
-
1201AB
-
Type:
-
Two Component
-
Application:
-
Decoration
-
Color:
-
Transparent
-
Mixing Ratio:
-
A:B=1:1
-
Shelf life:
-
6 Months
-
Material:
-
epoxy resin
-
MOQ:
-
1 gallon
-
Feature:
-
DIY
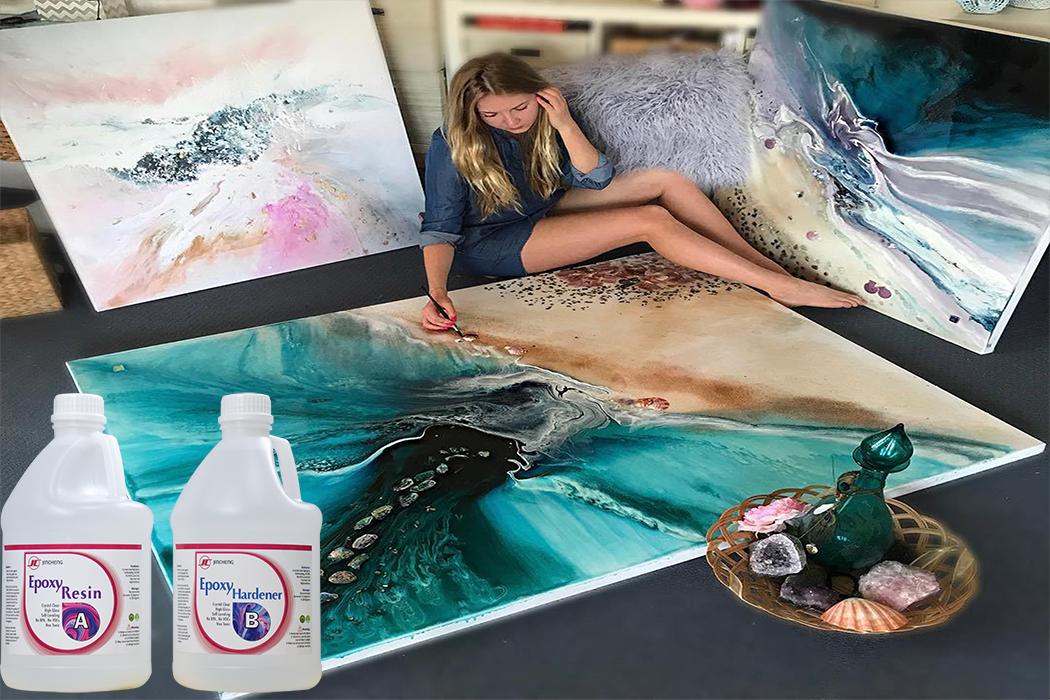
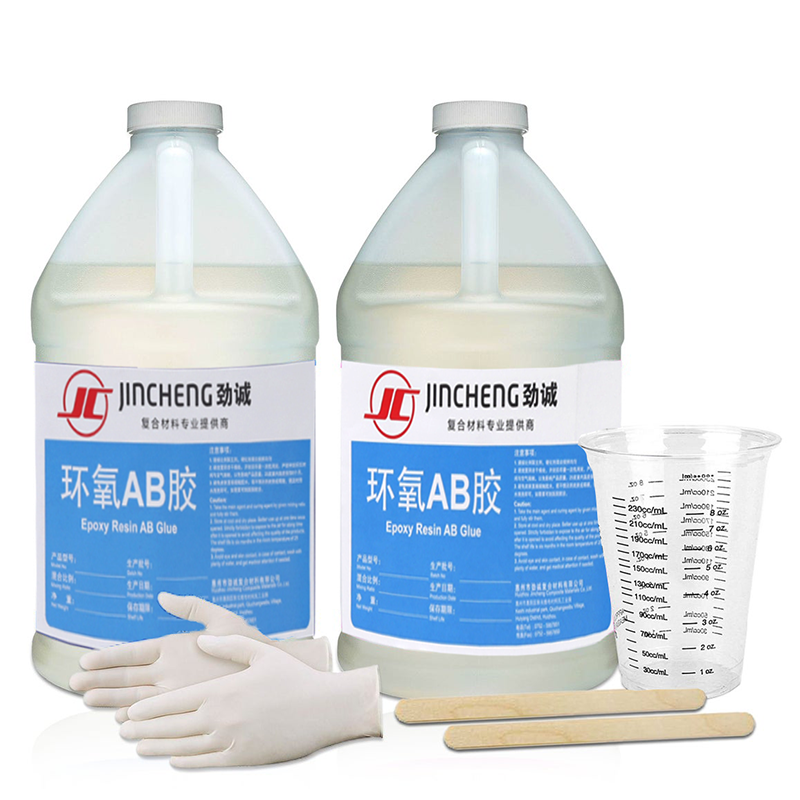
We produce Premium Epoxy Resin with UV protective stabilizers to prevent yellowing. Being artists ourselves, we want to know that we are working with a fresh high quality product. Unlike the competition, all JinCheng Resins come with a brew date label so you know how old your product is. We back all our products with 100%
Description
|
Part ( 1201)
|
A
|
B
|
|
|
Color
|
Transparent
|
Transparent
|
|
|
Viscosity (25℃)
|
2000-4000CPS
|
100MAX CPS
|
|
|
Mixing ratio
|
A: B = 1:1(weight ratio)
|
|
|
|
Hardening conditions
|
25 ℃×8H to 10H or 55℃×1.5H (2 g)
|
|
|
|
Usable time
|
25℃×40min (100g)
|
|
|
|
Hardness, shore D
|
<86
|
|
|
|
Flexural strength, Kg/mm2
|
28
|
|
|
Detailed Images
Our factory supports customized OEM/ODM for product packaging of various specifications

Easy To Use 1:1 Formula, no experience needed

Step 1: Measure
Pour equal parts of resin and hardener into a clean mixing container or graduated mixing tubs, using a 1:1 ratio (by volume) It is
crucial that the product is measured accurately and mixed thoroughly. Measure 1 part RESIN to 1 part HARDENER by volume. Do NOT
vary this ratio. Our Epoxy is formulated to cure at a specific mixing proportion, and any variances can cause the product never
fully to cure. We recommend always pouring the HARDENER into your mixing container first, followed by the RESIN. This will help
the two components mix thoroughly.
Step 2: Mix
First Mix: Mix with a flat bottom stir stick or spatula being sure to scrape the sides and bottom of the container as you go. Your
mixture will appear hazy at first, and then become more transparent as the resin and hardener molecules begin to blend within
three to five minutes.
Second Mix: Pour the Resin and Hardener from your first container into a second container scraping all the mixture out from the
sides and bottom of the cup. Thoroughly mix for an additional three minutes.
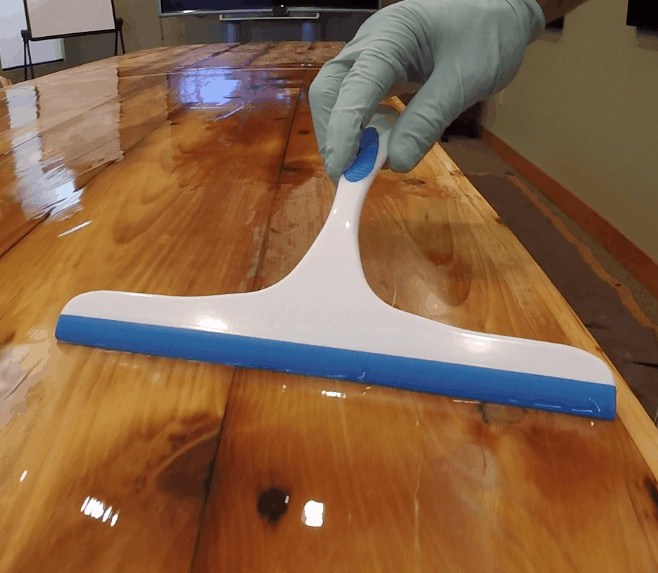
Step 3: Seal Coat Stage
The best way to apply a seal coat is to start on one end of the table and pour the resin all the length of the surface, zigzagging
as you go. Then use a foam brush to drag the resin across the entire surface to achieve an even coat. The epoxy cures rather
quickly in the container, so it is necessary to paint the seal coat on quickly or mix up a smaller amount so that it does not cure
in the container while you are still working on it. The seal coat does not need to be smooth as the flood coat will fill in the
brush strokes and irregularities making it crystal clear. Once the entire surface is sealed, wait 4-6 hours to pour the flood coa
t. Do not exceed 10 hours or you run the risk of the flood coat not blending into the seal coat flawlessly.
Step 4: Flood Coat Stage
Each flood coat self-levels at approximately 1/8” thick. If depths thicker than 1/8” are desired multiple coats are necessary. You
must wait at least 4 to 10 hours between flood coats. The epoxy will still be tacky so the next pour will stick to it.
The best way to apply the flood coat is to start on one end and pour the resin the entire length of the surface, zigzagging as you
go. After you are finished pouring, set the container down. Do NOT try to scrape anything else out of the bucket. Because you are
pouring about three times the amount of product you did with the seal coat, the material will immediately start to flow out.
Step 5: Remove Air Bubbles
Once you have sufficiently covered the entire surface with your flood coat, you will begin the process of popping air bubbles. The
best tool for removing bubbles is a small propane torch. Hold the flame approximately 6 to 10 inches away from the table top and
quickly sweep across the entire surface using an ironing motion. You will immediately see the bubbles start to pop. Do this until
all the bubbles are gone from the surface of your table.
* After pouring your epoxy, it is common for air bubbles to form. Bubbles can continue to develop for up to 60 minutes after the
curing process has begun. The most efficient way to get rid of them is to run a blowtorch over the surface sporadically 10 - 15
min at a time.
Step 6: Curing Process
After applying your final coat, the product should be kept in a clean, dust-free environment at a minimum of 75-80° F degrees. The
product takes approximately 12-14 hours to dry to the touch. However, the product should not be put into any use for at least
three days which will allow it to achieve sufficient hardness to resist scratching. At temperatures below 75 F, the product will
take longer to cure and might not cure to complete hardness.
*Not intended for outdoor use
Note: All epoxy has natural color variations or tint. The color of the surface the epoxy is applied to may minimize or accentuate
the tint. White surfaces are always the most challenging to work with in regards to accentuating epoxy tint. White itself has many
tints. The appearance of a white surface after being coated with epoxy is also the most influenced by lighting. Example LED
"daylight" bulb lighting compared to "Soft / Warm" lighting.
Epoxy resin for flooring
Title goes here.
Semi-Automatic PET Bottle Blowing Machine Bottle Making Machine Bottle Moulding Machine
PET Bottle Making Machine is suitable for producing PET plastic containers and bottles in all shapes.
Easy & Quick Application:
Colored Epoxies is a two-component system. 2:1 ratio.
Each specially packed kit comes with 3 cans, 2 resins Part "A" and 1 Hardener Part "B".
Each order comes with step by step mixing and application instructions.
Colored Epoxies Has a 40-minute pot life.
Each specially packed kit comes with 3 cans, 2 resins Part "A" and 1 Hardener Part "B".
Each order comes with step by step mixing and application instructions.
Colored Epoxies Has a 40-minute pot life.
Colored Epoxies is a manufacturer of custom modified two component flexible epoxy flooring system with a 2:1mix ratio. 2 parts A resin to 1 part B hardener. Colored Epoxies is 100% solids, has no VOC’s. Colored Epoxies uniquely formulates its cycloaliphatic resins and modified cycloaliphatic curing agents with the most UV protection and chemical resistance properties available on the market.
Coloredepoxies is the epoxy professionals trusted #1 choice when it comes to installing, epoxy metallic floors, flake floors, solid color floors, countertops and more. Dip and Roll coverage rates are 350sf per gallon, squeegee applied vary from 125-175sf per gallon. Use coloredepoxies clear or colored as the PRIMER/MVB moisture vapor barrier coat and finish coating. No additional primers needed! ColoredEpoxies installation instructions are enclosed with every purchased order, you will learn all the unique application techniques from preparing the concrete surface to priming, multiple color metallic install, flake coverage rates, various flake sizes, mica, quartz and glitters all in a step by step easy to follow pictographic layout.
Why Choose Us
We can provide any relevant certification you need
Different countries require different documents, so our documents are not all displayed
Our Company
FAQ
Q1: Are you a factory or a trading company?
Factory.
Q2: Can you provide the samples?
Yes, the sample is free. And you only need bear the freight.
Q3: Production period and delivery time?
3 days to 7 days.
Q4: What's your MOQ (min order quantity) ?
Our MOQ is 200Kg, and we accept mixed order.
Packing & Delivery
5kgs per bottle and 20kgs per set
20kgs, 25kgs and 200kgs also available.


Hot Searches
