Products
Hot Sale Chick automatic vaccinator device Automatic Vaccine Continuous Syringe machine for poultry farm

Hot Sale Chick automatic vaccinator device Automatic Vaccine Continuous Syringe machine for poultry farm

FOB Reference Price: Get Latest Price
≥1 Pieces
US $1800
≥10 Pieces
US $1750
≥50 Pieces
US $1680
Free Inquiry
Customized Request
  • Product Details
  • {{item.text}}

Quick Details

Place of Origin:
Henan, China
Brand Name:
GRET FARM
Model Number:
GF-C101
Name:
Automatic Vaccine Continuous Syringe
Material:
Stainless Steel
Farm Animals Type:
Chicken
Type:
Farm Animals
Efficiency:
5000 chicks / hour.
Features:
Dose the adjustable
Power supply:
220 volts AC
Injection power:
Motor
Injection dose accuracy:
±0.01ml
Product net weight:
15KG

Quick Details

Weight (KG):
18
Marketing Type:
New Product 2023
Core Components:
other
Place of Origin:
Henan, China
Brand Name:
GRET FARM
Model Number:
GF-C101
Name:
Automatic Vaccine Continuous Syringe
Material:
Stainless Steel
Farm Animals Type:
Chicken
Type:
Farm Animals
Efficiency:
5000 chicks / hour.
Features:
Dose the adjustable
Power supply:
220 volts AC
Injection power:
Motor
Injection dose accuracy:
±0.01ml
Product net weight:
15KG

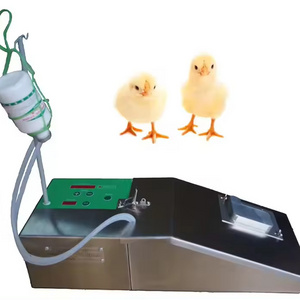
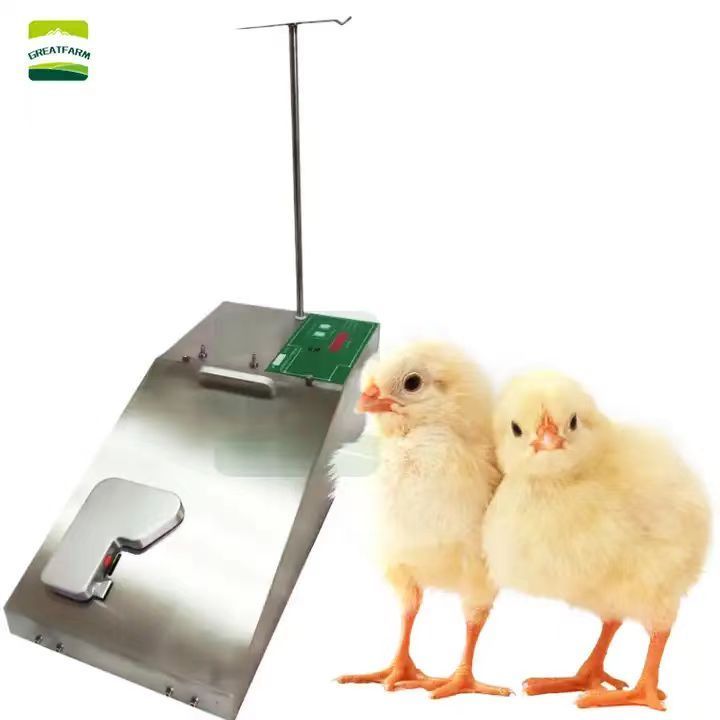
Product name:Automatic Vaccine Continuous Syringe machine

Features of chick automatic vaccine machine
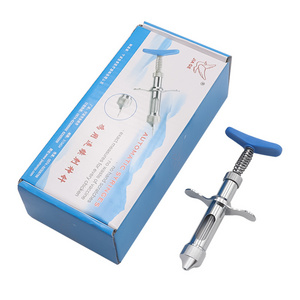
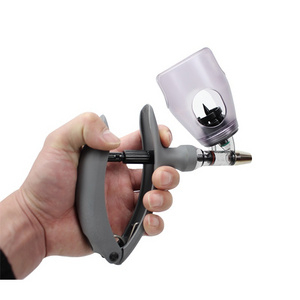
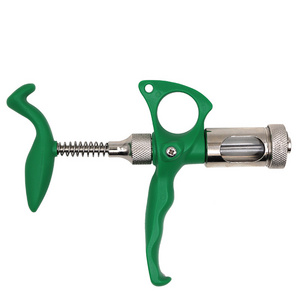
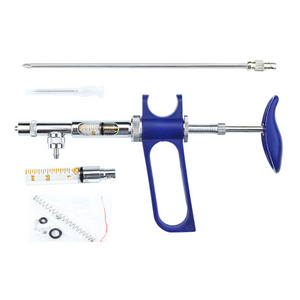
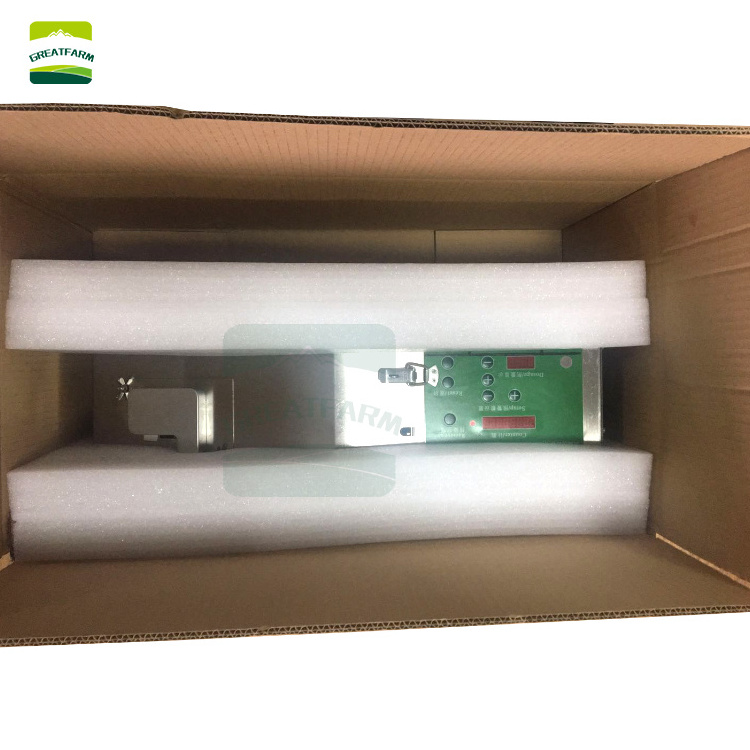
-1. The dose can be set according to user needs;
-2. Both aqueous and oily vaccines can be injected;
-3. The specification has single-needle single-liquid and single-needle two-liquid, which can realize simultaneous injection of two vaccines;
- 4. It is very convenient to automatically adjust the injection dose and automatically adjust the injection speed.

Product advantages
-1. Fast injection speed
The fastest speed of 5000 chicks / hour.
-2. Counting function
Counting the young birds that have been injected saves time in statistical work and improves work efficiency. When the number of injections reaches 100 (can be set according to your own needs), there will be an audible prompt function.
-3. Injection is very safe
The machine has been rigorously tested to ensure the most reasonable injection depth and angle, improving injection safety.
-4. Simple operation
No training is required and learning is fast.

Product acessories

-1. Host;
-2. Power wiring;
-3. Vaccine bottle holder;
-4.9# needle (20 pieces);
-5.50ml syringe;
-6. Hose;
-7. Wrench;
-8. Product Specification;
-9. User Guide CD.

1

Injection power

Motor

2

Power supply

220 volts AC

3

Injection dose

0.15ml~0.3ml adjustable dose (can be customized according to demand)

4

Injection dose accuracy

±0.01ml

5

Contact with pharmaceutical parts materials

Rubber, Stainless steel

6

Suitable for injections

Chickens, ducklings, goslings within 7 days of age

7

Applicable vaccine type

Water-based vaccine, oil-based vaccine

8

The maximum injection speed

2500--5500 feathers/hour.

9

Product net weight

15kg

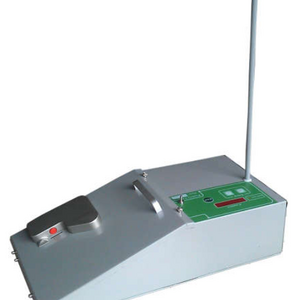
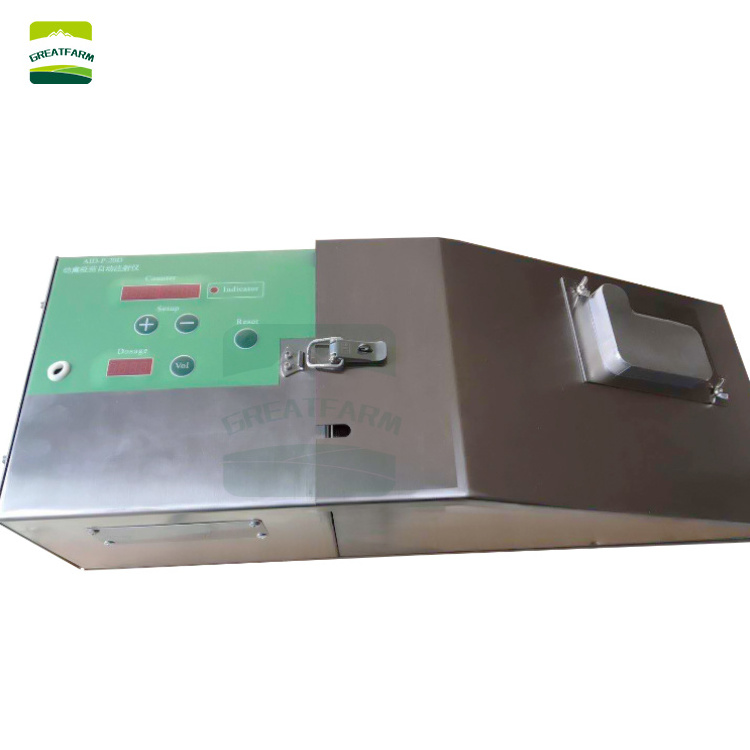
NO.1  Machine composition introduction

-1. Vaccine bottle holder;
-2. Control panel;
-3.Lock;
-4. Cover;
-5. Trigger switch;
-6. Stainless steel main machine;
-7. Infusion tube;
-8. Channel port;
-9. Opened cover.

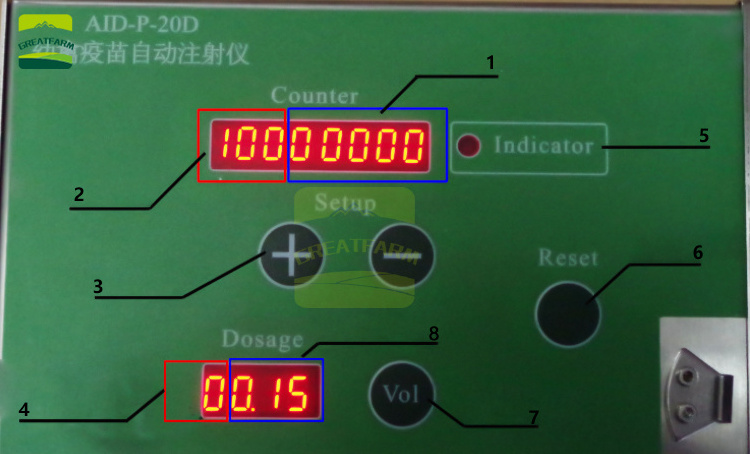
NO.2 Control panel introduction

-1. Count display area

-2. Alarm display area
-3. Settings button
-4. Injectable vaccine type
-5. Indicator
-6. Reset switch
-7. Dose setting
-8. Injection dose

Chick automatic vaccine continuous injection machine introduction

1.Introduction to the installation steps

Step 1: Install the needle (please use the needle we provide, or use the same size as the needle)

1 Open the lock and open the flip cover;
2 Rotate the fixed needle sleeve to remove it;
3 Carefully rotate the needle by hand to remove it;
4 take out the new needle; install the needle in the opposite direction and tighten the needle sleeve;
5 Push the syringe to push the needle back and forth, close the flip cover, and confirm that the needle can smoothly protrude out of the needle hole;
6 Make sure that the distance from the center of the needle hole to the tip of the needle is 9.5±0.5mm; close the flip cover and fasten the lock;
Needle is installed Finished(Step 1 is shown in the picture below)

Step 2: Installe Vaccine bottle holder (the end of the rod is threaded and connected to the threaded hole inside the main unit)

1 Remove the mast;

2 Insert the threaded end of the rod into the hole above the main unit-1;

3 Press down and rotate the lever to secure it to the main unit-2.

Vaccine bottle holder  is installed Finished(Step 2 is shown in the picture below).

Step 3: Hose and vial access

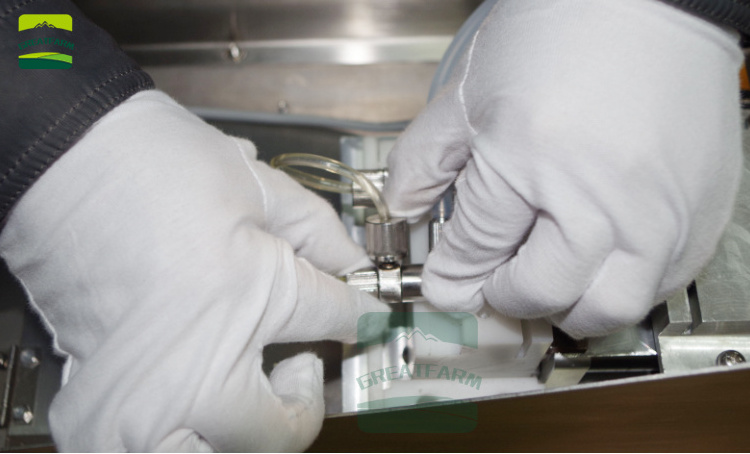
1 Connect one end of the hose to the long needle;

2 Connect the hose through the inlet hole on the housing to the inlet fitting of the ampoule;

3 Insert the long needle into the prepared vaccine bottle;

4 Hang the vial on the pole.

Hose and vial access completed (Step 3 is shown in the picture below).

2.Operational guidance

Step 1:Preparation before injection

1 Connect the dedicated power cable to 220V AC and plug it into the host power socket.

2 Turn on the power switch;

3 Press the trigger switch several times with the foreign object until the needle has a stable jet, indicating that the air in the pipe is removed;

Warning: Do not touch the trigger switch with your hand to avoid being stabbed by the needle!

4 Press the clear button located on the top of the main unit to reset the LED display to zero;

5 Press the dose setting button to set the desired dose.

Complete the preparation process.

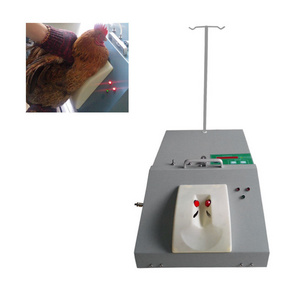
Step 2: Injection (recommended for the novice to perform the injection operation according to the following specifications)

The correct standing position of the operator, as well as the orientation of the machine and the chicken frame.

1 After grabbing the chicken with one hand, let the chick trigger the switch at the back of the neck (the ducklings and chicks operate the same);

2 Fit the chicken head to the groove of the cover;

3 Maintaining the above position will push the neck of the chicken to the left to make it touch the trigger switch to complete the injection;

The number of LED displays increases by one each time an injection is completed. When each time you complete 102 times, there will be an audible prompt, and you need to wait until the prompt sound ends before you start the injection!
3.Cleaning and disinfection introduction
Step 1: Regular cleaning of the internal pipe

1 Open the flip cover;

2 Attach the infusion hose to a disposable syringe that has been filled with sterile alcohol (or boiled water, approximately 20 ML);

3 Push the syringe, at this time, a jet is sprayed from the needle to complete the cleaning and disinfection of the inside of the pipeline;

WARNING: When re-injecting, first discharge the disinfectant from the tubing. The syringe can be drawn into the air and the disinfecting liquid in the pipe can be drained by the above method;

4 Close the flip cover.

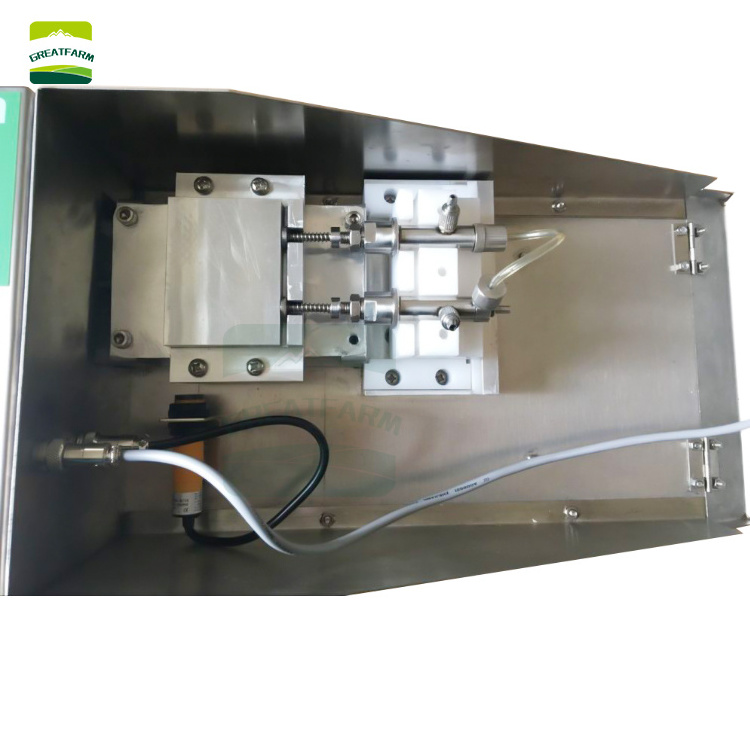
Step 2: Internal pipelines and components are disinfected regularly

1 Loosen the lock and open the flip cover;

2 Hold the front and rear ends of the syringe;

3 Remove the syringe-1 upwards and remove the inlet hose-2;

4 Disassemble the syringe and disinfect the syringe;

-1. Sealing washer;

-2. Long spring;

-3. Valve-core;

-4. Short spring;

-5. Sealing washer;

-6. O-ring;

-7. Sealing washer.

* Disassemble and disinfect the syringe as shown in the figure. It is recommended once a month.

5 After disinfection is completed, replace it in the reverse order of disassembly.
Disinfection method 1: Soak in disinfected alcohol for not less than 30 minutes.
Disinfection Method 2: Boil in water for at least 30 minutes.
4.Choose the type of vaccine
1 In the “Dosage” area of the LED display, the first digit shows the type of injectable solution, which can be adjusted via the “Vol” button.

2 When the aqueous vaccine was injected, the adjustment value was shown as "H"; when the oily vaccine was injected, the adjustment value was shown as "P".

5. Adjustment of the injection dose

1 In the “Dosage” area of the LED display, the last three digits are the values of the required dose.

2 This value can be adjusted with the “Vol” button. The adjustment positions are: 0.15, 0.2, 0.25, 0.3 four dose positions.

6. Adjustment of the number of alarms

1 In the “Counter” area of the LED display, the first three digits are the alarm number value, and the last five digits are the number of injections.

2 The number of alarms can be adjusted by the “+ /-” button, and the range is (0-200).

7. Product maintenance and precautions

1 When the machine emits a "drip..." long beep, note that the injection count has reached the set number of times;

2 When you need to re-count, please press the green clear button to reset the number of displayed injections to zero;

3 When not in use, please turn off the power switch;

4 After use, please open the flip cover and dry the internal water mark.

5 Do not touch the micro switch at the front end when not injecting, so as not to cause injury to personnel.

1. We accept Alipay, West Union, TT. All major credit cards are accepted through secure payment processor ESCROW.

2. Payment must be made within 3 days of order.

3. If you can't checkout immediately after auction close, please wait for a few minutes and retry Payments must be completed within 3 days.

Contact us:

Name:Penn Chang

WhatsApp:+ 86 15090457829

Phone:0086 18203631302

WeChat:18203631302

APP
Post My RFQ
WhatsApp
+86-17326049340