- Product Details
- {{item.text}}
Quick Details
-
Weight:
-
4.5
-
Use:
-
acrylic board polish
-
Expiration Date:
-
12 month
-
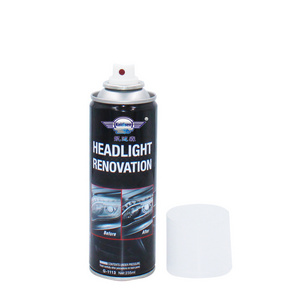
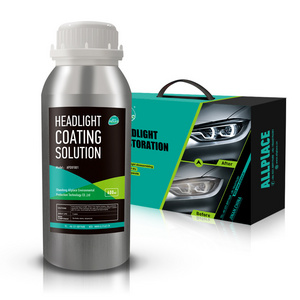
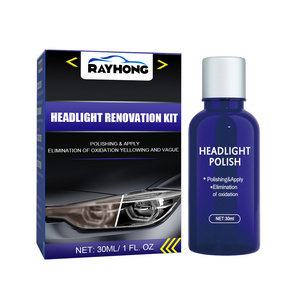
Product Description:
-
headlight restoration kit
-
Application:
-
Car Headlight restoration and renew
-
Color:
-
Clear
-
Sample:
-
Available
-
Packing:
-
Blister Card
-
Certificate:
-
RoHs, REACH, BSCI, ISO9001
-
OEM Packing:
-
Available
-
Shelf life:
-
12 month
Quick Details
-
Place of Origin:
-
China
-
Brand Name:
-
Nasca
-
Model Number:
-
PG0065YW5P
-
Weight:
-
4.5
-
Use:
-
acrylic board polish
-
Expiration Date:
-
12 month
-
Product Description:
-
headlight restoration kit
-
Application:
-
Car Headlight restoration and renew
-
Color:
-
Clear
-
Sample:
-
Available
-
Packing:
-
Blister Card
-
Certificate:
-
RoHs, REACH, BSCI, ISO9001
-
OEM Packing:
-
Available
-
Shelf life:
-
12 month
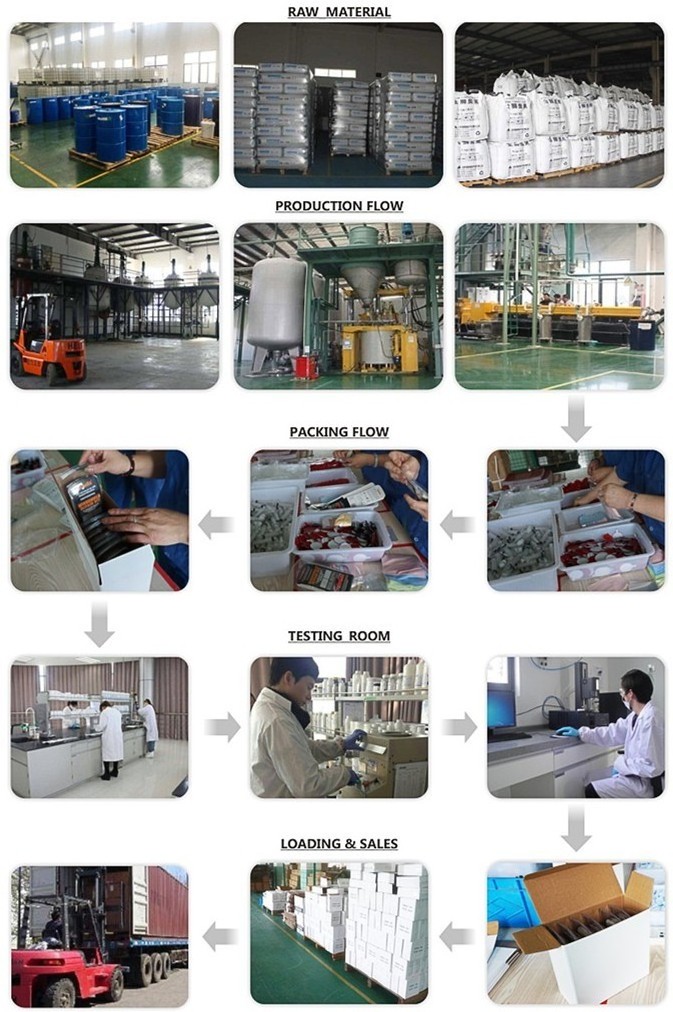
Products Details
|
|
||||||||||||||
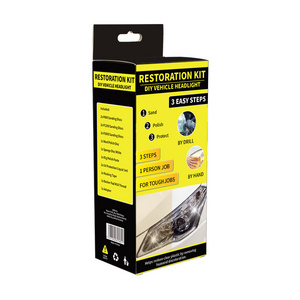
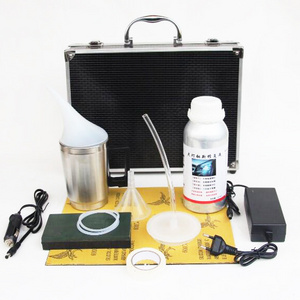
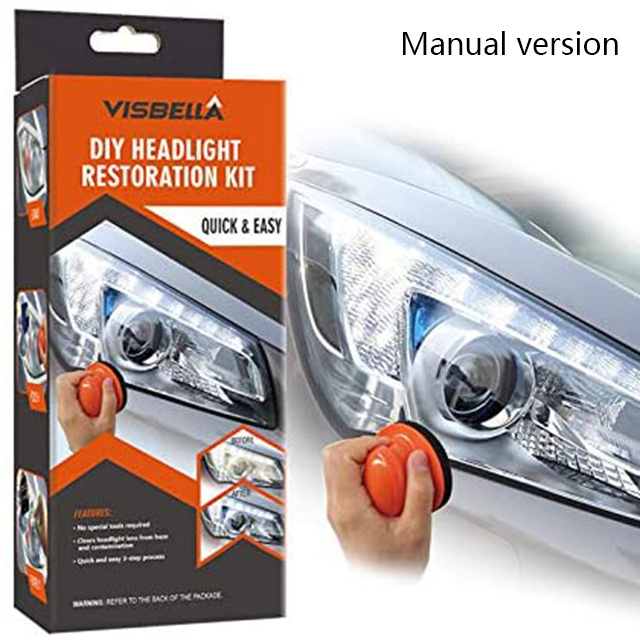
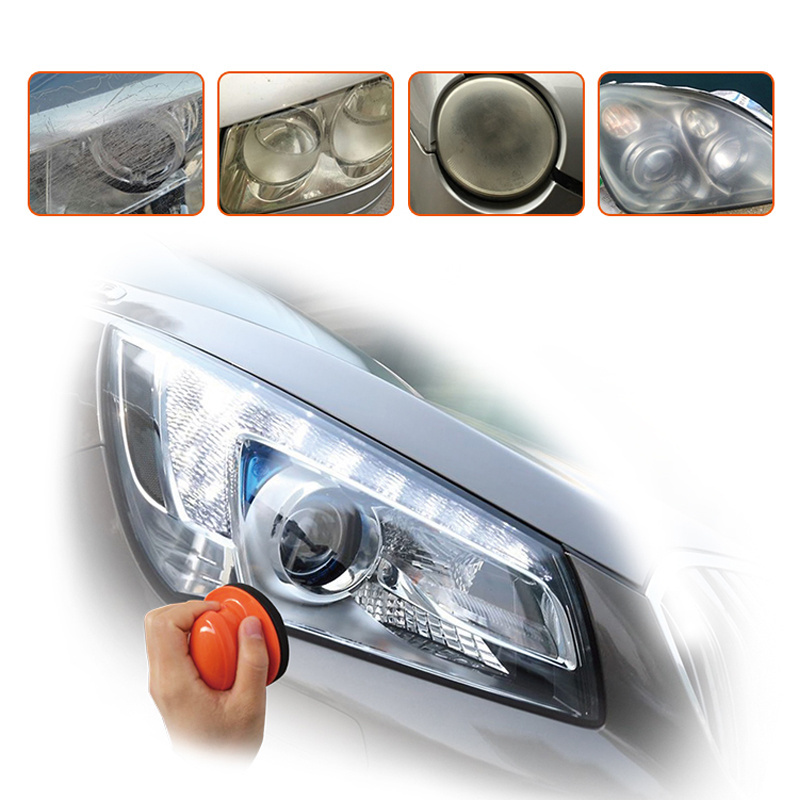
Visbella ® lheadlight restoration kit ets you shine and restore plastic lenses, including headlights, taillights, fog and directional lights. By restoring clarity to the lens, the performance of the headlight is improved and the appearance of the vehicle is enhanced Now you can produce professional results with the Headlight Lens Restoration Kit. Kit includes all items necessary to perform the task except for the masking tape.
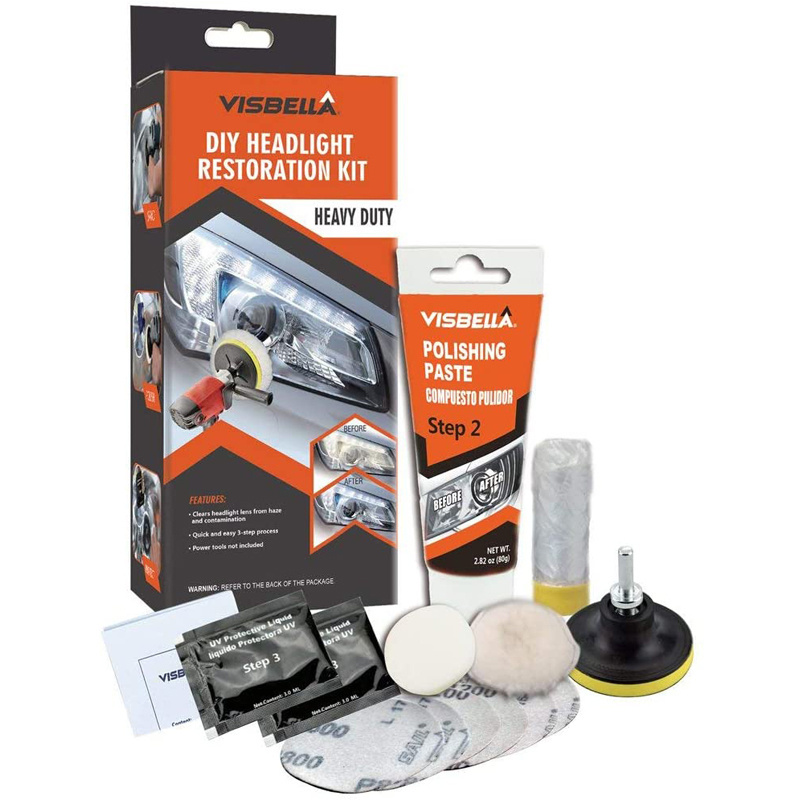
KIT INCLUDES
2* Waterproof Sandpaper P800
2* 3ml UV Protective paste
1* Adaptor
2* Waterproof Sandpaper P1200
1* Orange Sponge Pad
1* Masking tape
2* Waterproof Sandpaper P2000
1* White Sponge Pad
1* Instruction Book
2* Polishing Paste
1* Backer Pad
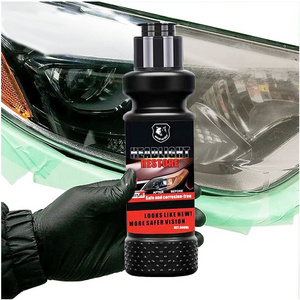
Advantage & Features
* Helps restore clear plastic by removing haze and discoloration.
* Provides a deep clean to yellowed, hazed headlights by using a special designed polish sealant
* lmproves visibilty and safety.
* One kit is intended to restore two headlight lenses.
* This inexpensive kit saves hundreds of dollars and restores crucial night time visibility by restoring your own lenses.
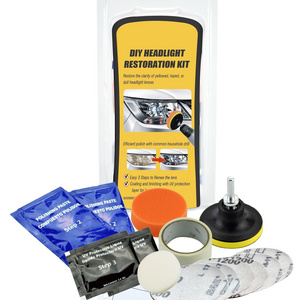
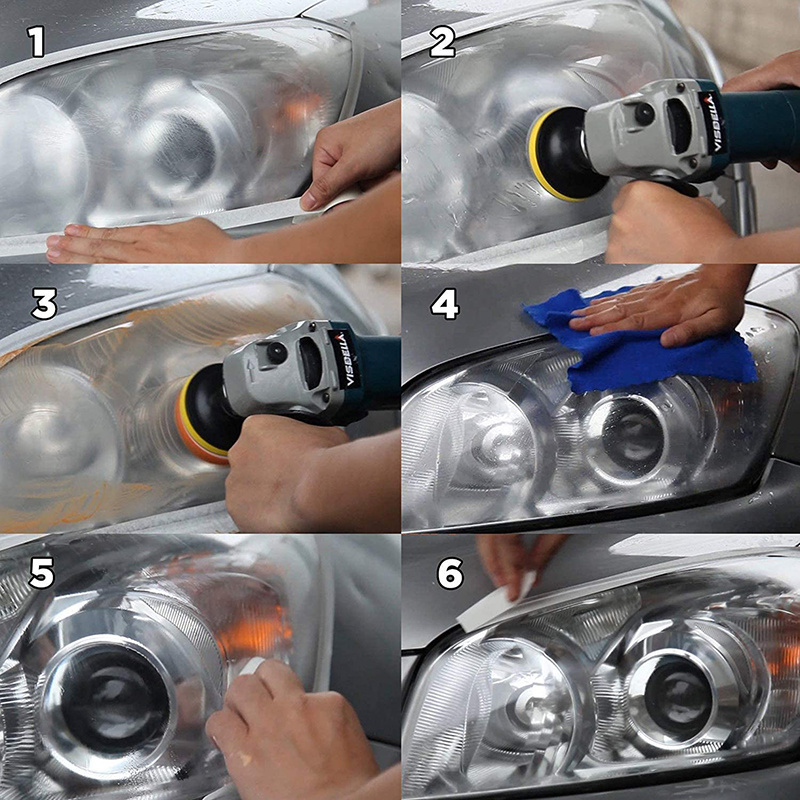
How to Use
PREPARE
Clean the headlight lens with water. Mask off the area surrounding the lens to avoid scratches on nearby painted surface.
STEP 1 SANDING
Wet the sanding disc and attach it to the backer pad. Sand with 3 different grits to completely remove the heavy yellowing, fading and corrosion.
Note: Use the sanding discs from coarse to fine: P800- P1200 - P2000 grits. Not doing so will result in restoration failure.
STEP 2 POLISHING
Attach the orange sponge disc to the backer pad and apply the polishing paste. Polish the lens until it is restored to its original condition.
Note: If polish by hand, polish with not less than 200 circular strokes clockwise.
Clean the headlight lens and make sure the lens is dry before the protection step.
STEP 3 PROTECTION
Make sure this uv liquid is applied without sunlight.
Use the white sponge disc provided in the kit. Evenly apply the protect liquid on the surface of the lens. After apply it, stay for 10-15 mins to let the liquid flow evenly itself. Then dry it in direct sunshine immediately (1-2 hours is suggested). If not, the dusts and dirts may attached to the uv liquid due to its viscosity, which will affect the brightness of the headlight.
After STEP 3, keep the lens dry, and donot wash the car in 24 hours.
Products Lines
RFQ