- Product Details
- {{item.text}}
Quick Details
-
EINECS No.:
-
other
-
Place of Origin:
-
Shandong, China
-
Brand Name:
-
other
-
Model Number:
-
other
-
Type:
-
Liquid Glue, Liquid Glue
-
Product name:
-
Windshield Glass Scratch Repair Kit Car Window glass repair Kit
-
Packing:
-
50g/bottle, 250g/bottle
-
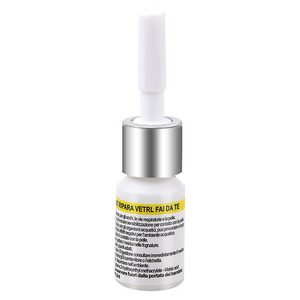
Appearance:
-
transparent colorless liquid
-
Shelf life:
-
12 Months
-
Application:
-
windshield repair resin
-
Material:
-
Acrylic
-
Curing condition:
-
365 nm
-
Multi-Part Adhesive:
-
One- component
-
Fixing time:
-
10s
Quick Details
-
CAS No.:
-
167854
-
Other Names:
-
windshield chip repair resin
-
MF:
-
other
-
EINECS No.:
-
other
-
Place of Origin:
-
Shandong, China
-
Brand Name:
-
other
-
Model Number:
-
other
-
Type:
-
Liquid Glue, Liquid Glue
-
Product name:
-
Windshield Glass Scratch Repair Kit Car Window glass repair Kit
-
Packing:
-
50g/bottle, 250g/bottle
-
Appearance:
-
transparent colorless liquid
-
Shelf life:
-
12 Months
-
Application:
-
windshield repair resin
-
Material:
-
Acrylic
-
Curing condition:
-
365 nm
-
Multi-Part Adhesive:
-
One- component
-
Fixing time:
-
10s
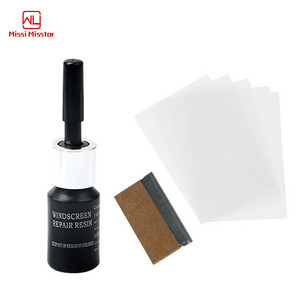
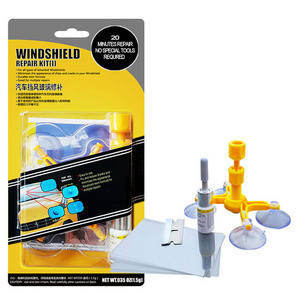
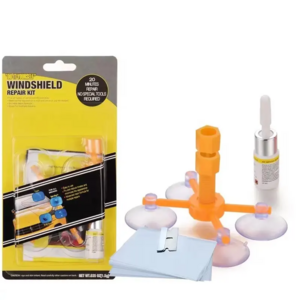
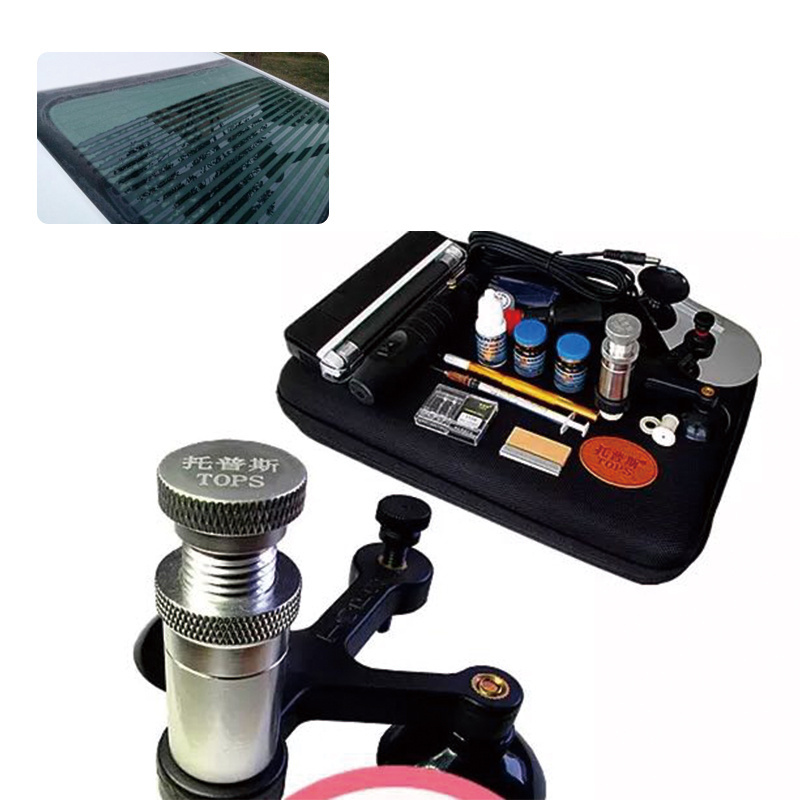
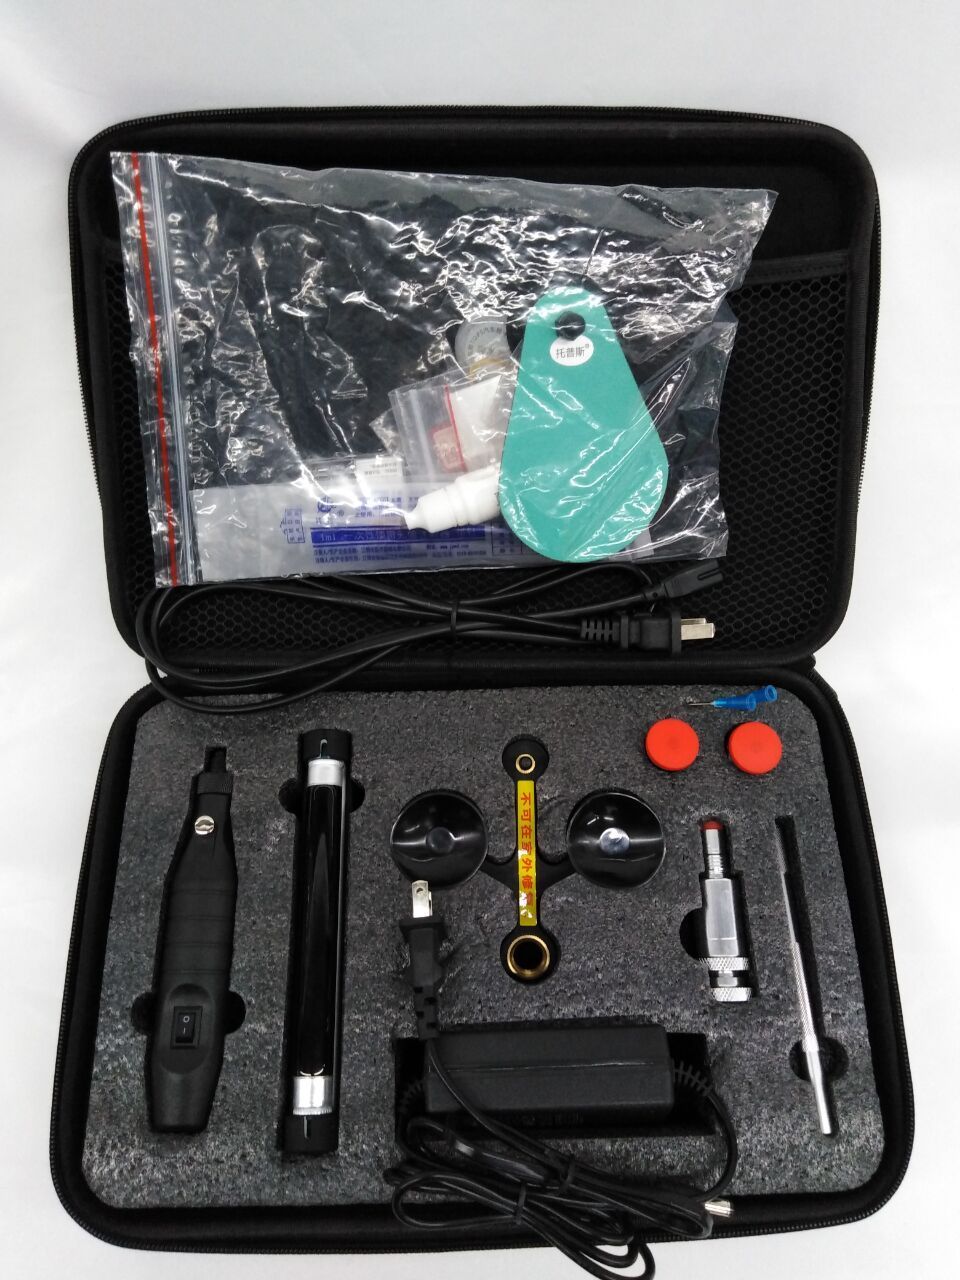
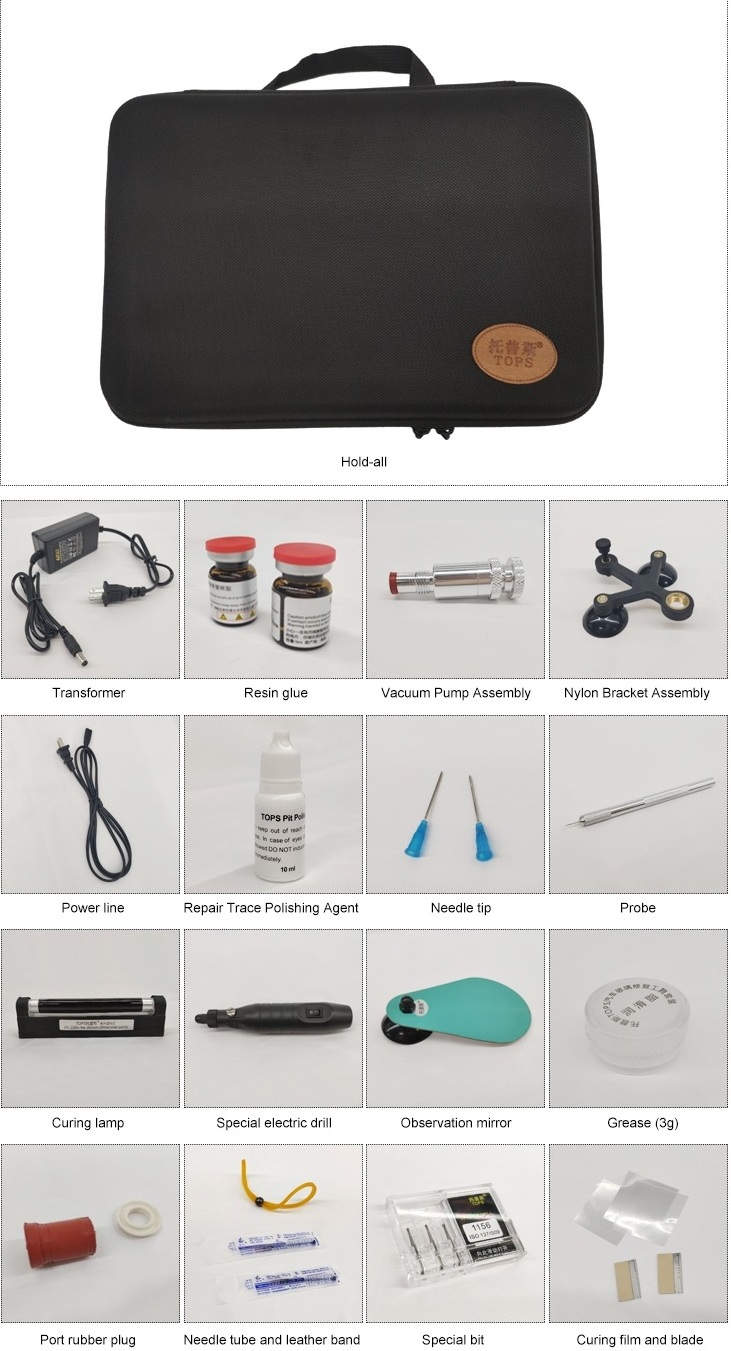
Windshield Repair Kits Windshield Glass Scratch Repair Kit Car Window glass repair Kit
|
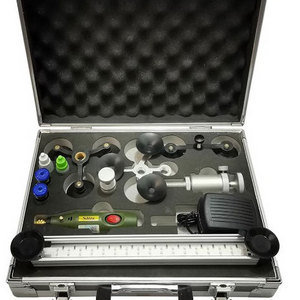
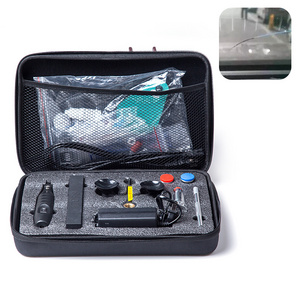
Product name: Windshield repair tool(TOPS) |
The quantity of suit:18 pieces |
|
Range of application:Car glass cow eyes and cracks |
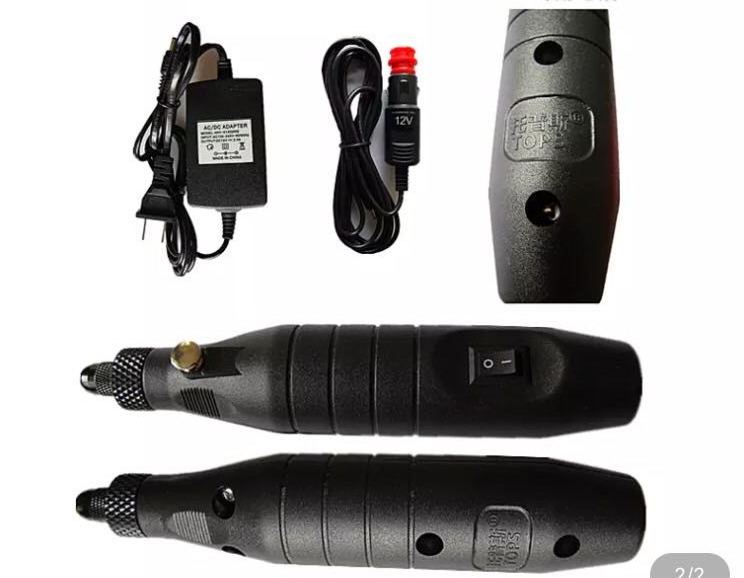
Adapter power:220v |
|
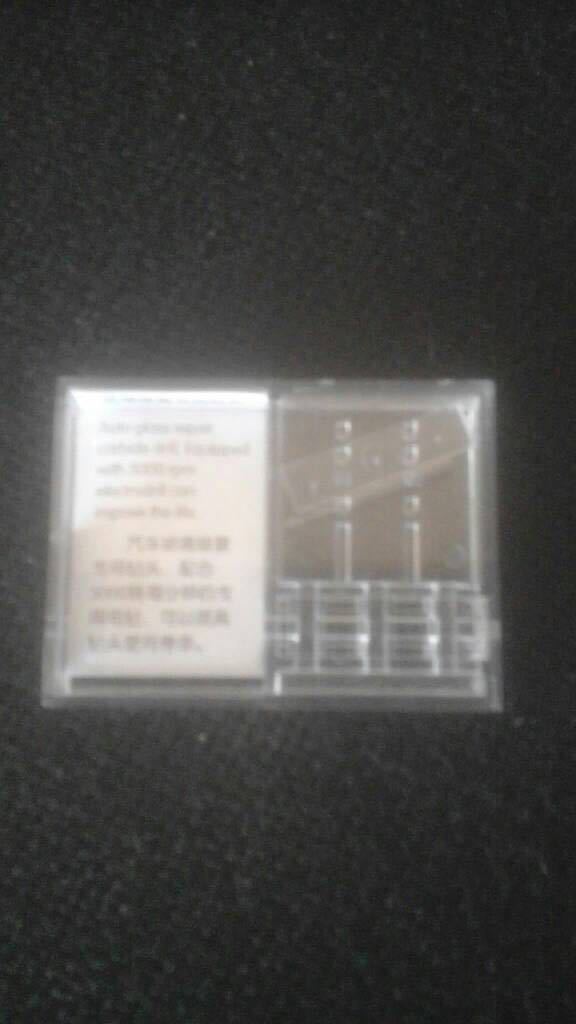
Features: easy to carry, easy to operate, good glue curing effect Configuration list: topps toolbox 1; vacuum pump glue pump 1; special electric drill 1; special drill 1 box of 3; repair resin 10ml*2; crack polishing 1 bottle; 220V professional curing lamp; cleaning hammer 1; two-claw 1; electric drill power cord 1; curing lamp power cord; sealing plug 2; curing film 20 pieces; grease 1case; two needles are extracted;observation mirror |
|
Product: Windshield Repair Kits Windshield Glass Scratch Repair Kit Car Window glass repair Kit
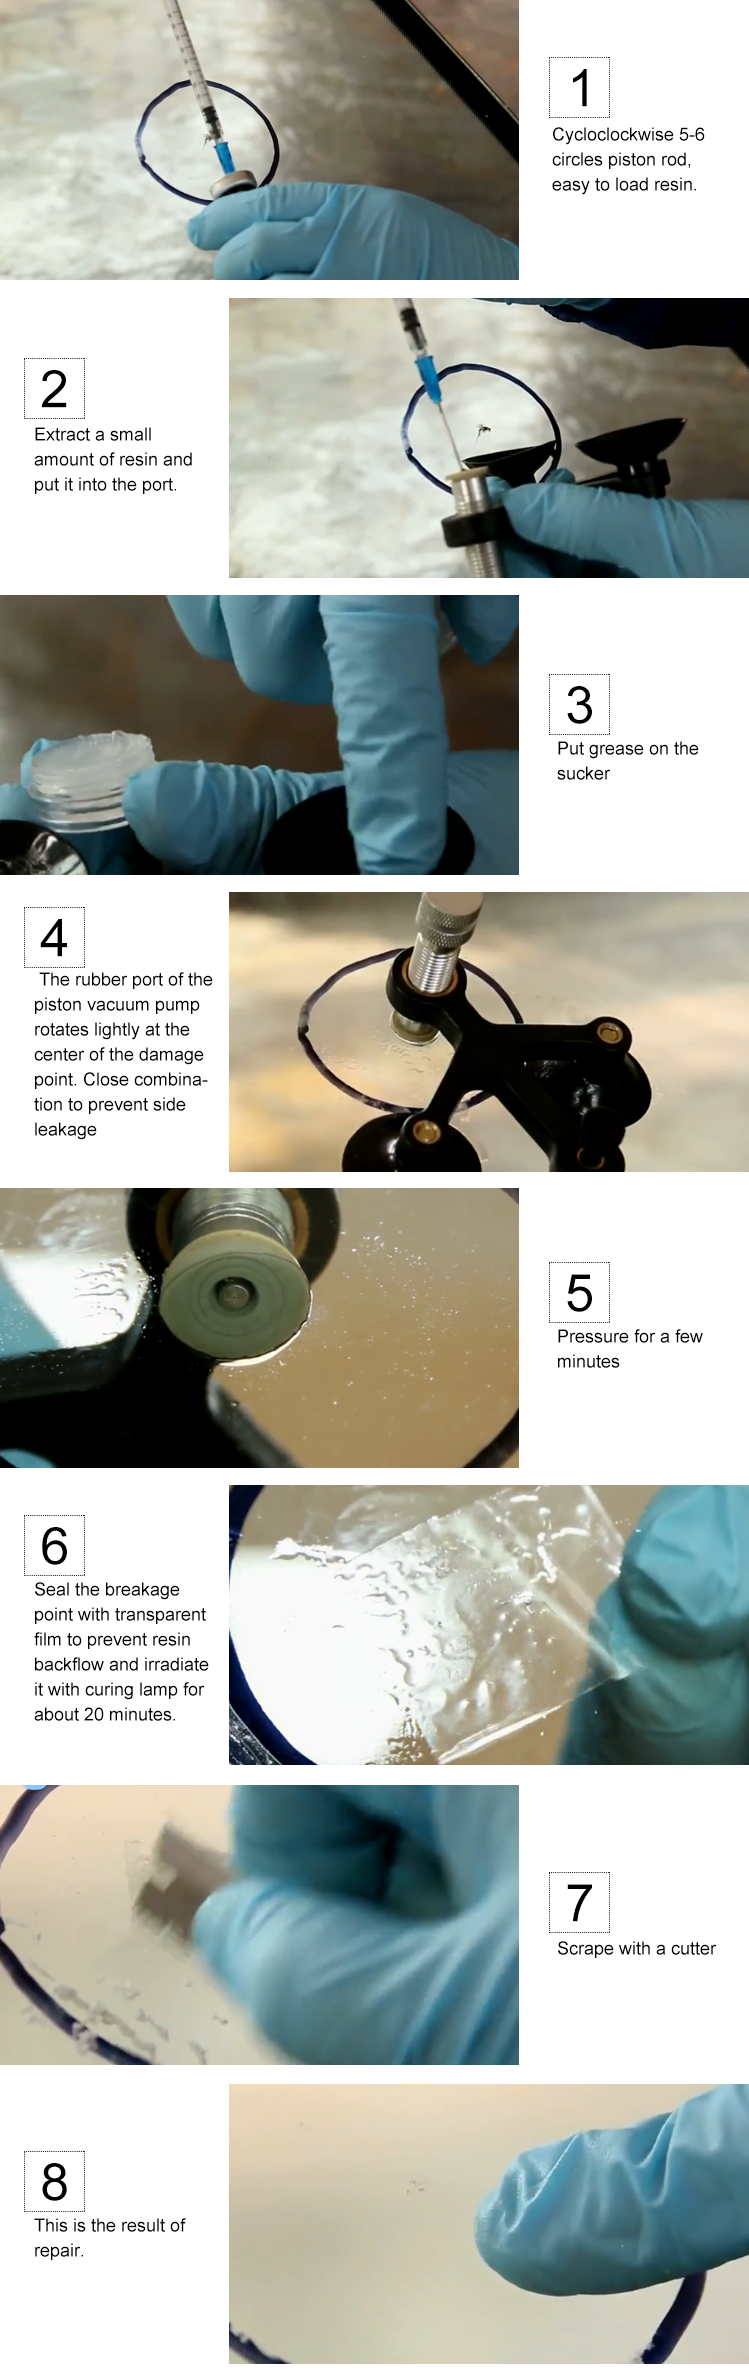
.Method of use
1. Check the damage condition
2. Clean up the debris
Clean up the broken glass with an inset cleaning hammer
3. Apply lubricant
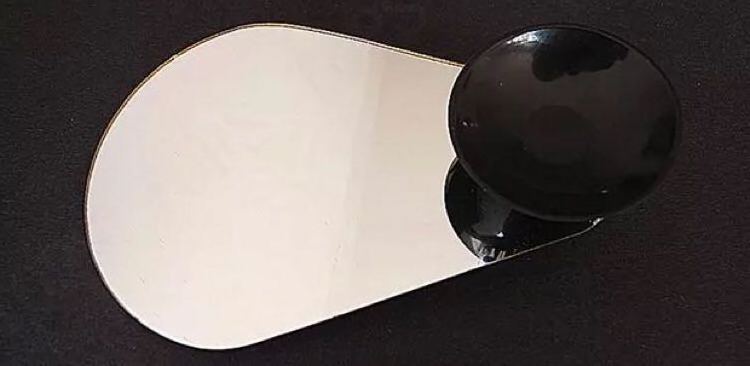
Apply a small amount of lubricant to the sucker
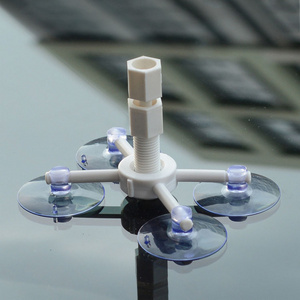
4. Install the sucker
The support is adsorbed on the surface of the glass to align the center hole of the support with the glass impact point.
5. Install the nozzle
Screw on the nozzle and lock the positioning lock
6. Inject the repair agent solution
The resin repair solution is injected into the injection nozzle. The syringe needle should be pushed to the glass through the injection hole
7. Install the restorer
Tighten the connection position between the repair device and the nozzle
8. Vacuum operation
Pull up the pull rod of the repair machine, rotate the pull rod 90 degrees after pulling up, the pull rod is automatically fixed, vacuum for 2-3 minutes, subject to no bubbles.
9. Observe bubbles through an observation mirror
As the vacuum is pumped, the bubbles in the crack decrease until they disappear.
10. Pressure operation
Push the pull rod to the bottom after deflating and tighten the lock nut of the pull rod
11. Observe the crack changes
Apply pressure for 2-3 minutes and wait for the crack to disappear
12. Stick the curing film
The cured film can be used again and again
13. Curing operation
The curing lamp is attached to the film to ensure that the repair solution absorbs enough light
14. Remove residual resin repair solution
Remove the curing film, keep the blade perpendicular to the glass, and scrape off the residual repair fluid to finish the repair