
After drilling, check if the electric line works well to avoid the damage to the electricity when drilling.
- Product Details
- {{item.text}}
Quick Details
-
Place of Origin:
-
Shandong, China
-
Brand Name:
-
COOWIN
-
Model Number:
-
CE25-80
-
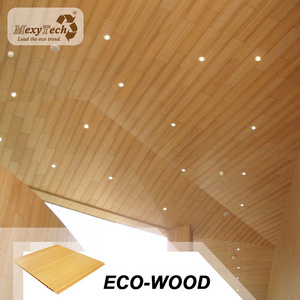
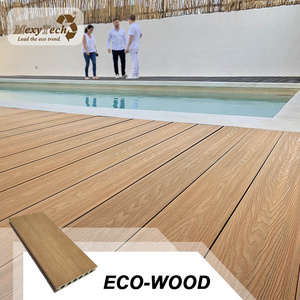
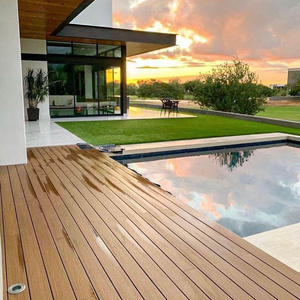
Application:
-
Office, restaurant, super market, swimming pool etc. indoor decoration
-
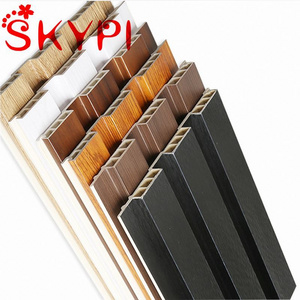
Color:
-
50+ different surface pattern available
-
Certificates:
-
SGS, ISO9001:2008, FSC, etc
-
Specification:
-
25*80mm
-
Exported Area:
-
Americas, Europe, Oceania, Southeast Asia, etc
-
Features:
-
sound-proof, waterproof, fire-resistant and termite resistant
-
Sample:
-
Free sample provided
-
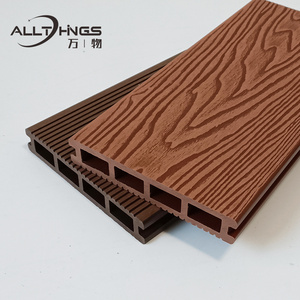
Product name:
-
Strip Wood and Plastic Composite Planks Swimming Pool Stretch Ceiling
Quick Details
-
Warranty:
-
2 years
-
After-sale Service:
-
Online technical support, Onsite Installation, Onsite Training, Onsite Inspection
-
Project Solution Capability:
-
graphic design, 3D model design, total solution for projects, Others
-
Place of Origin:
-
Shandong, China
-
Brand Name:
-
COOWIN
-
Model Number:
-
CE25-80
-
Application:
-
Office, restaurant, super market, swimming pool etc. indoor decoration
-
Color:
-
50+ different surface pattern available
-
Certificates:
-
SGS, ISO9001:2008, FSC, etc
-
Specification:
-
25*80mm
-
Exported Area:
-
Americas, Europe, Oceania, Southeast Asia, etc
-
Features:
-
sound-proof, waterproof, fire-resistant and termite resistant
-
Sample:
-
Free sample provided
-
Product name:
-
Strip Wood and Plastic Composite Planks Swimming Pool Stretch Ceiling


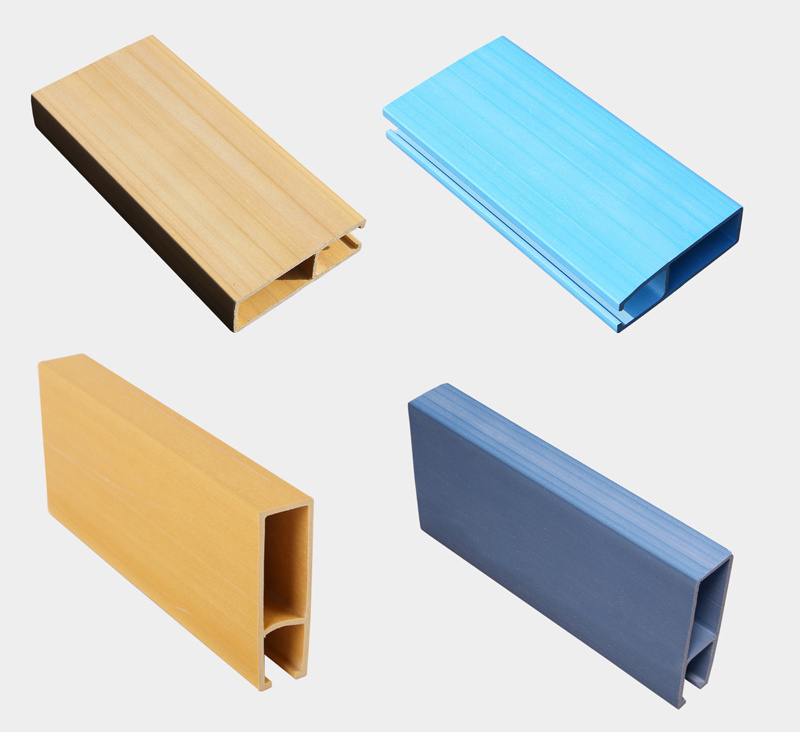
|
Brand
|
COOWIN
|
|
Use
|
Indoorwpc Ceilinng
|
|
Item
|
CE25-80
|
|
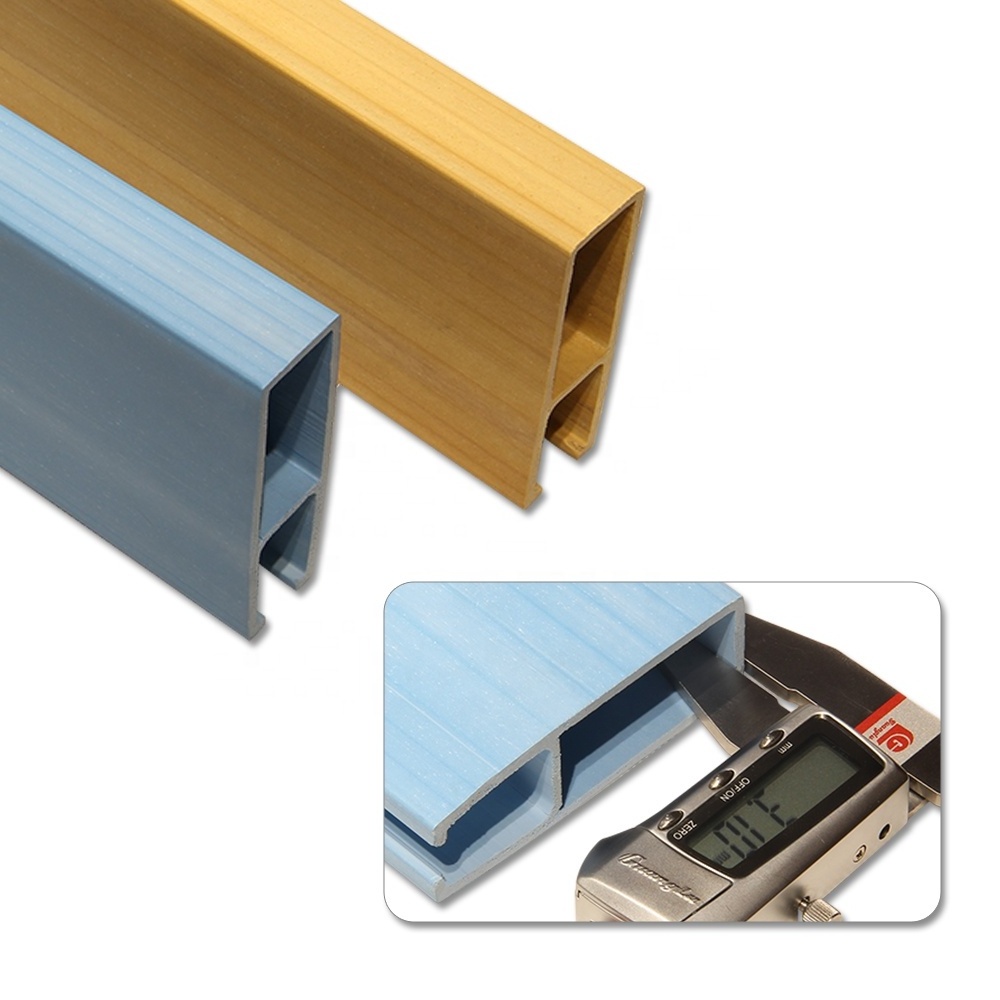
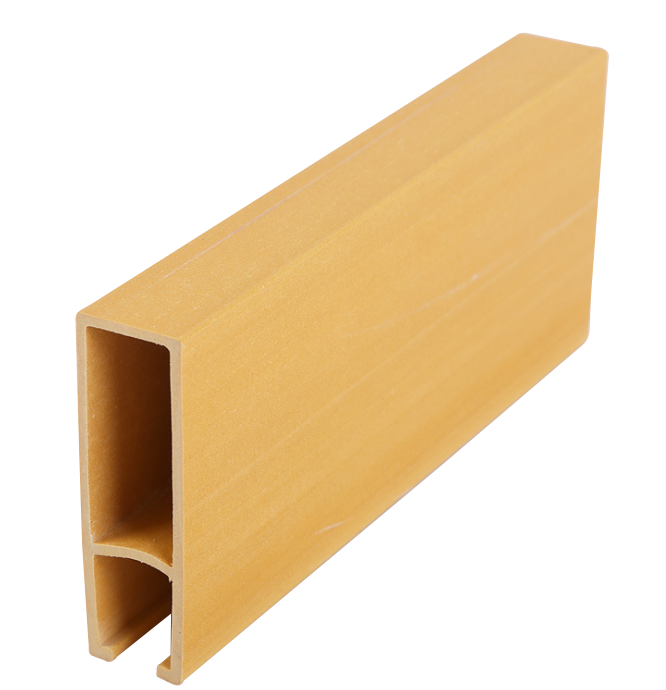
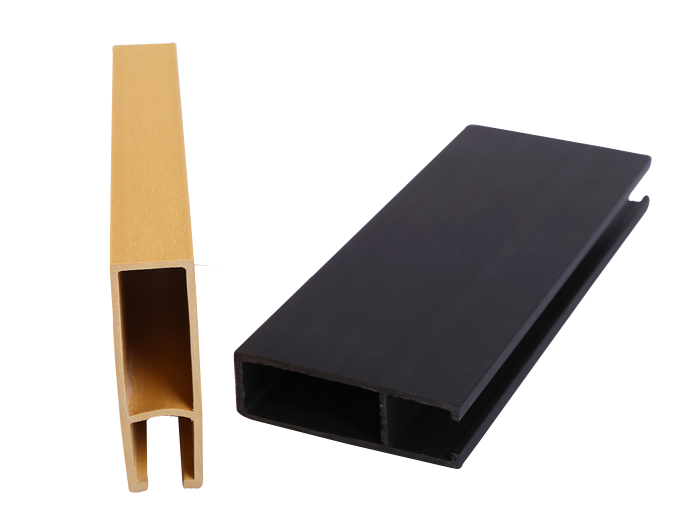
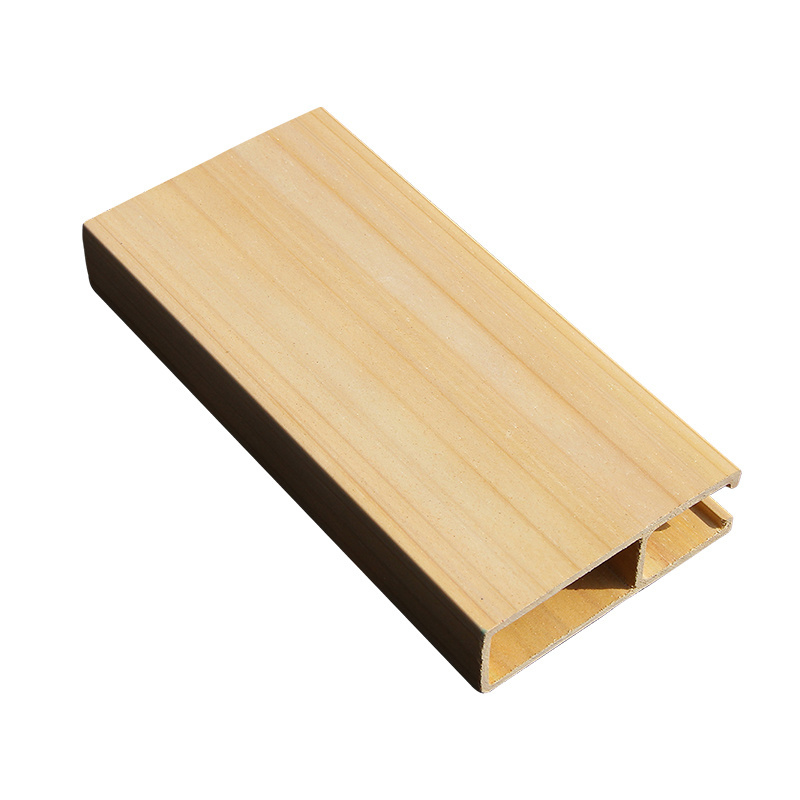
Size
|
25*80mm
|
|
Length
|
2.8m or custom
|
|
Material
|
Wood pvc composite
|
|
Advantage
|
Moisture-proof, anti-corrosion, anti-insect, Long service life
|
|
Application
|
Hotels, commercial buildings, hospital, schools, home kitchen, bathroom, interior decoration and so on
|
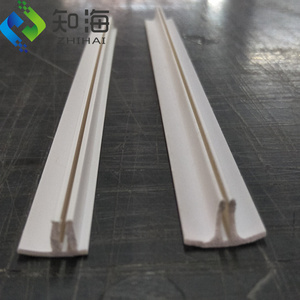
Step 1
Use electric hammer (12 bit) drill holes ( centered on the point of the cross mark).
Step 2
Put the expansion bolt which installed on the top of the hanger into the drilling hole, and then tighten the nut below the expansi on bolt to make the expansion bolt fasten well. Make sure the hanger is firm enough before starting the next step.
Fix the painted joist on the other end of the hanger with nuts, and the space between the two joists is 0.5m.
Step 3
Insert blade
Step 4
Install the ceiling on the joist in turn to complete the installation.
Step 5
The installation is complete.


Hot Searches
