
- Product Details
- {{item.text}}
Quick Details
-
Place of Origin:
-
Guangdong, China
-
Brand Name:
-
Spunky
-
Model Number:
-
385311462 385310677, 385311462, 385310677
-
Product Name:
-
RV Toilet Seal Kit
-
Color:
-
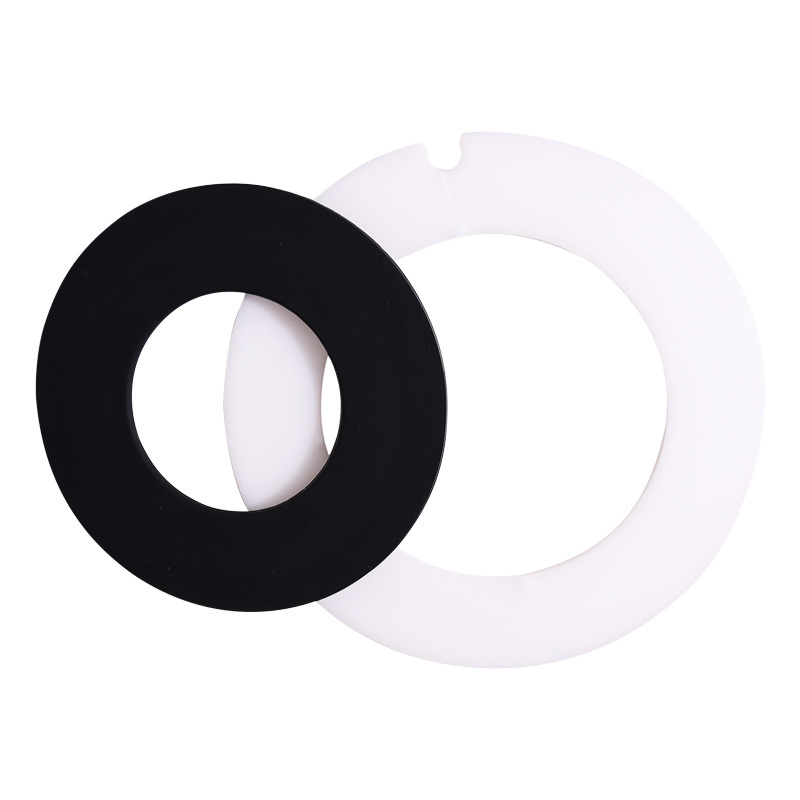
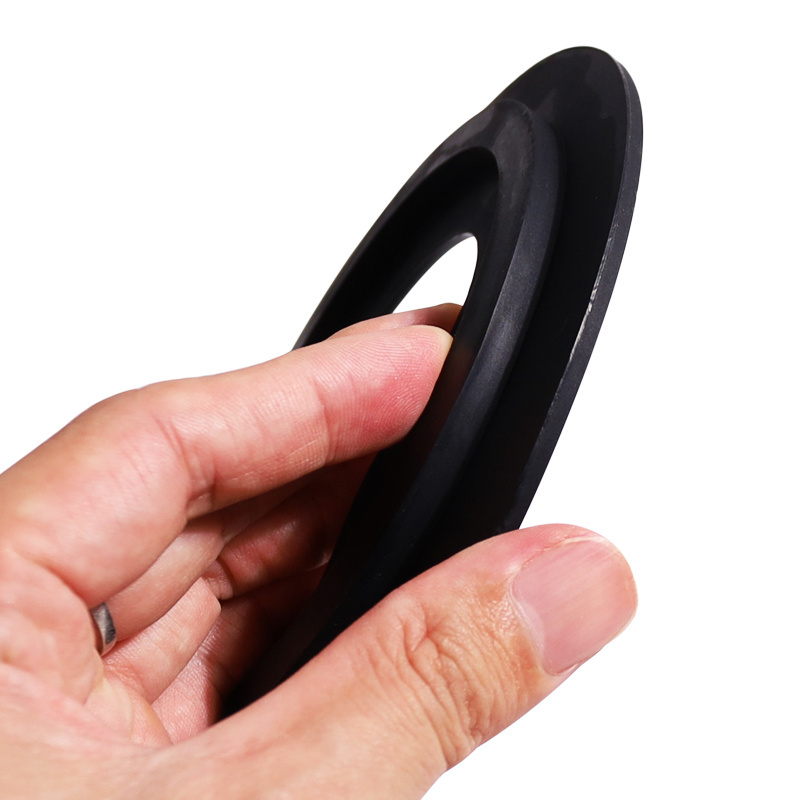
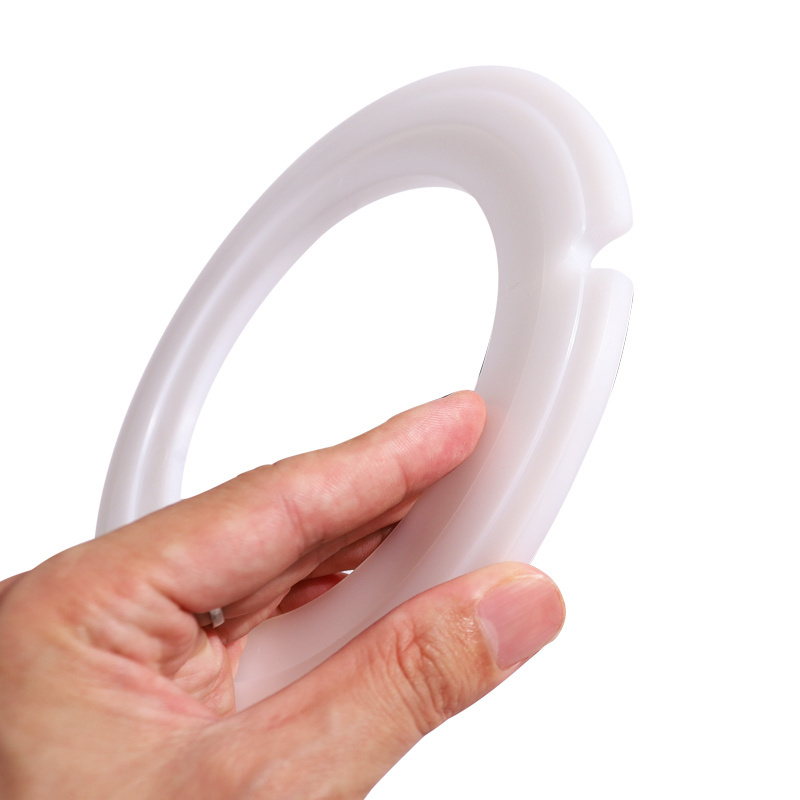
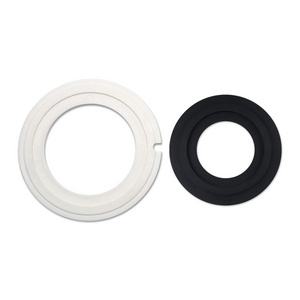
Black/White
-
Material:
-
Rubber and PVC
-
Part Number:
-
385311462
-
Weight:
-
150g/set
-
MOQ:
-
100sets
Quick Details
-
Type:
-
RV Toilet Seal Kit
-
Feature:
-
Recreational Vehicle
-
Power Source:
-
Need not
-
Place of Origin:
-
Guangdong, China
-
Brand Name:
-
Spunky
-
Model Number:
-
385311462 385310677, 385311462, 385310677
-
Product Name:
-
RV Toilet Seal Kit
-
Color:
-
Black/White
-
Material:
-
Rubber and PVC
-
Part Number:
-
385311462
-
Weight:
-
150g/set
-
MOQ:
-
100sets
Semi-Automatic PET Bottle Blowing Machine Bottle Making Machine Bottle Moulding Machine
PET Bottle Making Machine is suitable for producing PET plastic containers and bottles in all shapes.
Product Describe
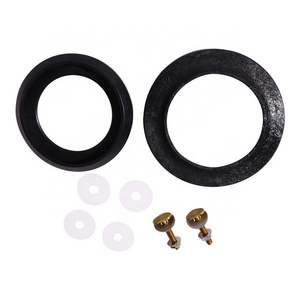
To ensure a happy buying, please check twice whether your model matches our product parts 385311462, 385310677 before purchasing
Compatibility
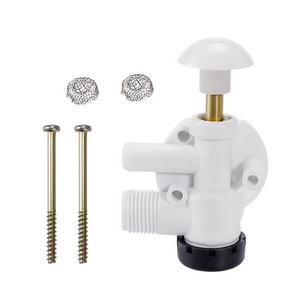
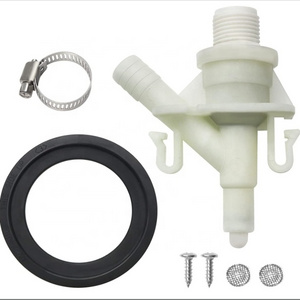
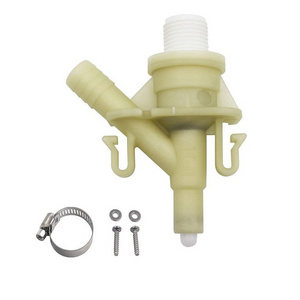
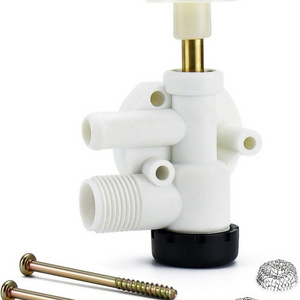
* This heavy duty seal kit is easier to install and lasts longer than your old leaking D-ometic part # 385311462 or 385310677 (2 black rubber seals ).
* Perfect Fit Models:110,111,210,510,510H, 511,711-M28,711-98C,712-TM09,848,910,911,2011
His seal kit replaces the leaking D-ometic seal kit part # 385311462 and fit models as follows:D-ometic/ S-ealand: 506+, 511H,
547+, 548+, 706, 709, 748, 749, 806, 808, 847, 848, 1147, 1148, 2010, 2011, 5006, 5047, 5048, 5049.
* V-acuFlush: 168, 606, 647, 648, 1006, 1008, 1047, 1048, 1049, 1106, 5146, 5148, 5149.
E-coVac: 146-149.
* DOES NOT REPLACE SEAL ON: 300, 310, 320 series D-ometic toilets
Features
* The upgraded design on385311462 and 385310677 rv toilet seal reflects in the heavy duty teflon disk that with raised groove aligns match up for the black seal to prevent shifting of seals during installation
* Products are made of high-quality materials and rigorously tested to ensure durability and longevity
* WHEN TO REPLACE: You need to replace the 385311462 toilet seal if your toilet has symptoms as follows: Awful smell/ Water leaking out of the toilet bowl/ Old seal damaged
DIY installation reference
1. Turn off the water switch.Press the flush pedal to drain water from the toilet Remove base cover
2. Lose the stainless steel strip and remove the plastic half clamp to connect the porcelain and plastic base
3. Tilt the porcelain bowl forward, grab the vacuum breaker attached to the back of the toilet, and pull it out of the toilet.
Put the toilet aside Remove original kit.Check flush balls for gaps, scratches or mineral deposits. Cleaning or replacement as
necessary
4. Place the large plastic disc on the top of the thin seal, through a ring of thin seal raised in the center of the large disc.
5. Place seal and disk assembly on top of flush ball
6. Place the porcelain back on the toilet base, align the notch with the pin on the base, and align the bowl outlet with the
flush ball. Then insert the vacuum breaker into the back toilet and push it into the rubber seal ring
7. Reinstall plastic half clip under loose steel strip, tighten stainless steel clamp
8. Reinstall pedestal cover, turn on water
|
Color
|
|
Black / White
|
|
|
|||
|
Weight
|
|
150g/set
|
|
|
|||
|
Material
|
|
Rubber and PVC
|
|
|
|||
|
Country of Origin
|
|
China
|
|
|
|||
|
MOQ
|
|
100sets
|
|
|
|||
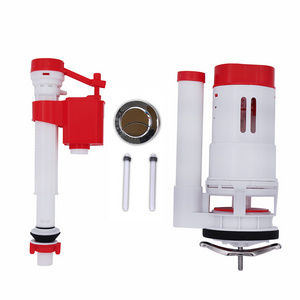
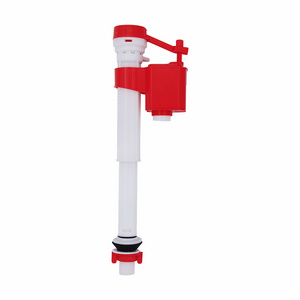
Product Display


Hot Searches
