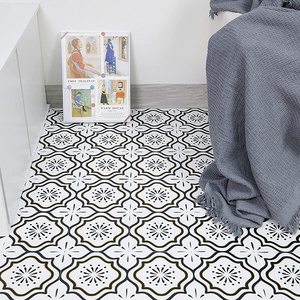
Installing ceramic tile on a vinyl floor requires a few steps to ensure proper adhesion and a long-lasting installation. Here's a general overview of the process:
Materials:
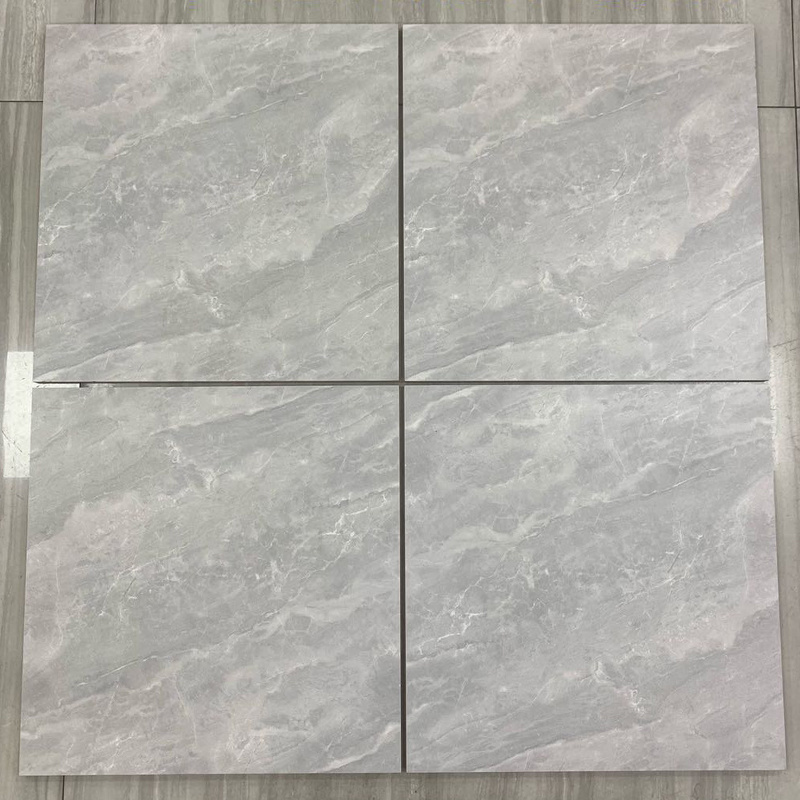
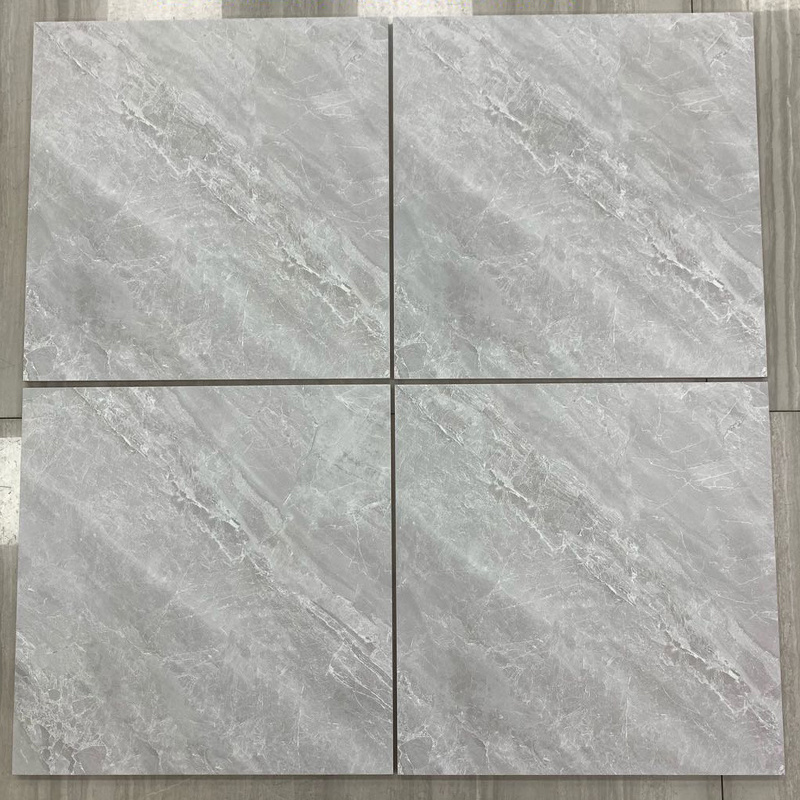
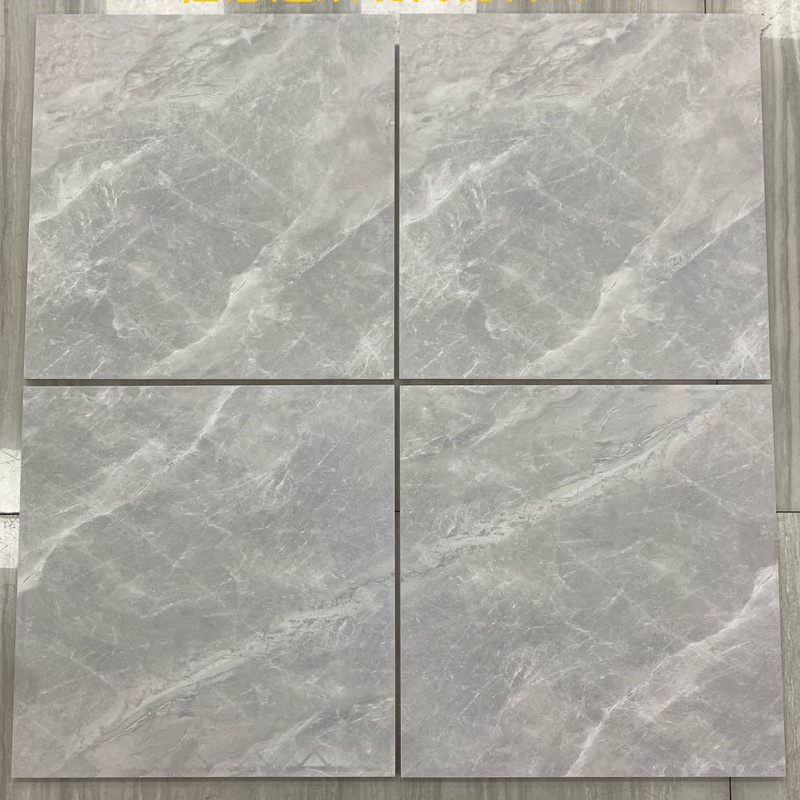
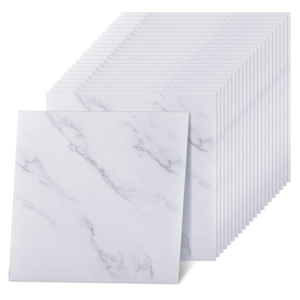
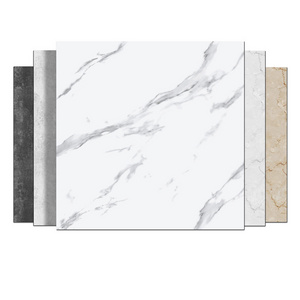
* Ceramic tile
* Tile adhesive
* Notched trowel
* Tile spacers
* Grout
* Grout float
* Tile cutter or wet saw
* Primer (optional)
Steps:
1. Prepare the vinyl floor: The vinyl floor needs to be cleaned, level, and free of any debris or damage. Use a floor scraper to remove any remaining adhesive or debris, and ensure that the surface is level.
2. Prime the surface (optional): If the vinyl floor is porous or if you are concerned about adhesion, you can prime the surface with a primer designed for use with vinyl flooring. Follow the manufacturer's instructions.
3. Apply the tile adhesive: Use a notched trowel to spread a layer of tile adhesive onto the vinyl floor. Spread only as much adhesive as you can cover with tiles within 15-20 minutes.
4. Lay the tiles: Begin laying the tiles along the longest straight wall. Use tile spacers to ensure even spacing between tiles. Work your way across the floor, being sure to press the tiles firmly into the adhesive. Use a tile cutter or wet saw to cut tiles to fit around edges and obstacles.
5. Allow the adhesive to dry: After the tiles are laid, allow the adhesive to dry according to the manufacturer's instructions. This typically takes 24-48 hours.
6. Grout the tiles: Use a grout float to apply grout between the tiles, working it into the joints. Wipe away excess grout with a damp sponge. Allow the grout to dry for at least 24 hours.
7. Clean the tiles: Use a grout haze remover to remove any grout residue that remains on the tiles after drying.
Note: It's important to choose the right type of tile adhesive and grout for the specific type of ceramic tile you're using and
the location where it will be installed. Be sure to follow the manufacturer's instructions for the adhesive and grout products you choose.