
- Product Details
- {{item.text}}
Quick Details
-
Brand Name:
-
WLD
-
Model Number:
-
Plaster saw
-
Quality Certification:
-
none
-
Product name:
-
orthopedic plaster cutting saw
-
Application:
-
Orthopaedic Surgery
-
Usage:
-
Medical Orthopedic Surgical
-
Function:
-
cut plaster of paris bandage and casting tape
-
Output voltage:
-
80W
-
Unit rise of temperature:
-
≤25℃
-
Output power:
-
AC220V/50Hz or 110V/60Hz
-
Non-loading speed:
-
0-13000cpm
-
Non-loading noise:
-
≤65dB(A)
-
Feature:
-
Reusable Surgery Instruments
Quick Details
-
Warranty:
-
1 Year
-
After-sale Service:
-
Online technical support
-
Place of Origin:
-
Jiangsu, China
-
Brand Name:
-
WLD
-
Model Number:
-
Plaster saw
-
Quality Certification:
-
none
-
Product name:
-
orthopedic plaster cutting saw
-
Application:
-
Orthopaedic Surgery
-
Usage:
-
Medical Orthopedic Surgical
-
Function:
-
cut plaster of paris bandage and casting tape
-
Output voltage:
-
80W
-
Unit rise of temperature:
-
≤25℃
-
Output power:
-
AC220V/50Hz or 110V/60Hz
-
Non-loading speed:
-
0-13000cpm
-
Non-loading noise:
-
≤65dB(A)
-
Feature:
-
Reusable Surgery Instruments
Product Paramenters
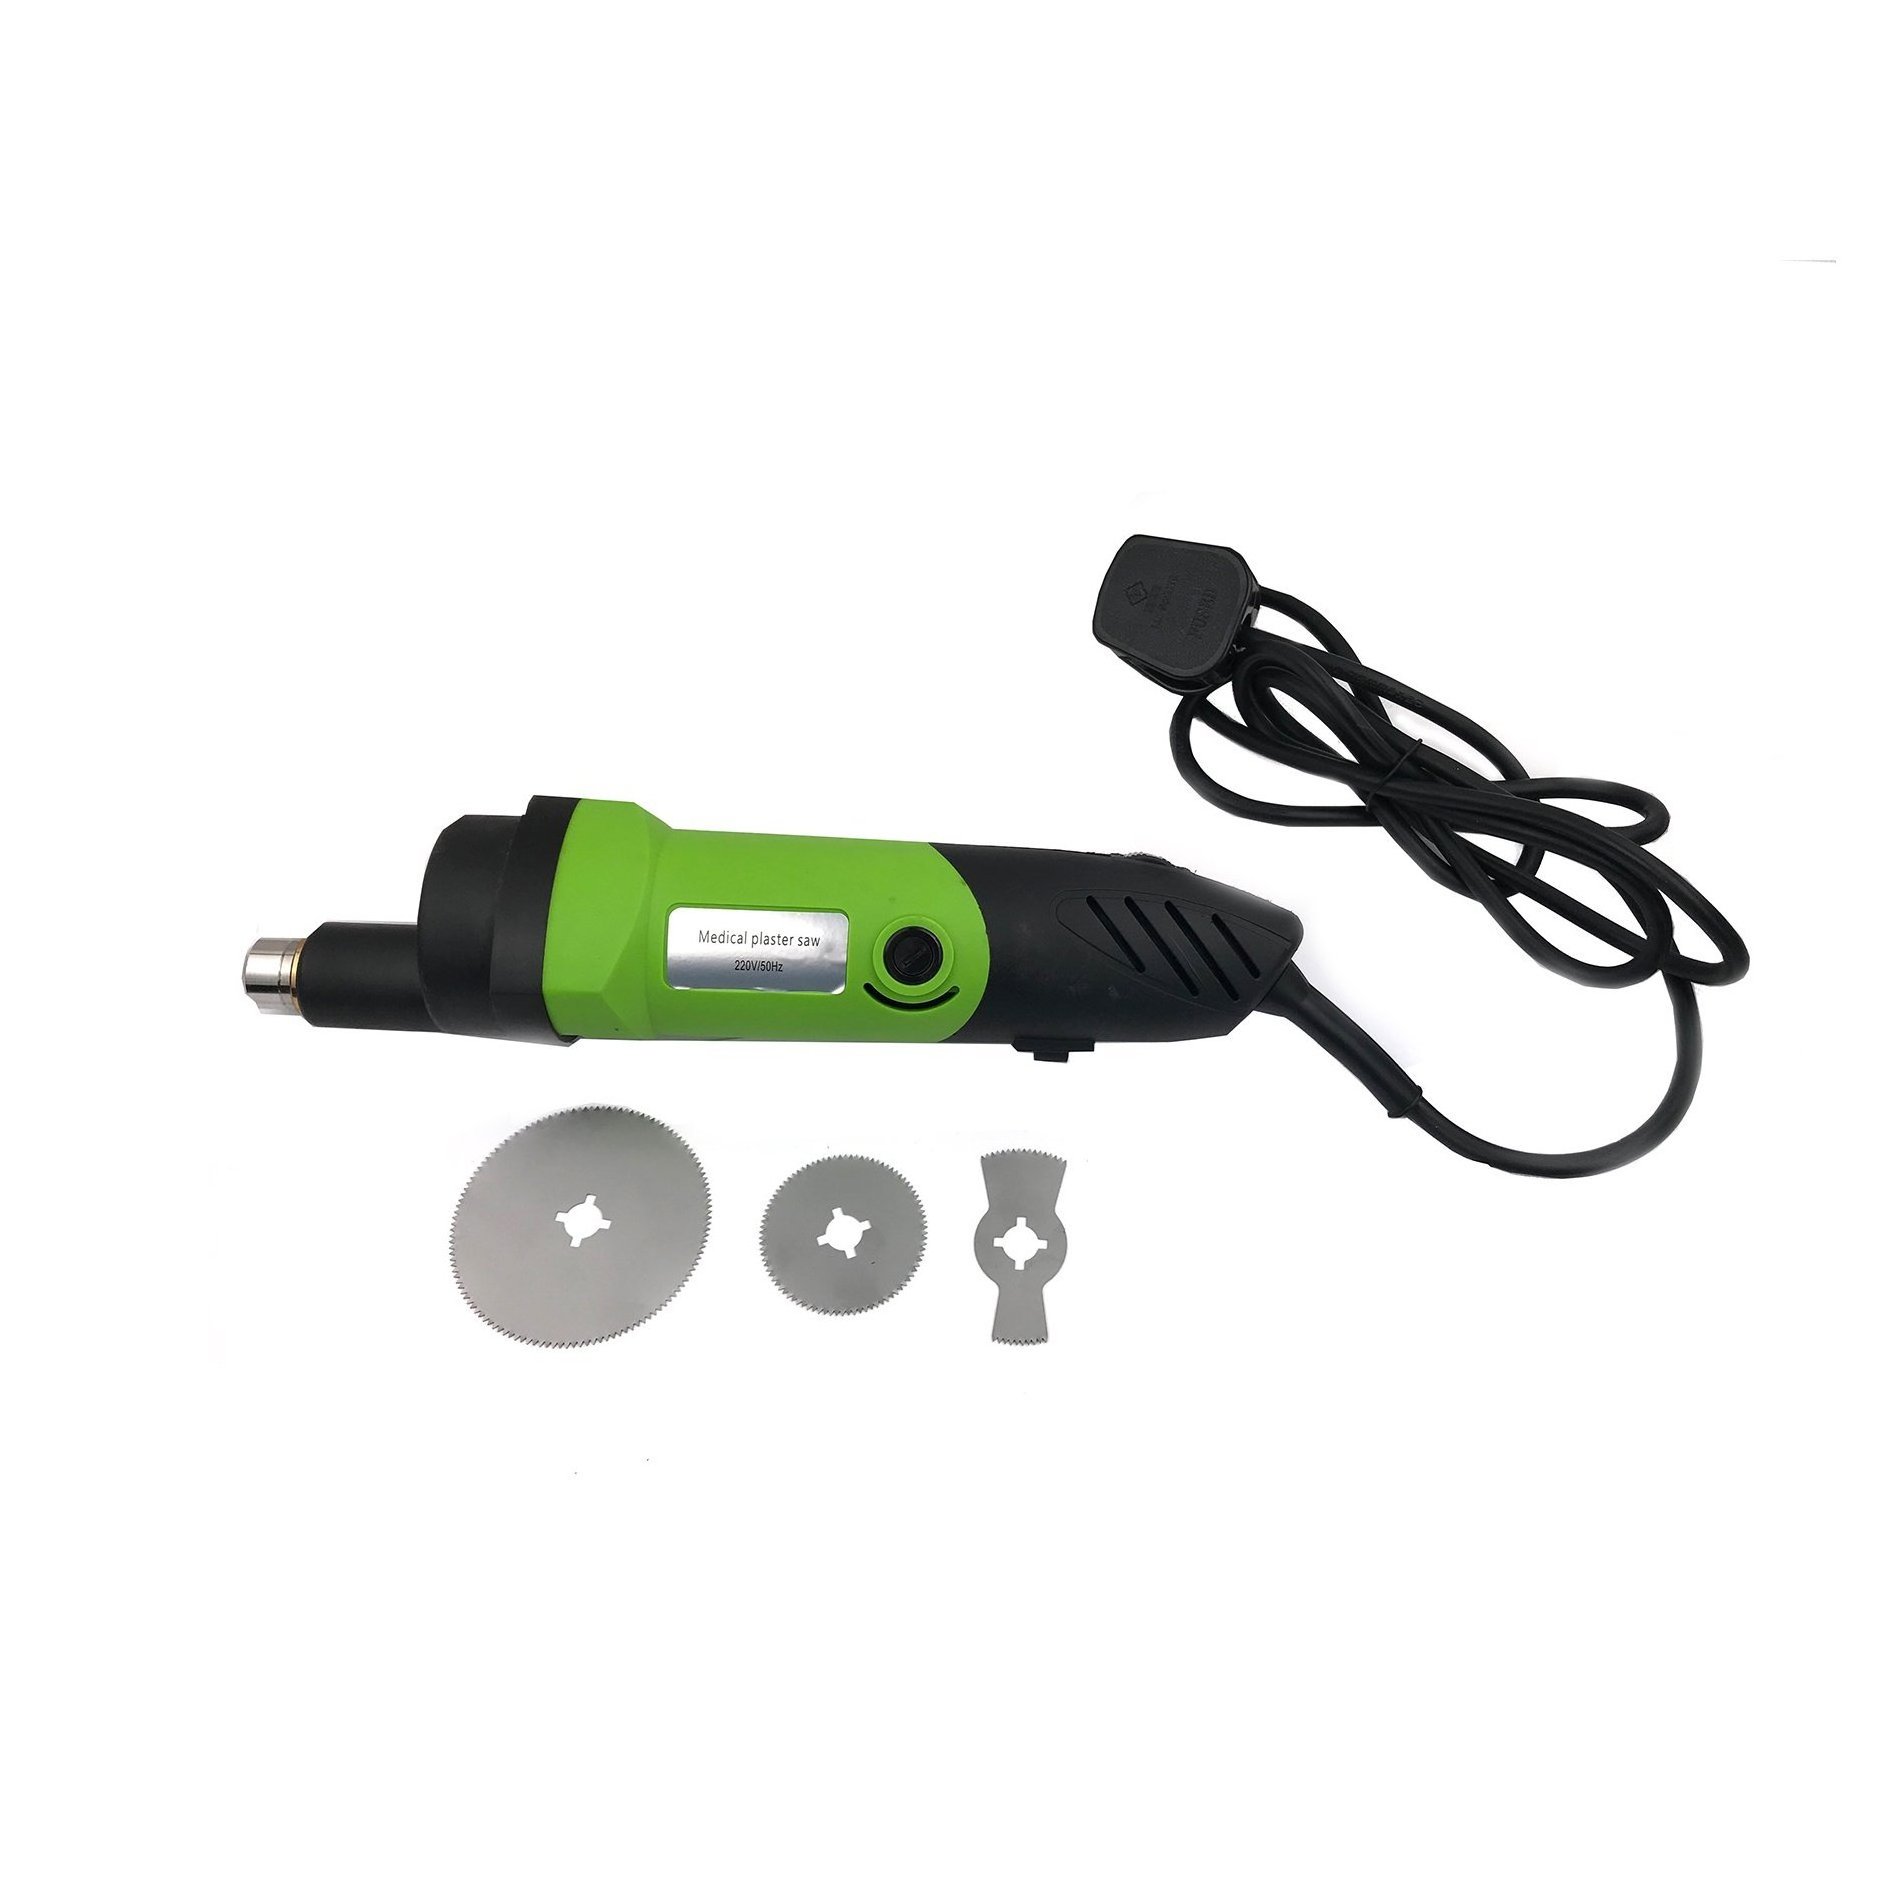
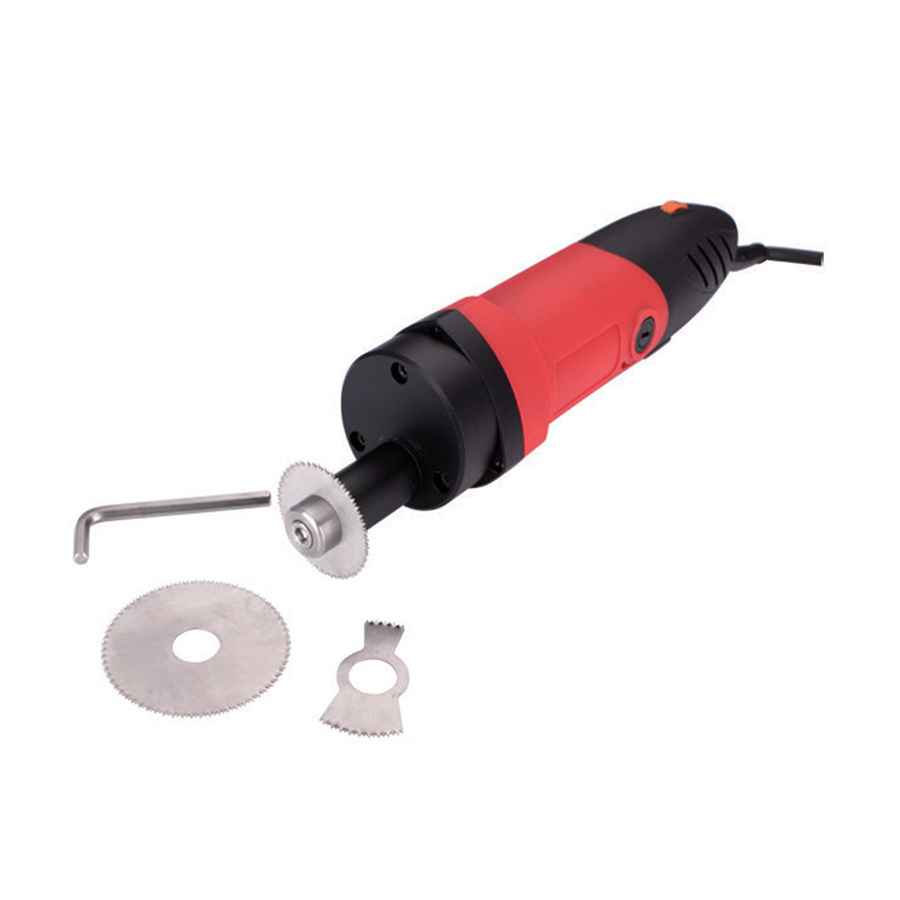
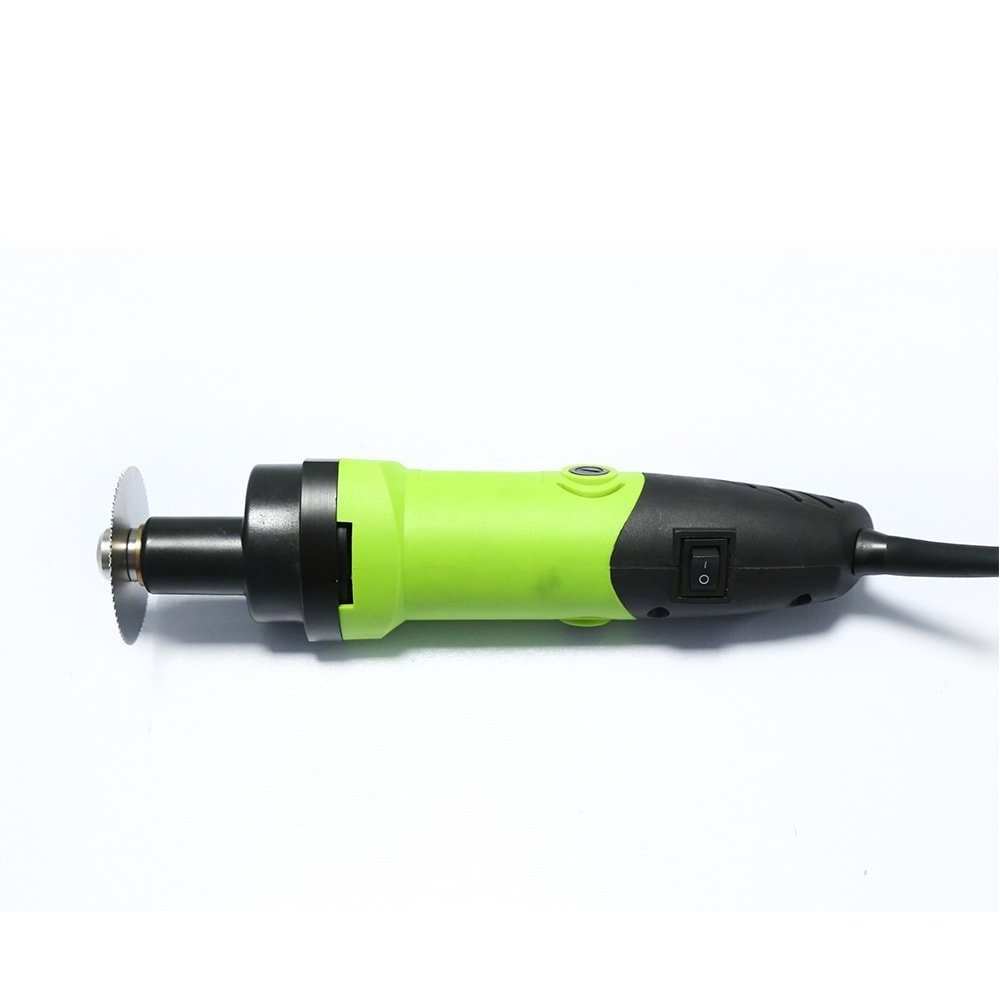
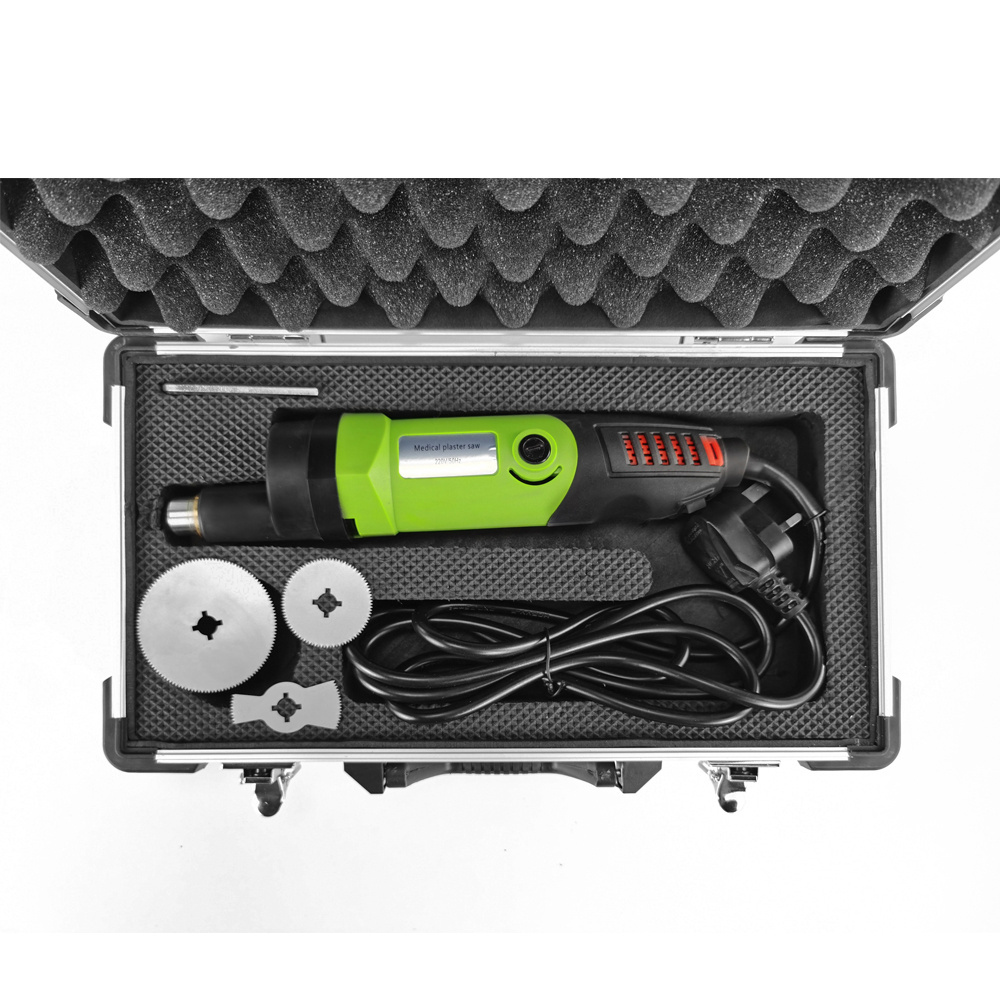
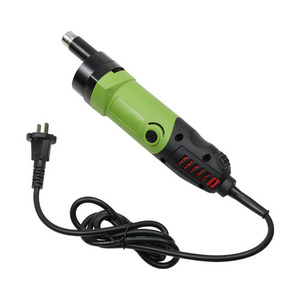
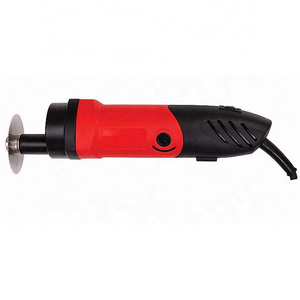
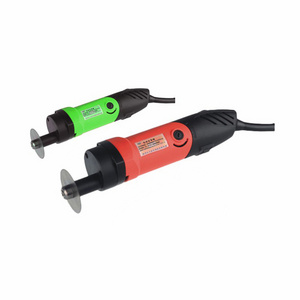
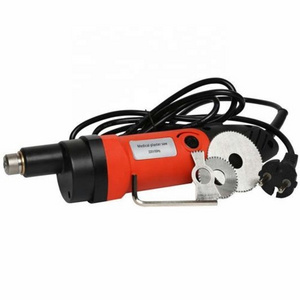
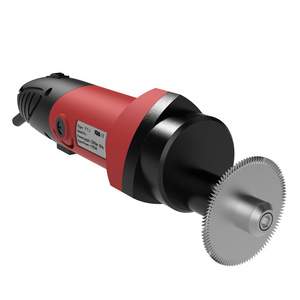
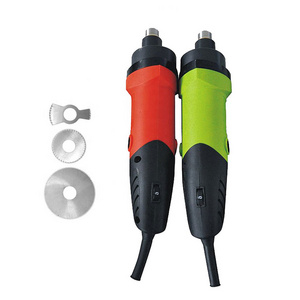
medical electric traumatology orthopedic plaster cutting saw
Safety Instructions:
Before use check the saw for any mechanical damage. Ensure that the saw blade is not blunt, has no broken teeth and is correctly installed.Ensure the air vent of the motor is kept clean and clear from dust to prevent overheating which may cause damage to the motor.During use do not overexert or apply pressure when the saw blade is moving.
If the blade should become lodged in the plaster, switch the unit off and remove slowly.During use the motor will heat up, if the outer shell becomes excessively warm turn the motor off to avoid overheating and allow the motor to cool.
Please switch the motor off if any abnormal noise or excess vibration occurs during use.Do not switch the power on and off frequently as this will cause damage to the motor.Clean the saw after use and store in a dry place to avoid corrosion.
Operating Instructions:
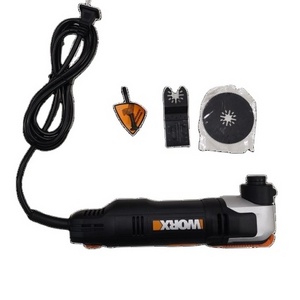
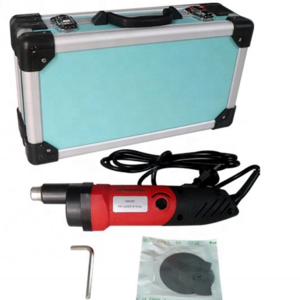
1.Remove the main unit, allen key and saw blades from the case.
2.Use the allen key to unscrew the blade holder
3.Once the blade holder is loose remove it from the unit
4.Place your chosen blade on the drive shaft
5.Tighten the blade holder back onto the unit
6.Secure the blade into place using the allen key
7.The saw is now assembled ready for use. When finished,
simply repeat these steps in reverse order.
Details Images


Hot Searches
